Philly Cheesesteak Sliders
This post may contain affiliate links that won’t change your price but will share some commission.
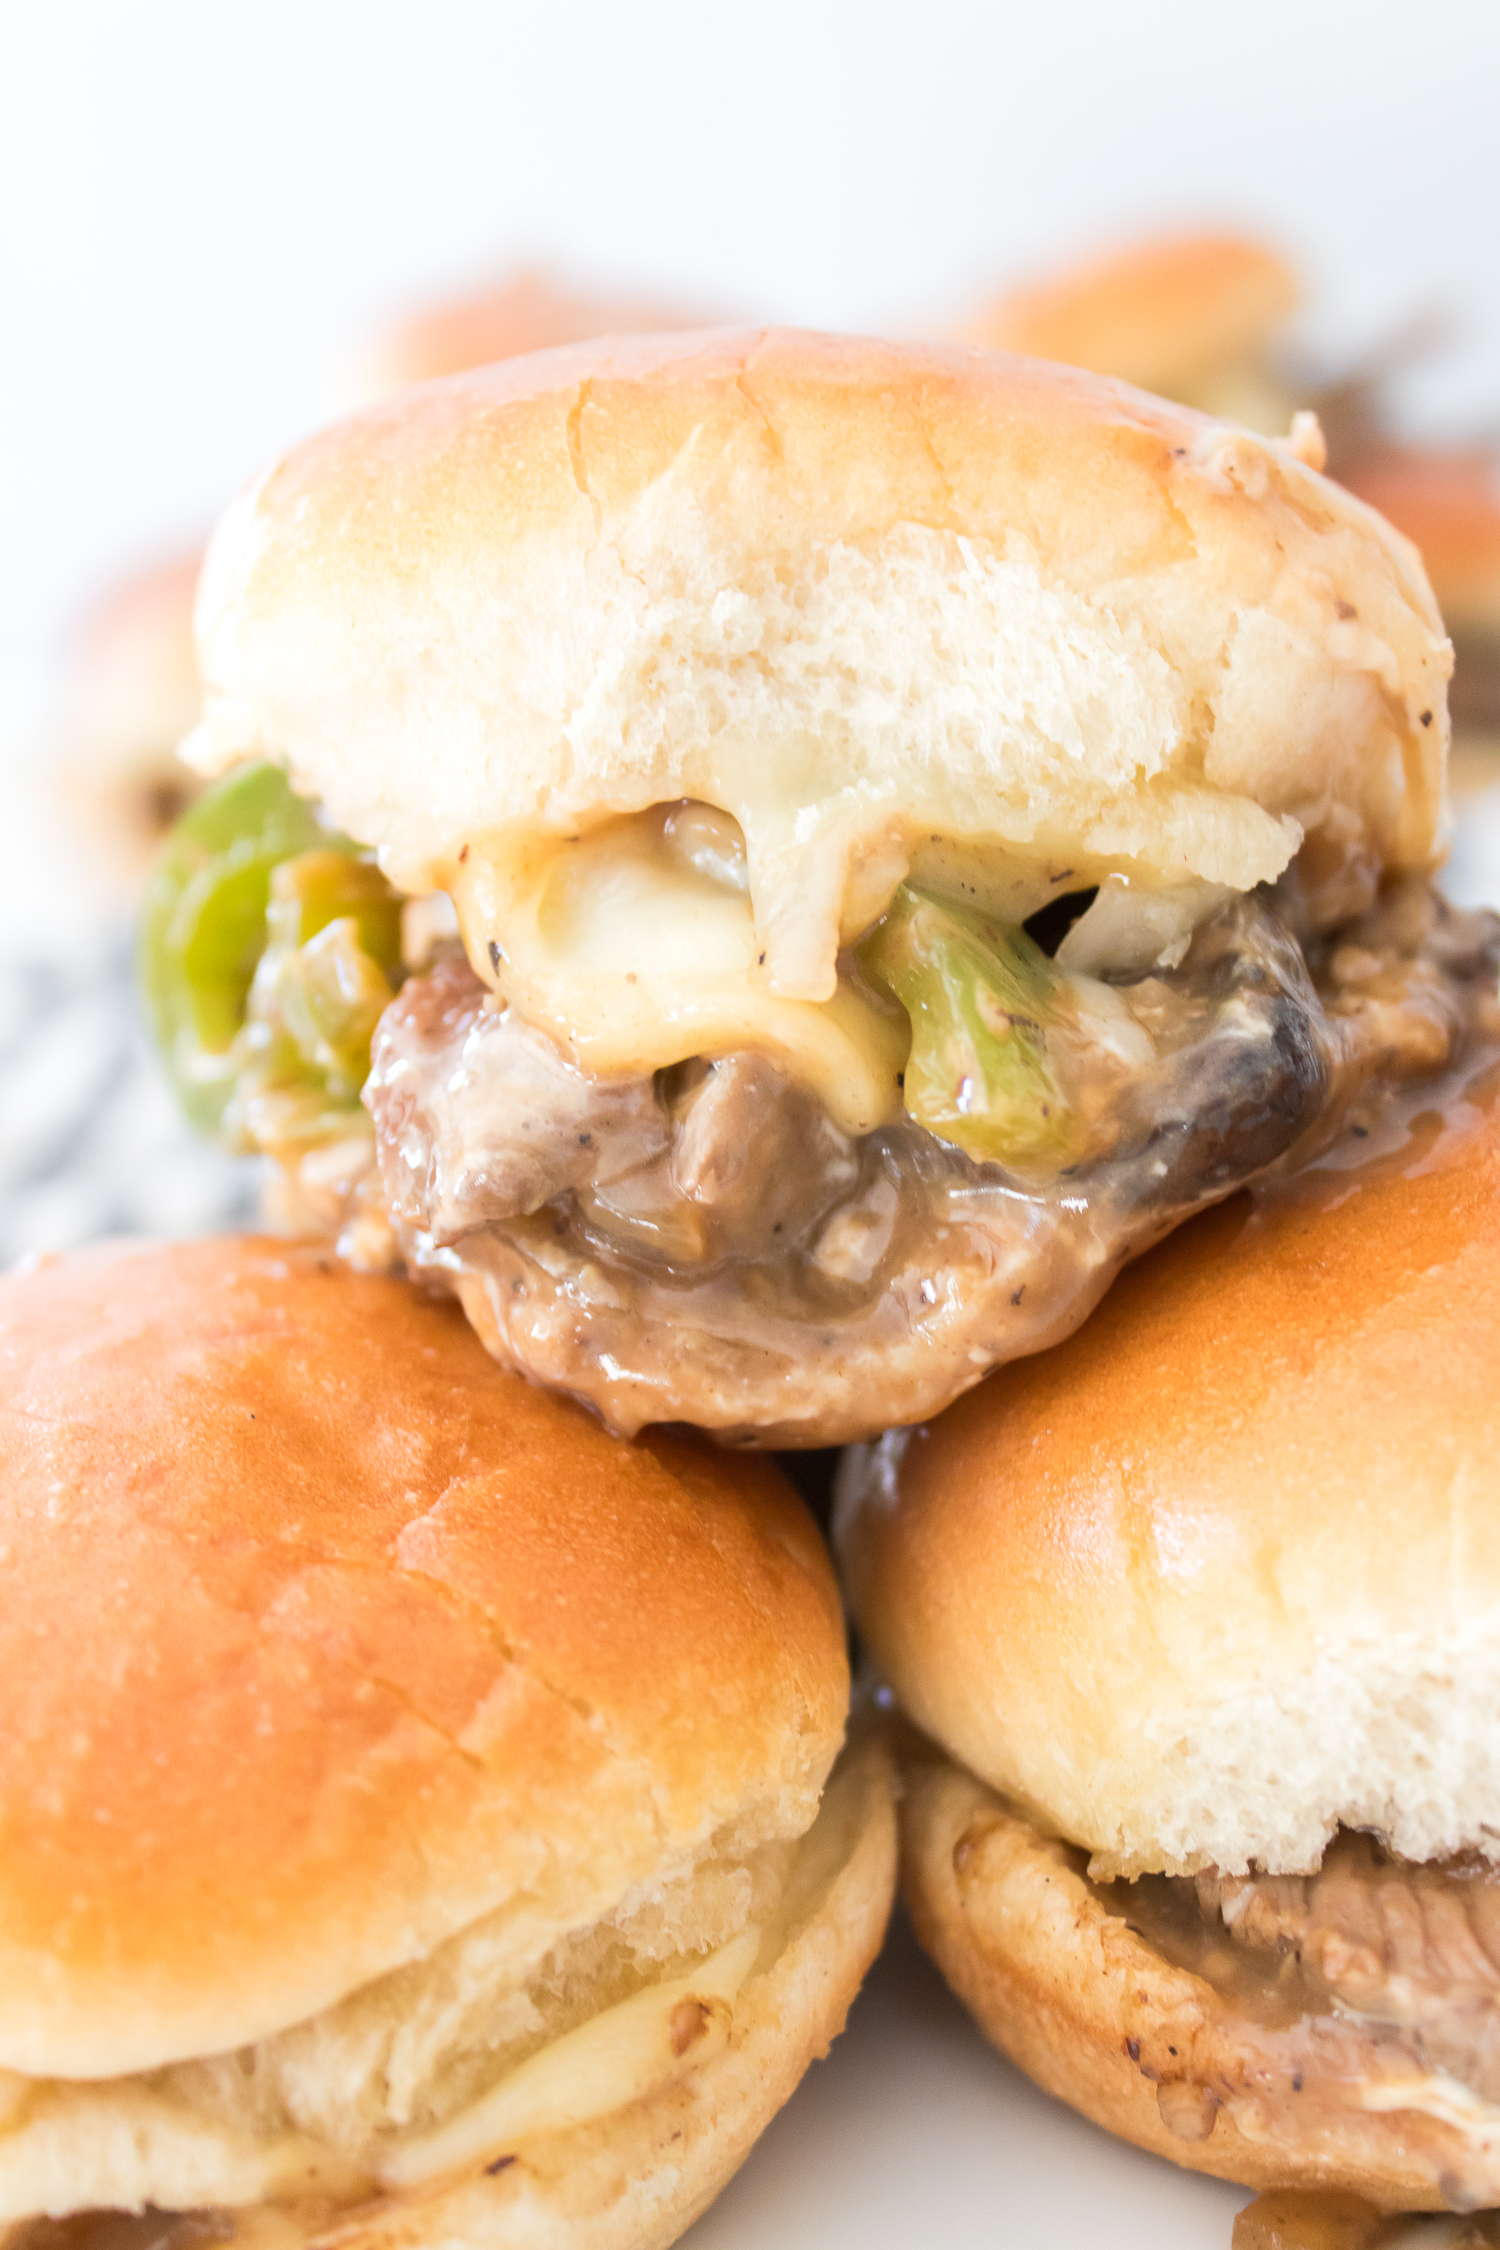
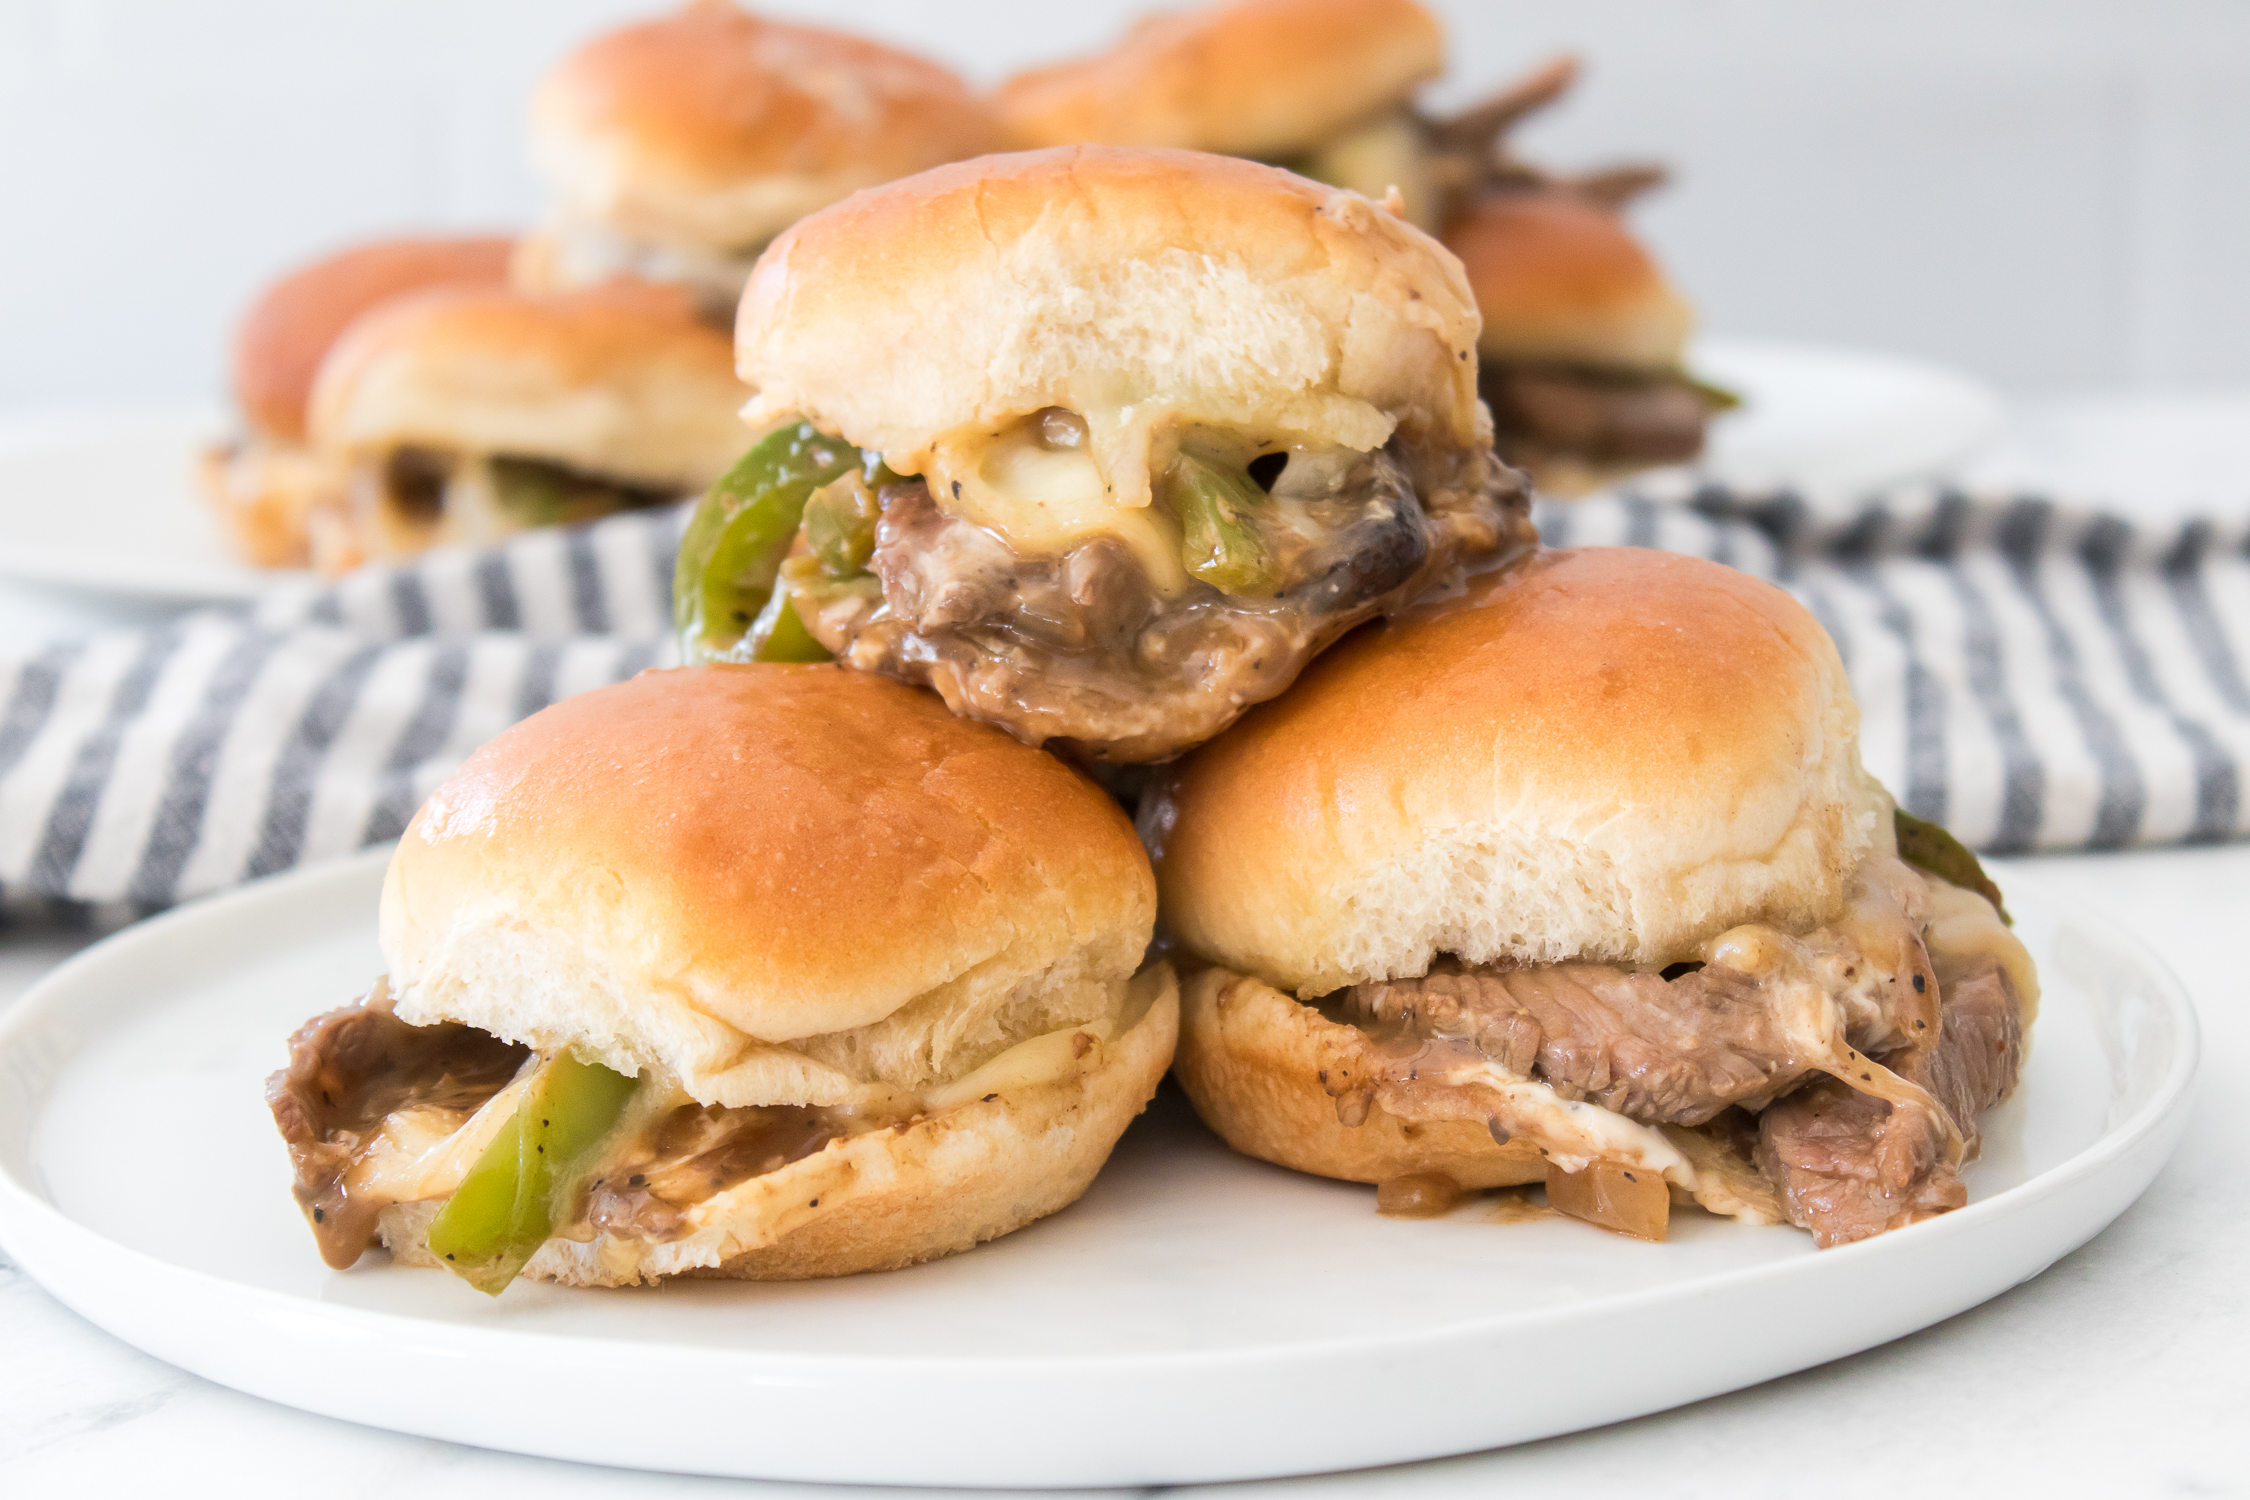
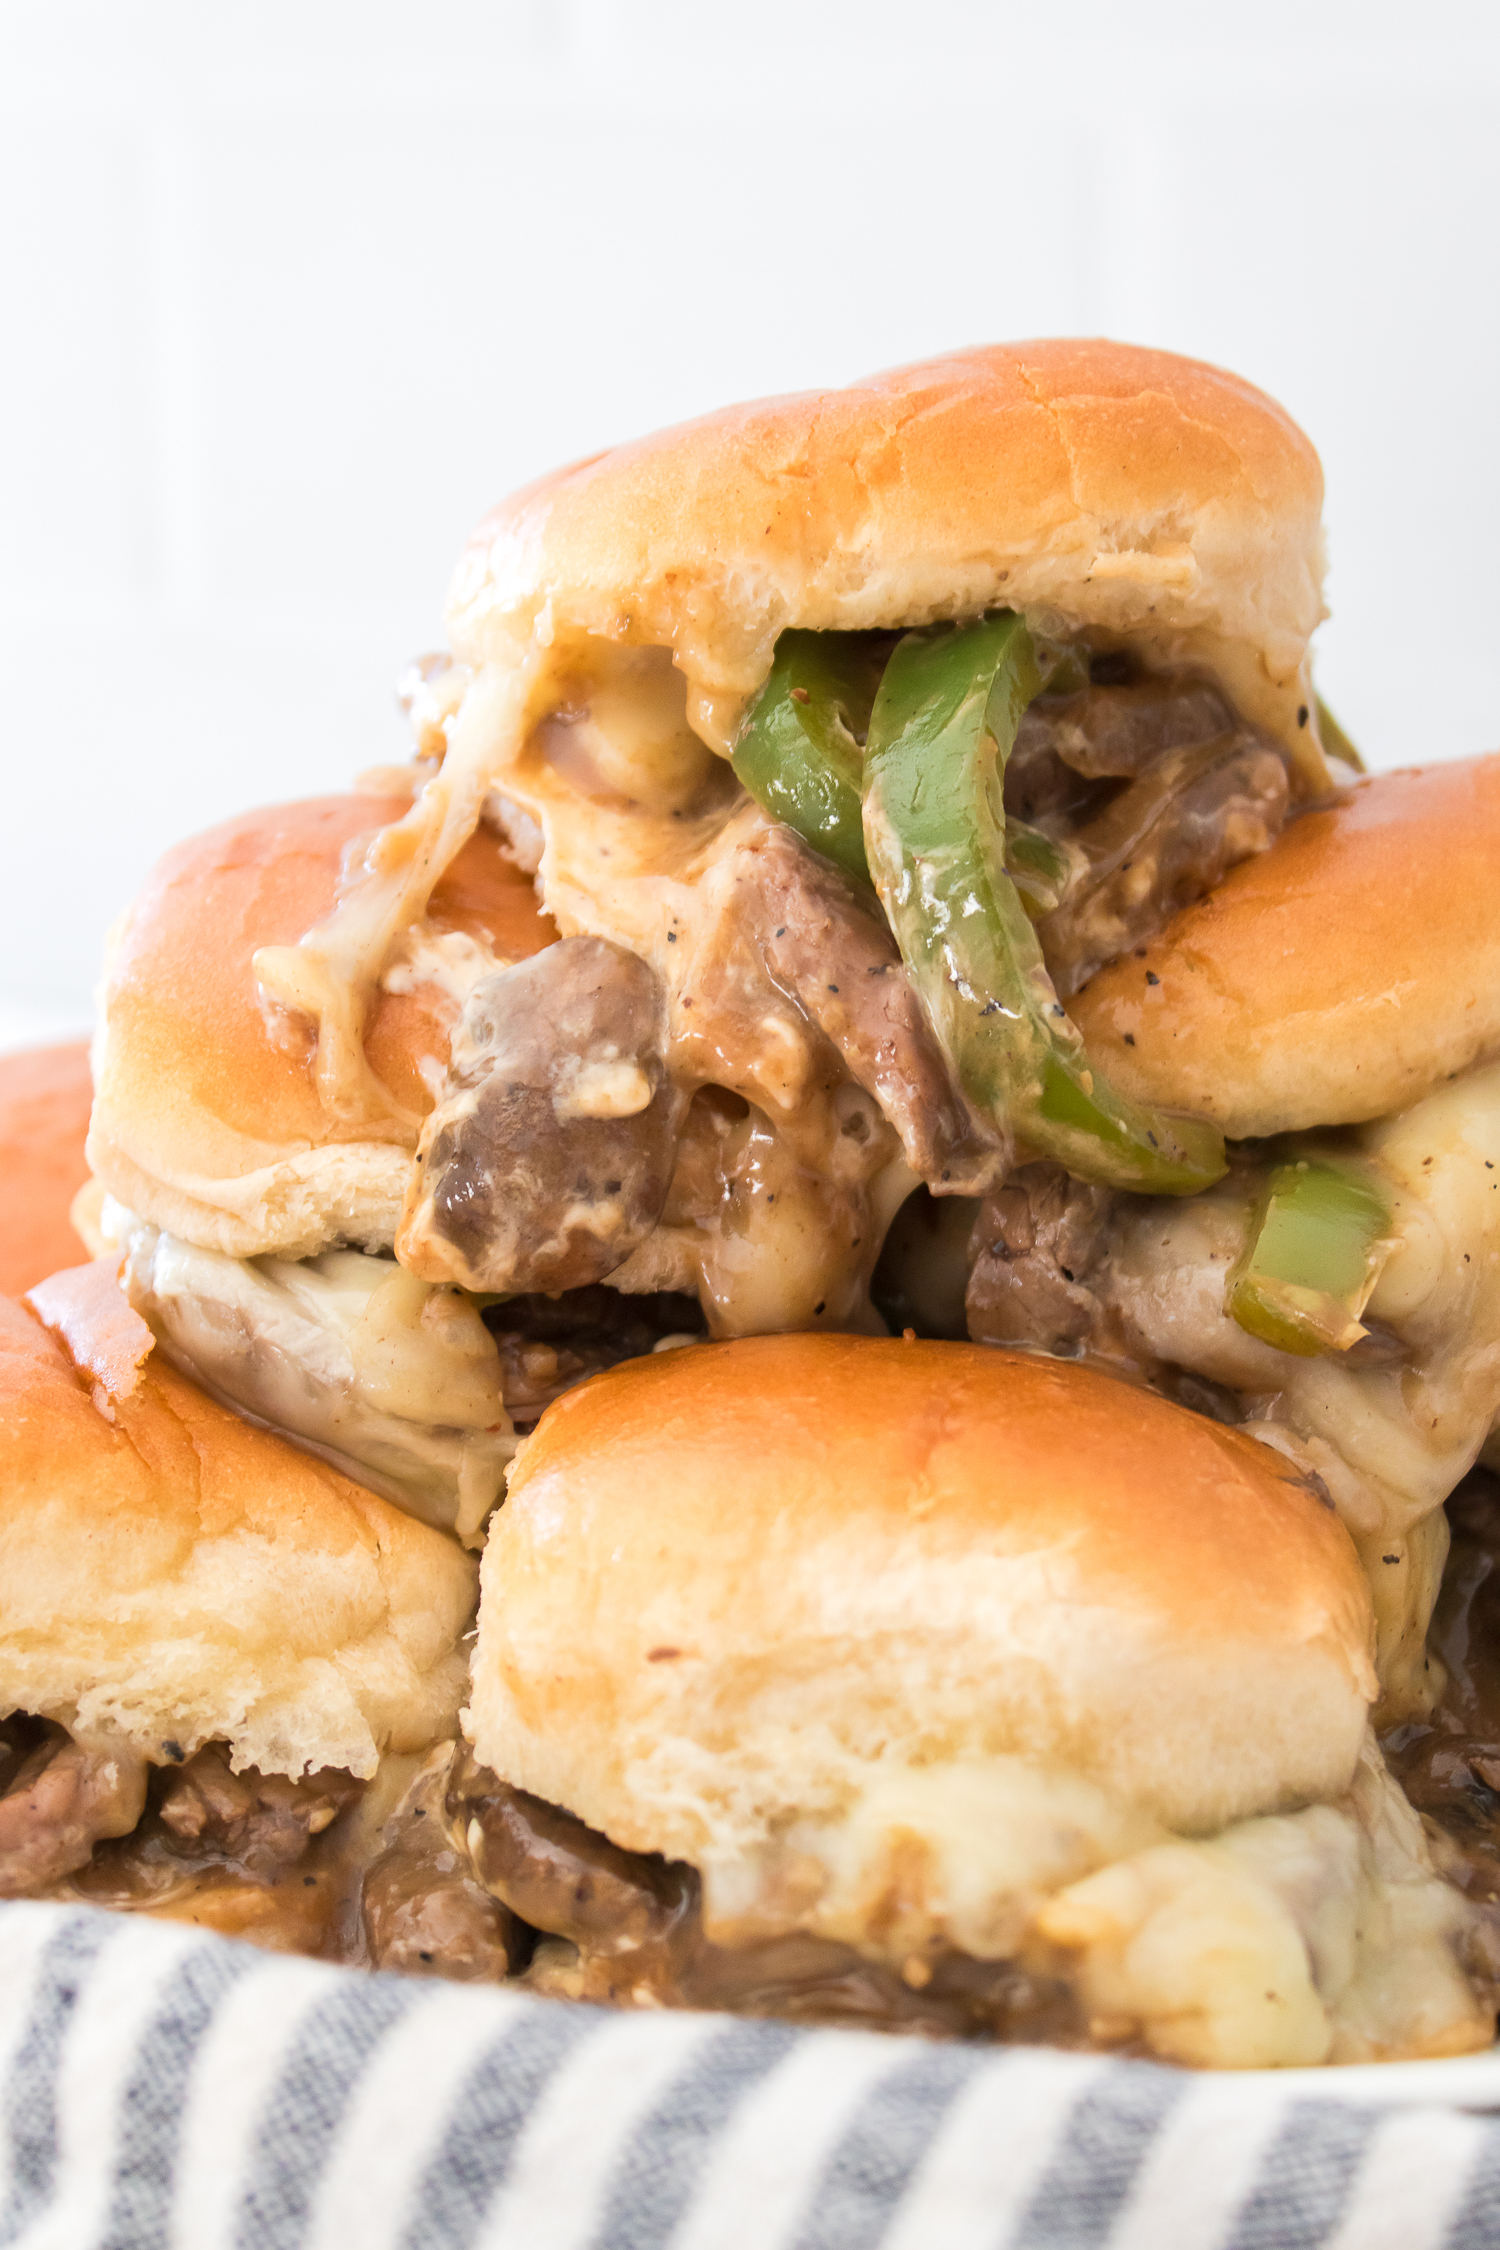
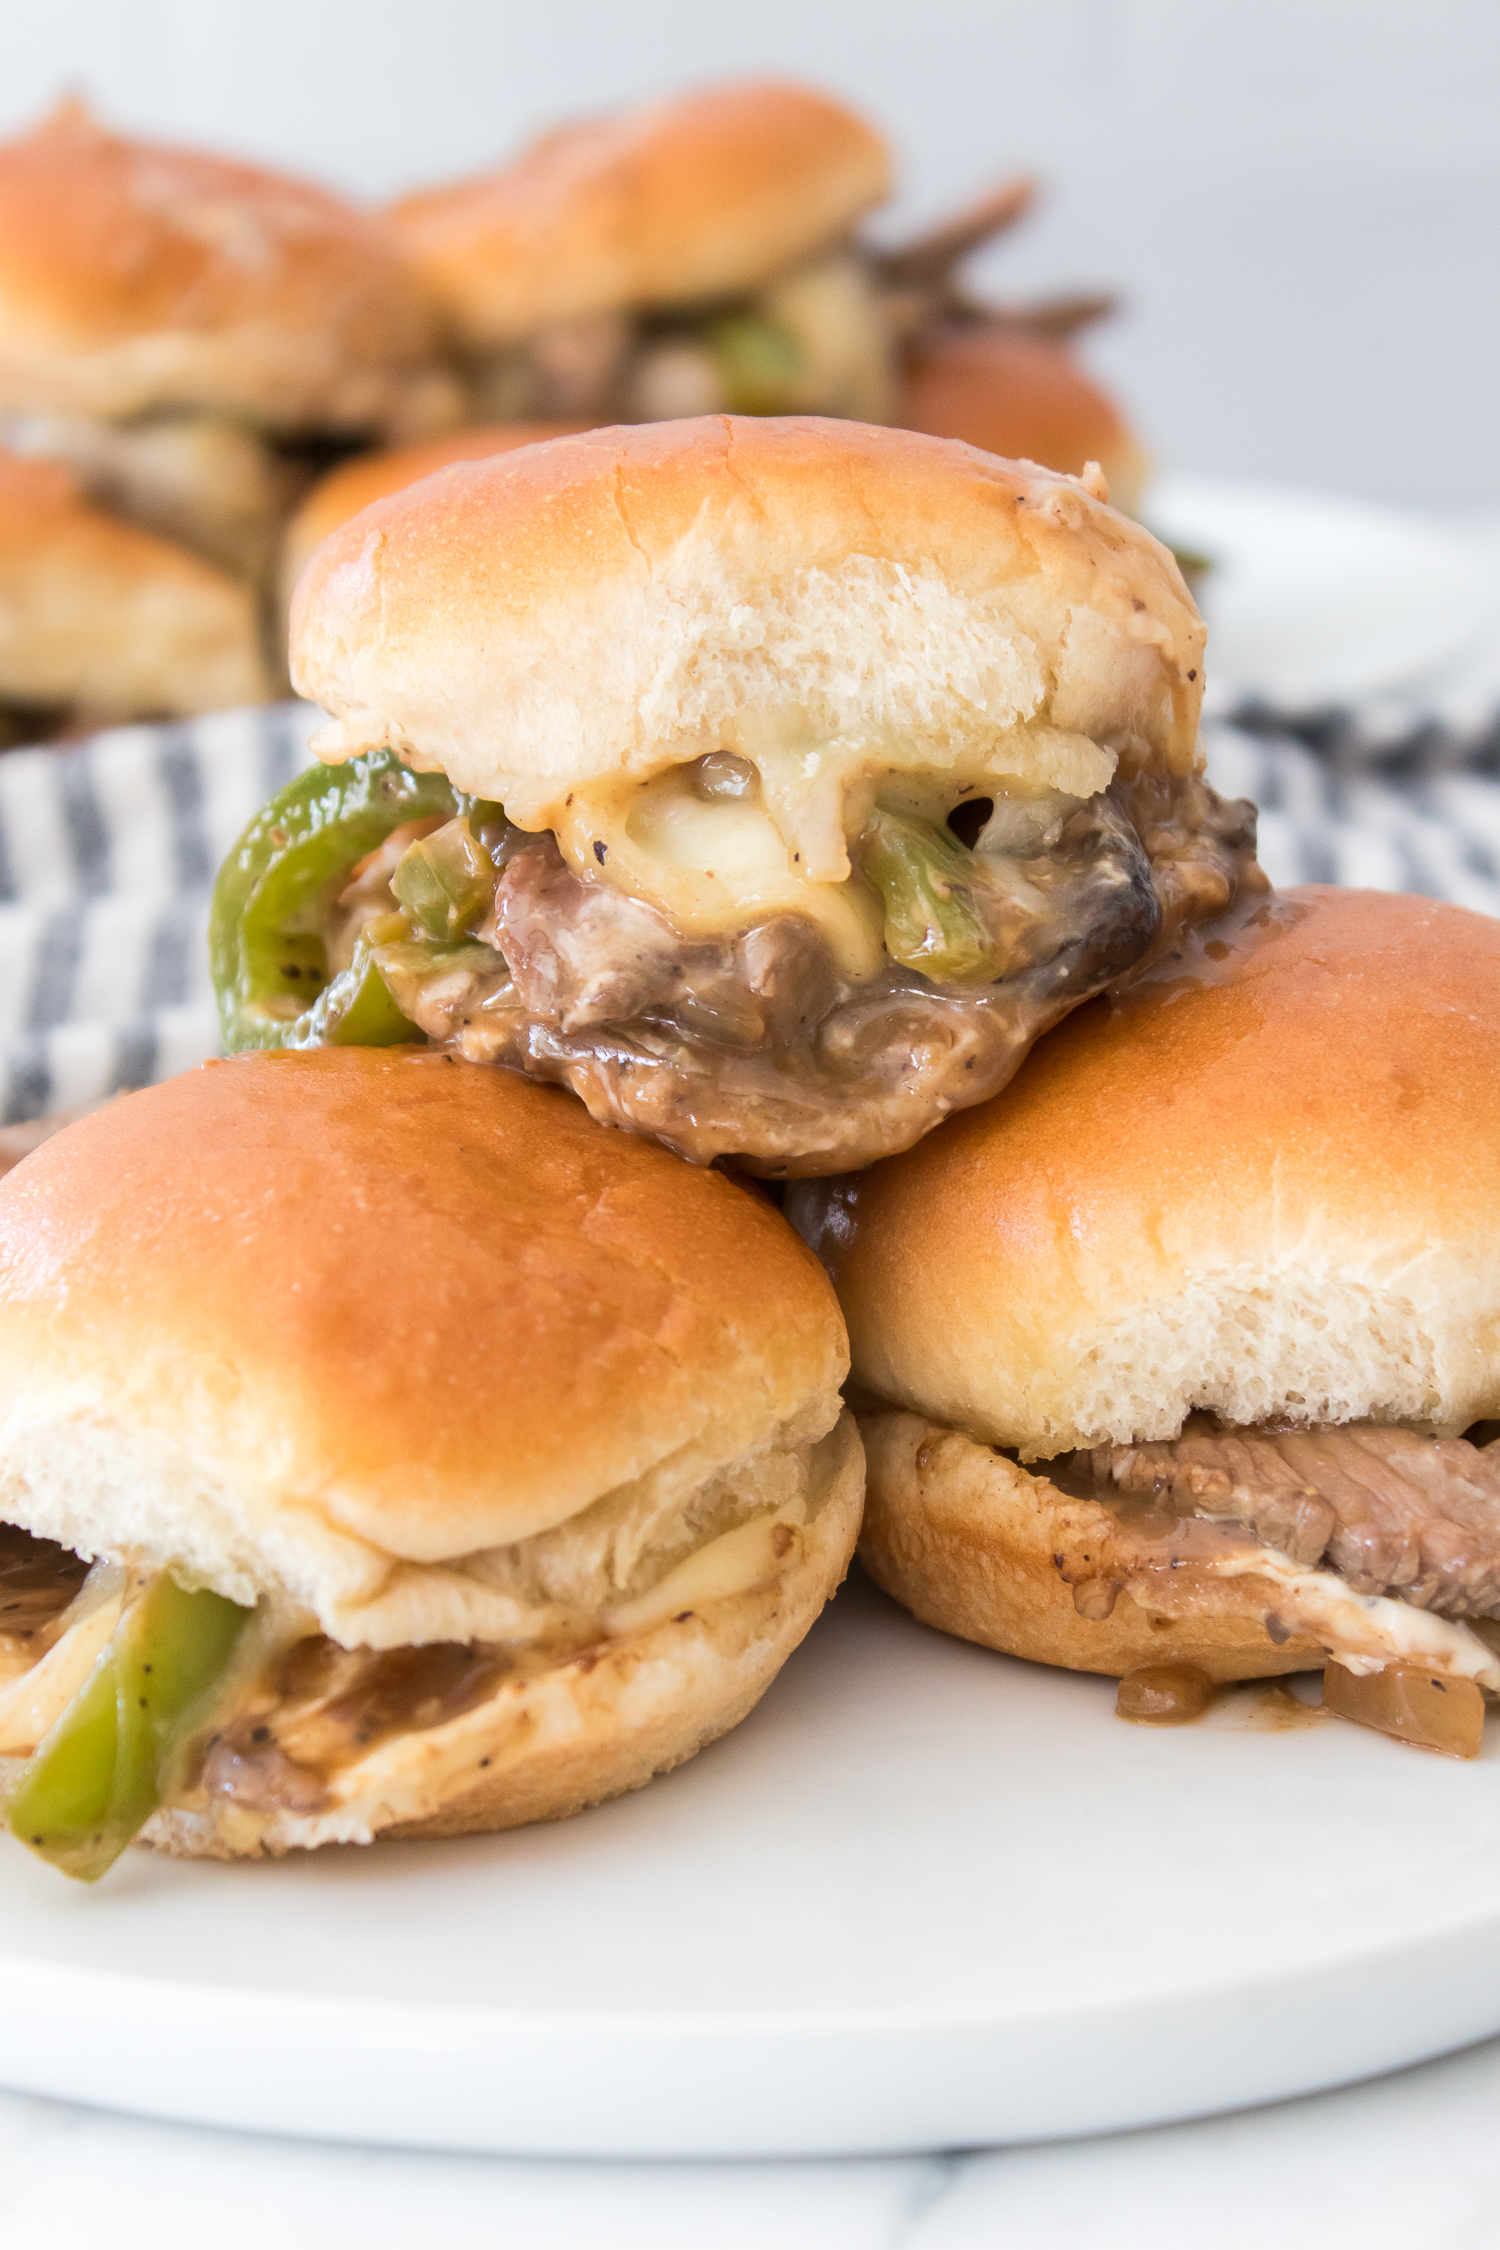
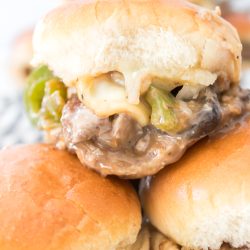
Philly Cheesesteak Sliders has flavors of a classic Philly cheesesteak with the creamy texture of a melty cheeseburger. These sliders are easy to make and perfect for a quick meal or a party. They have a warm, cheesy filling with seasoned meat and soft, toasted, buttery buns.
Philly Cheesesteak Sliders
What is a sliders?
“A slider is an American term for a small sandwich, typically around 2 inches across, made with a bun or dinner roll. Sliders can be served as hors d’oeuvres, snacks, or entrées. They have become a popular game day appetizer in the United States.” (source)
PMc says:
For an easier way to prepare these sliders, use pre-cooked meat (like leftover pot roast) to cut down on cooking time.
Another tip is to toast the buns lightly before adding the filling so they hold up better and don’t get soggy. These little steps make a difference in texture and taste.
Ingredients
The full recipe with ingredient amounts and instructions is at the bottom of this post. You can save a tree and the recipe to your personal and private recipe box here on Call Me PMc. This way, you’ll never misplace it.
- butter melted
- Slider buns sliced in half horizontally
- Beef steaks thinly sliced, I recommend certified angus beef
- cheese, any melty cheese you like
- olive oil or
butter for more flavor - garlic minced
- green pepper, sliced
- onion, sliced
- mushrooms, slice and chopped
- salt
- ground black pepper
- brown beef gravy
- mayonnaise
Philly Cheesesteak Sliders Cooking Tips & Subs
Cook the meat until it’s browned and fully cooked, breaking it up as it cooks.
Add a little
Use a mix of cheeses for a balanced, melty texture.
If the buns start to get too brown in the oven, cover them loosely with foil to prevent burning while still keeping them warm.
Substitute chicken for beef for a change of flavors.
Philly Cheesesteak Sliders FAQ
- Can I make these sliders ahead of time?
Yes, you can assemble the sliders, cover them tightly, and refrigerate for up to a day before baking. - What type of cheese works best?
Any good melting cheese. Try provolone, Monterrey, Havarti, cheddar or Mozzarella. - How do I keep the buns from getting soggy?
Toasting the buns before assembling and avoiding too much liquid in the filling helps keep them from getting soggy. Or, layer the cheese on the bottom buns first. - Can I freeze leftovers?
Yes, you can freeze baked sliders. Let them cool completely, wrap tightly, and freeze for up to a month. Reheat in the oven until warm.
Conclusion
Philly Cheesesteak Sliders are a simple, filling option for any meal. They combine the best parts of a cheesesteak and a slider into one bite-sized dish. With a few simple steps, you can have a warm, cheesy meal that’s easy to serve and enjoy.
Philly Cheesesteak Sliders
Ingredients
- 12 regular Slider buns sliced in half horizontally
- 1 and ½ pounds Beef steaks thinly sliced, I recommend certified angus beef
- 12 slices cheese or equivalent, any melty cheese you like
- 3-4 Tablespoons olive oil or butter for more flavor
- 1 clove garlic minced
- 1 large green pepper sliced
- 1 small white onion sliced
- 1 cup mushrooms slice and chopped
- ¼ teaspoons salt
- ¼ teaspoons ground black pepper
- 1 cup brown beef gravy
- mayonnaise
- ¼ cup butter melted
Instructions
- Remove the thinly sliced beef steaks from the refrigerator 10 minutes before you are ready to cook them and pat them dry.

- Sprinkle them lightly with salt and pepper on each side. Preheat a nonstick skillet on high. Add 1 tablespoon of olive oil to the pan.
- Place the steaks in the pan and sear for 30 to 60 seconds. Carefully flip the steaks over and sear the other side for 30 to 60 seconds. Do not overcook.
- Remove the steaks from the pan and allow to rest on a plate for about 5 minutes.
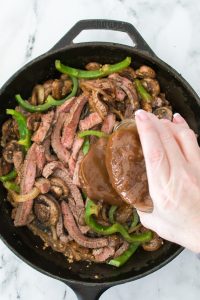
- Slice the steak into thin strips and set aside.
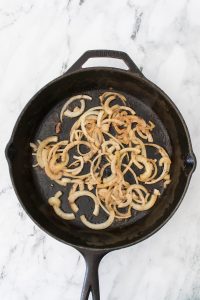
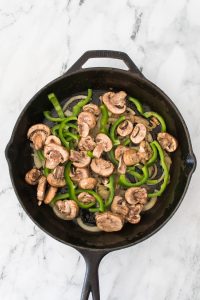
- Heat 3 tablespoons of olive oil over medium heat in the same skillet you prepared the steak in. Add the onion and saute for about 15 minutes. he
- Add the pepper, garlic, mushrooms, salt & pepper, and continue cooking 10 minutes.
- Add the steak back in and toss. Pour in the gravy and heat until hot.
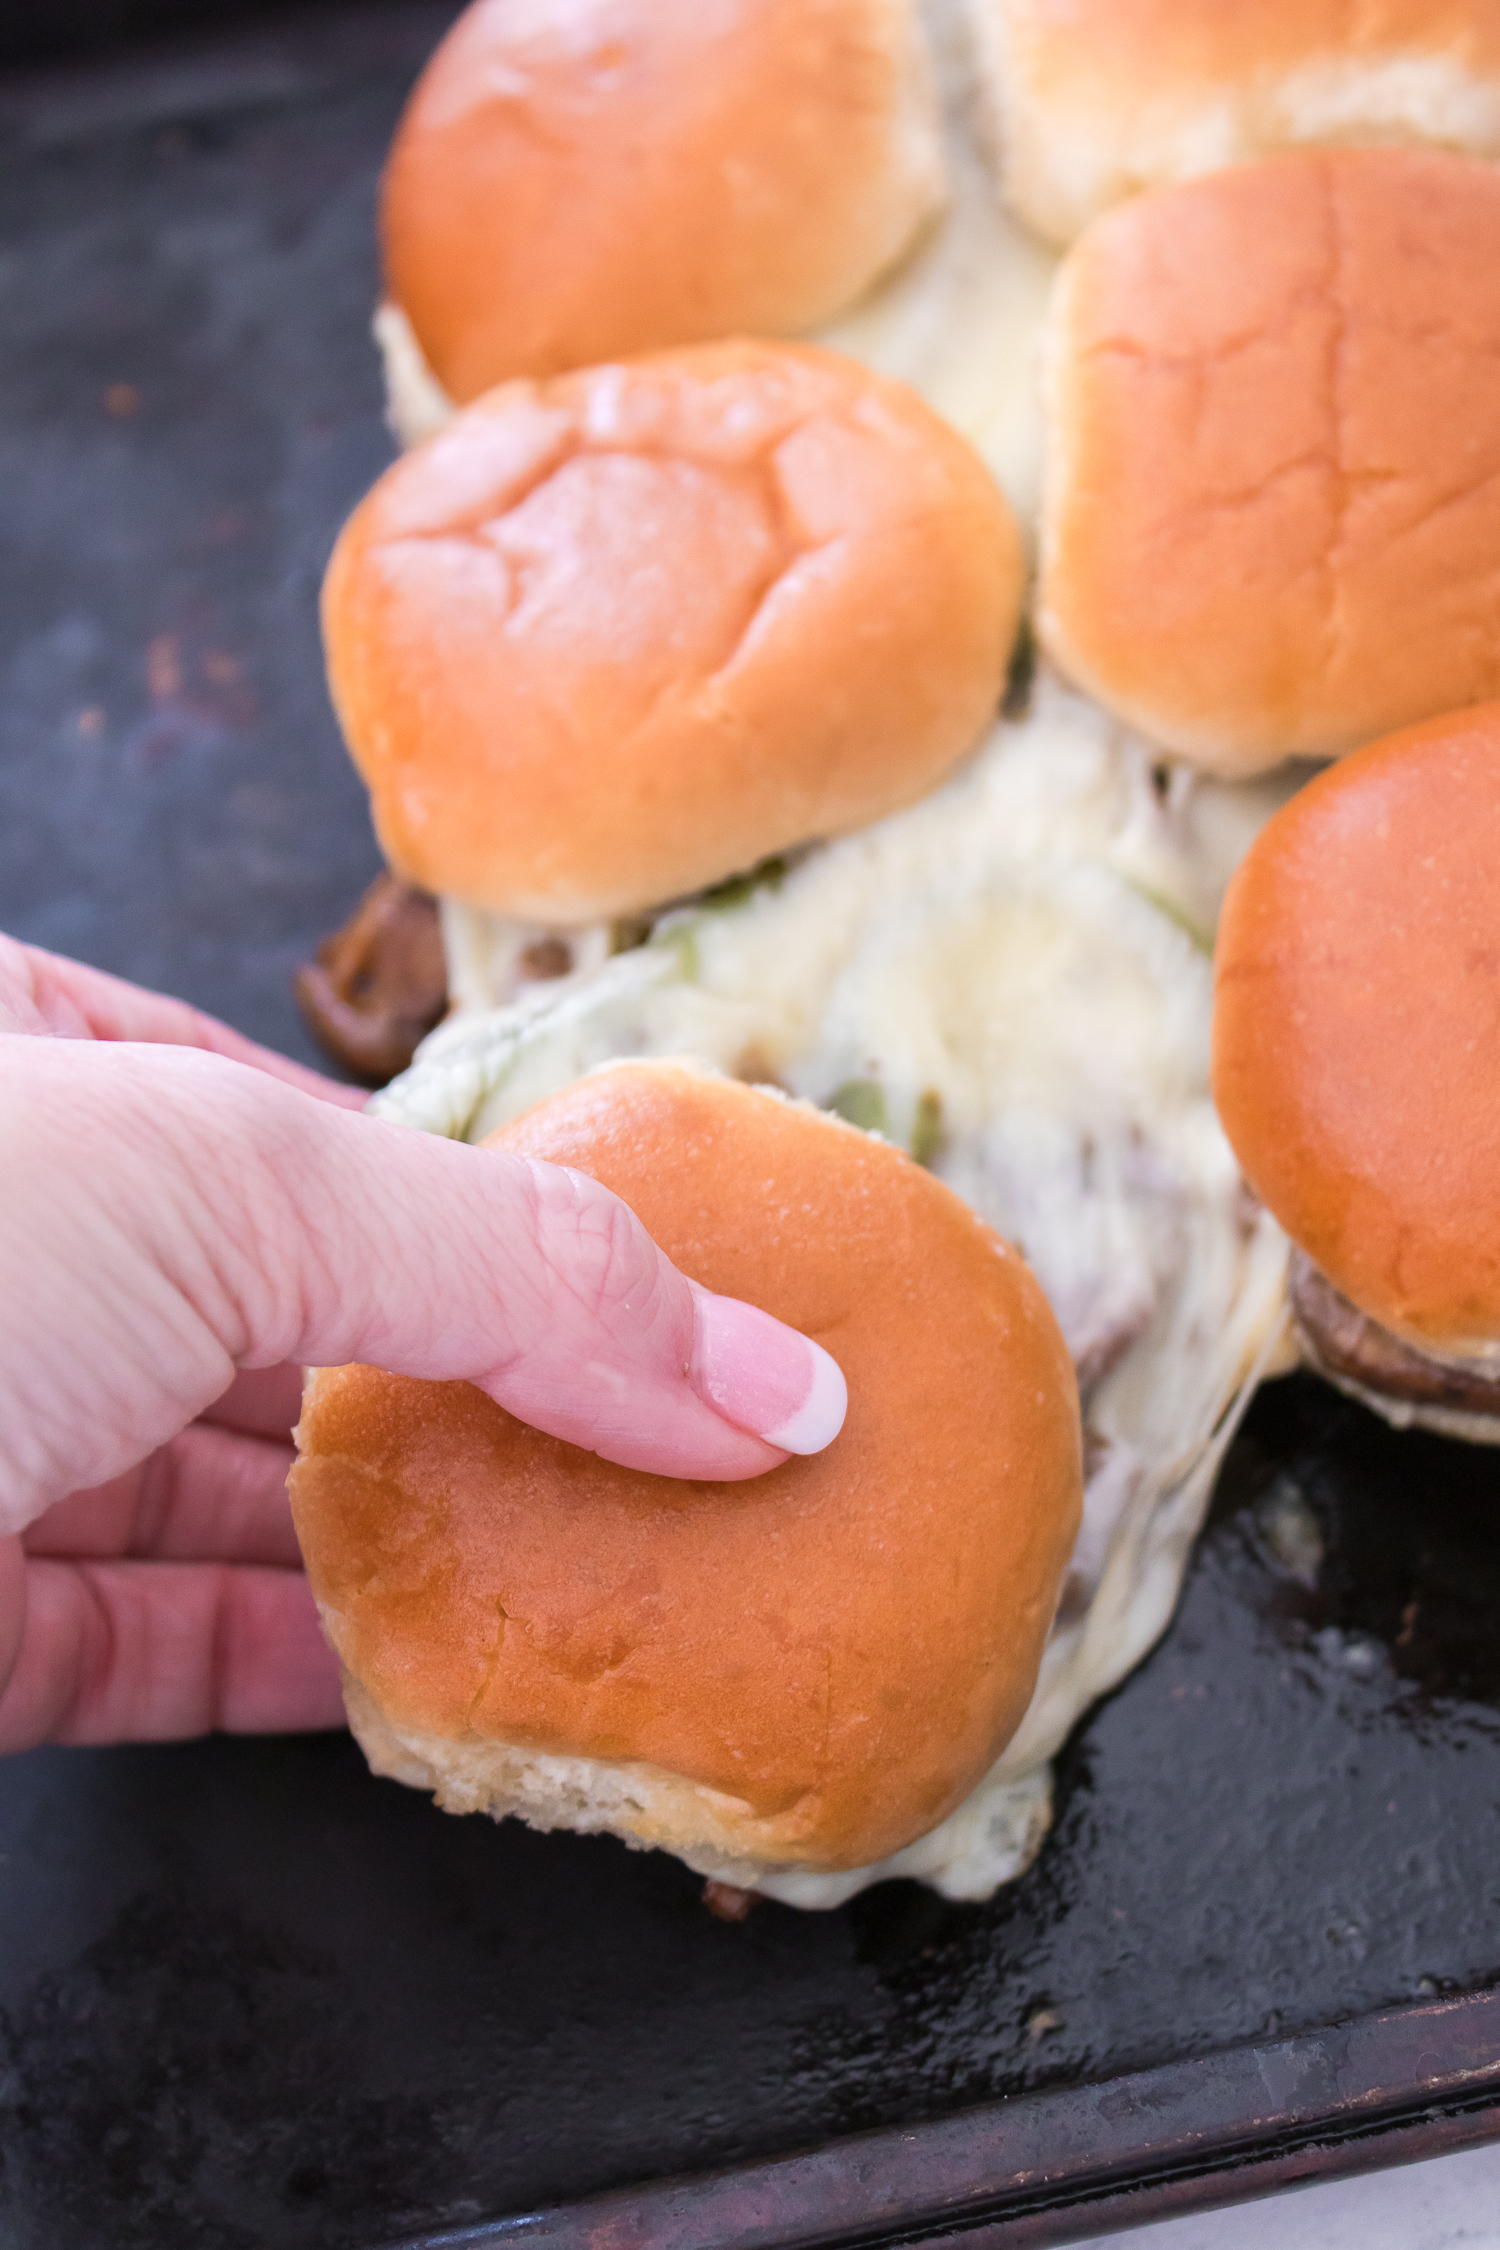
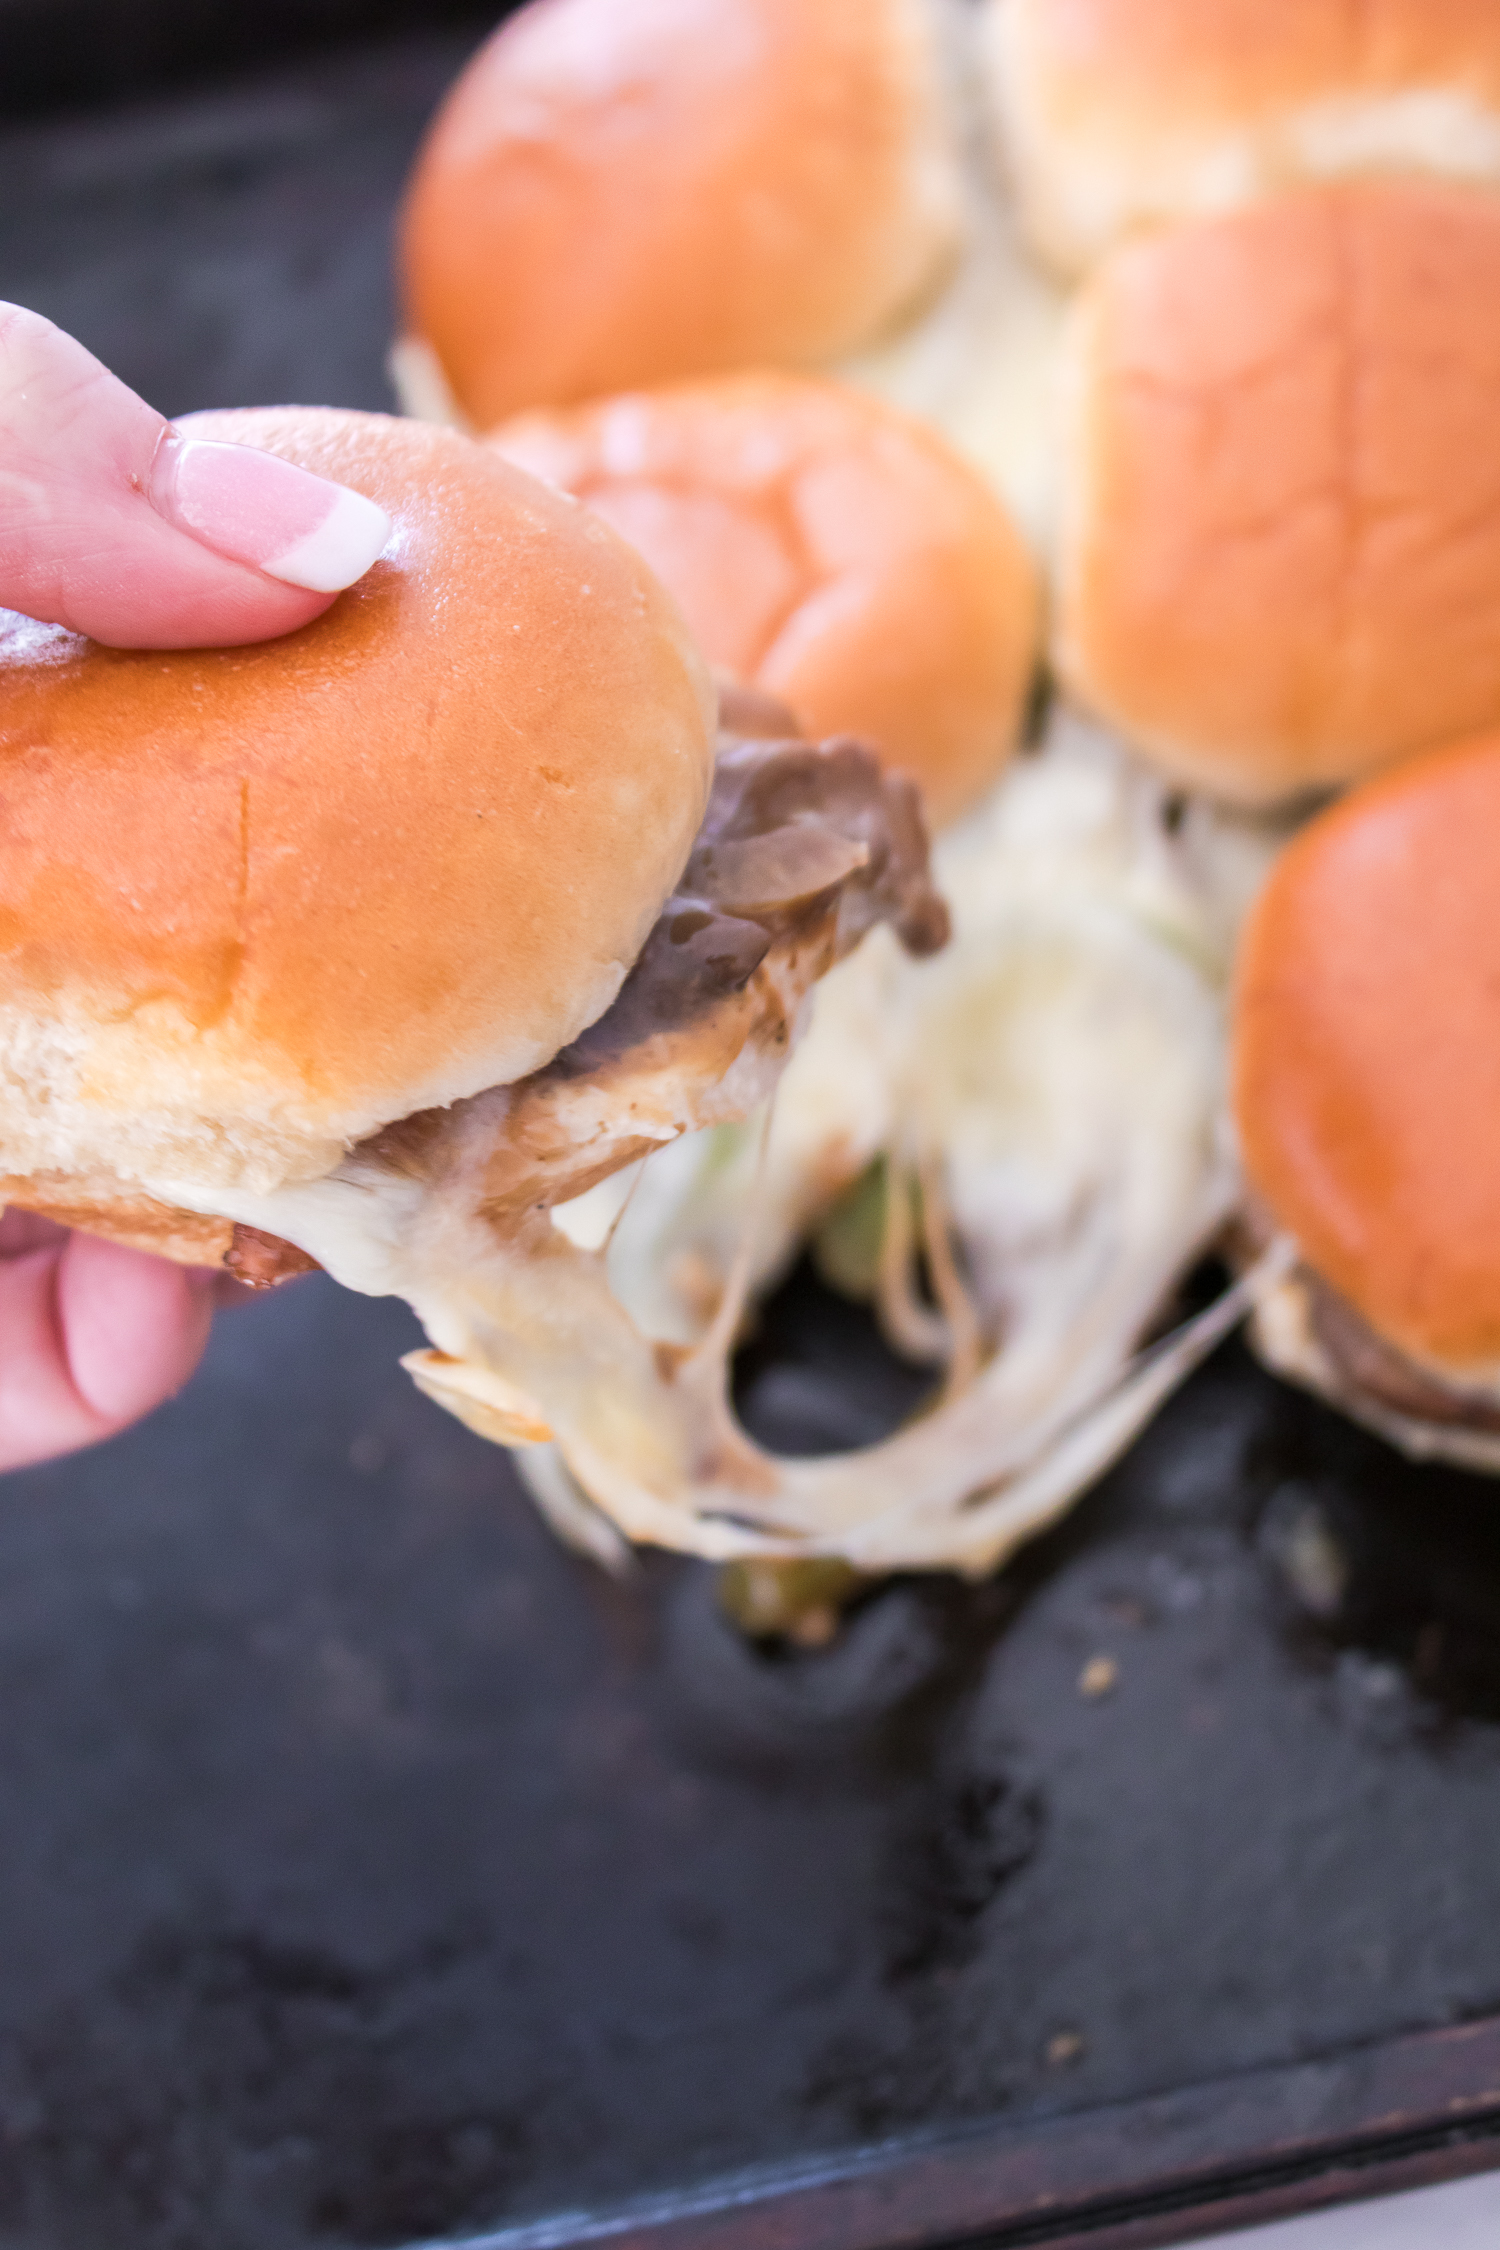
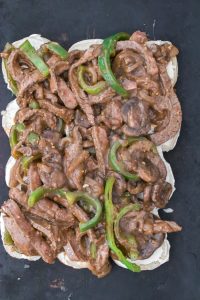
- Meanwhile, remove the tops of the slider buns and place the bottoms in a 9×13 pan. Spread a thin layer of mayonnaise on the bottoms. Spoon the veggie, beef and gravy mixture over the mayo.
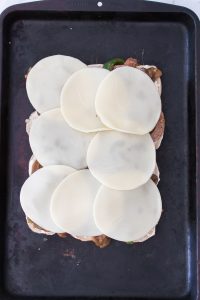
- Top with cheese slices or spoon shredded cheese on top. Put the tops back on.
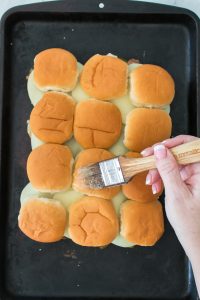
- Brush melted butter over the top of the buns. Cover the pan with tin foil.
- Bake at 350 degrees for about 10 minutes or until the cheese has melted. Uncover and cook for an additional 2 minutes or until tops are slightly browned and crisp


Nutrition
Nutritional information given is an automatic calculation and can vary based on the exact products you use and changes you make to the recipe. If these numbers are important to you, I recommend calculating them yourself.