Dutch Oven No Knead Bread
This post may contain affiliate links that won’t change your price but will share some commission.
This simple
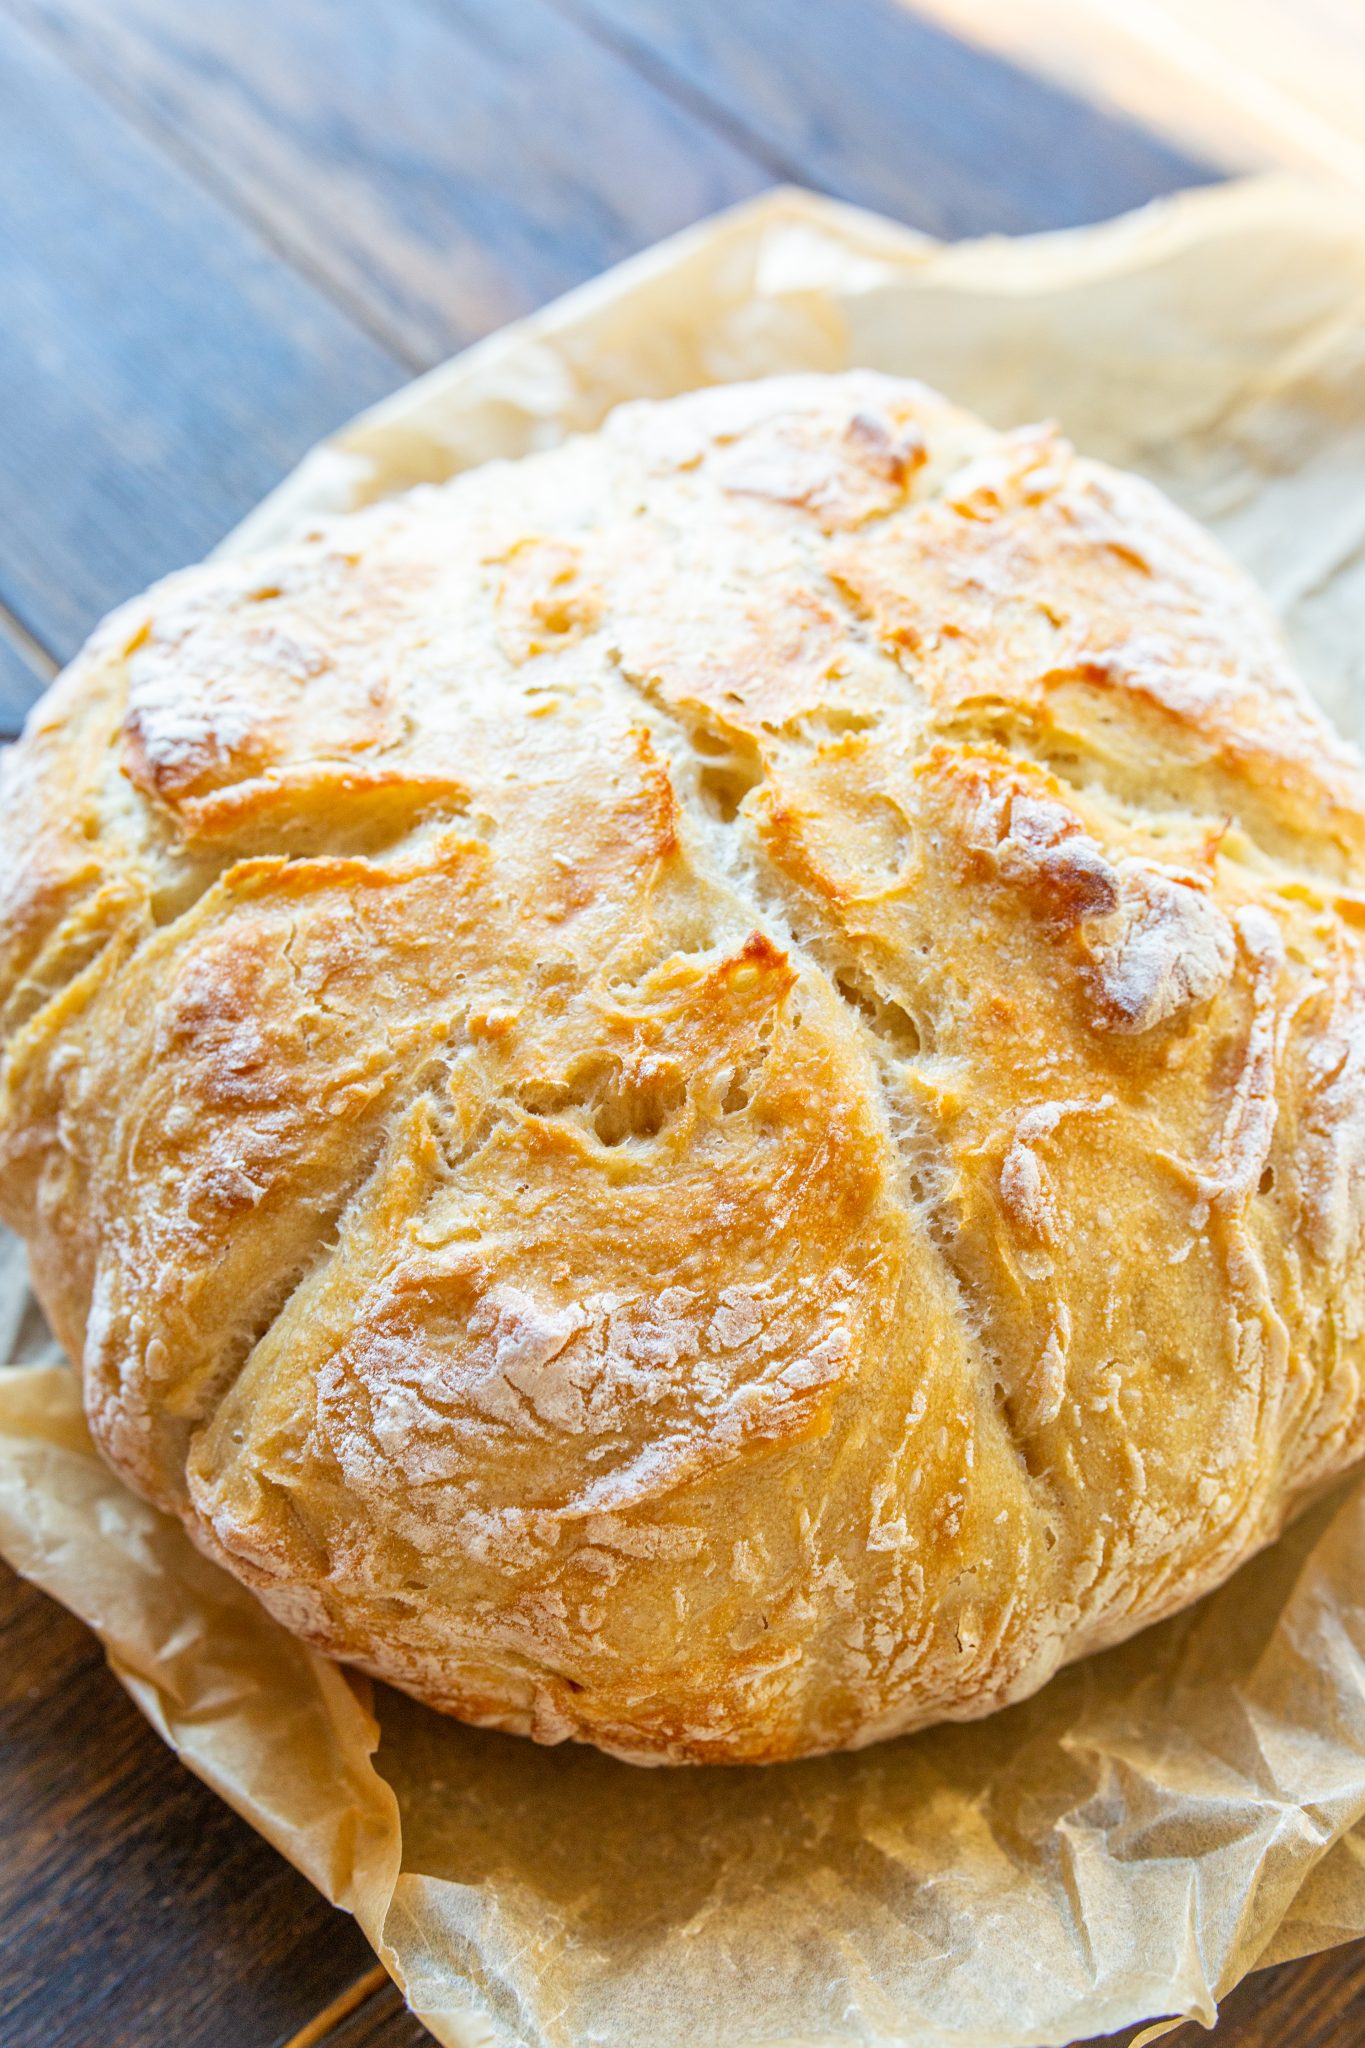

Dutch Oven Bread
Yes, you can absolutely bake bread in a
The key to making great
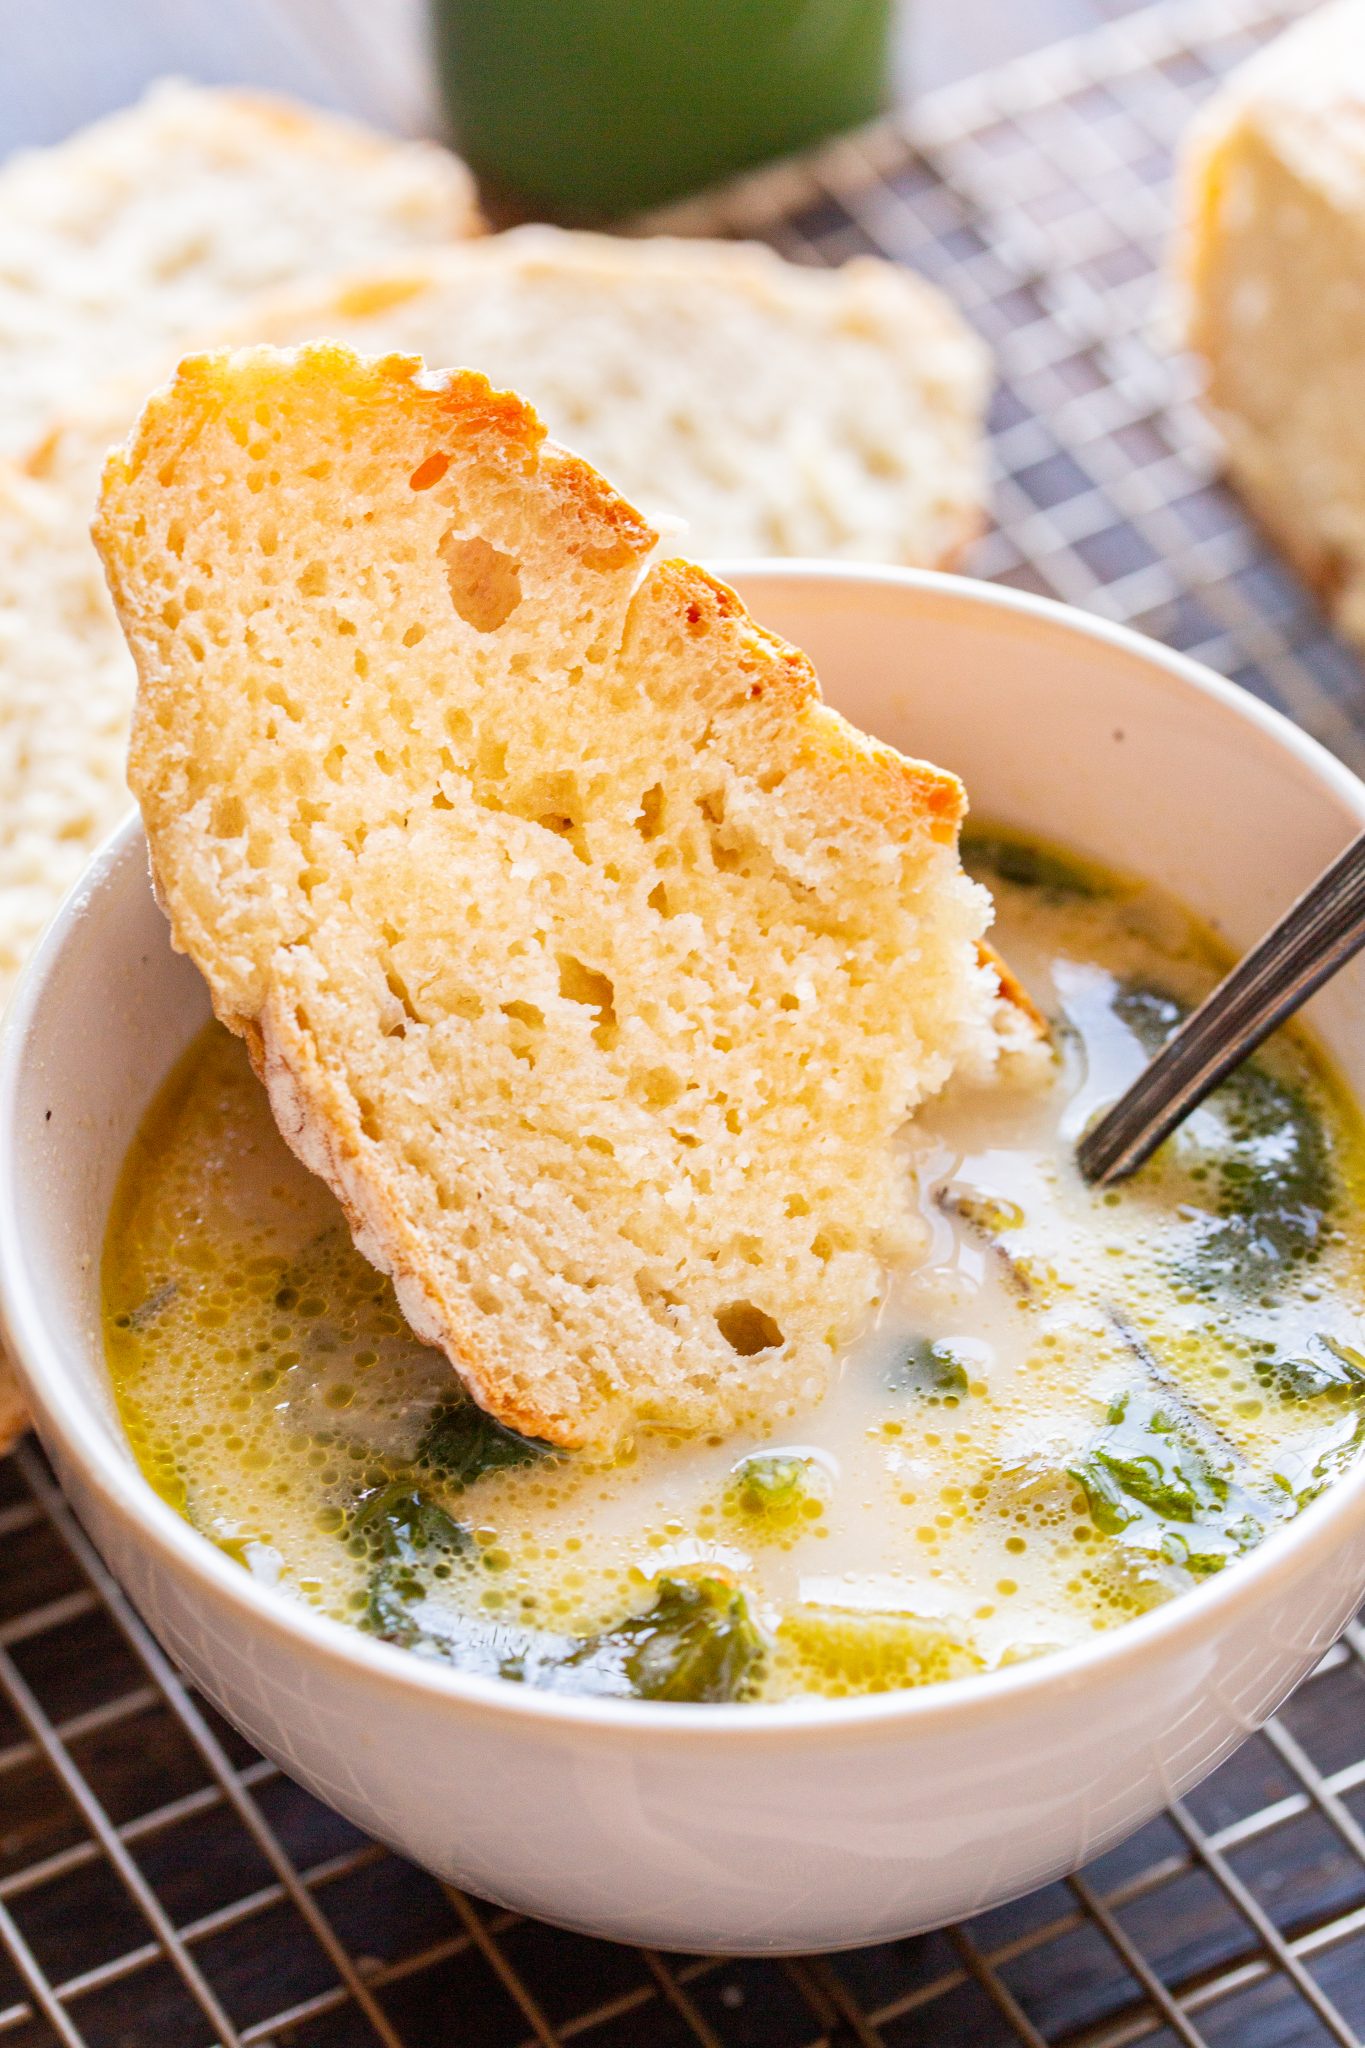
Is it Artisan Bread?
Artisan loaves are generally made by hand using longer and more traditional processes with only the most basic ingredients. Flour, water, salt and yeast are the key ingredients of most artisan breads – and a lack of chemical additives in its ingredients list is a sign that it is truly artisan. Ultimately, artisan bread is defined by the skill and time put into its production.
What is no-knead bread?
No-knead bread means combining all the ingredients until the mixture is mostly uniform. You do not need any special equipment for this, and the dough will look much more shaggy as a result. Shaggy and sticky is good in this case. A contrast to typical white bread.
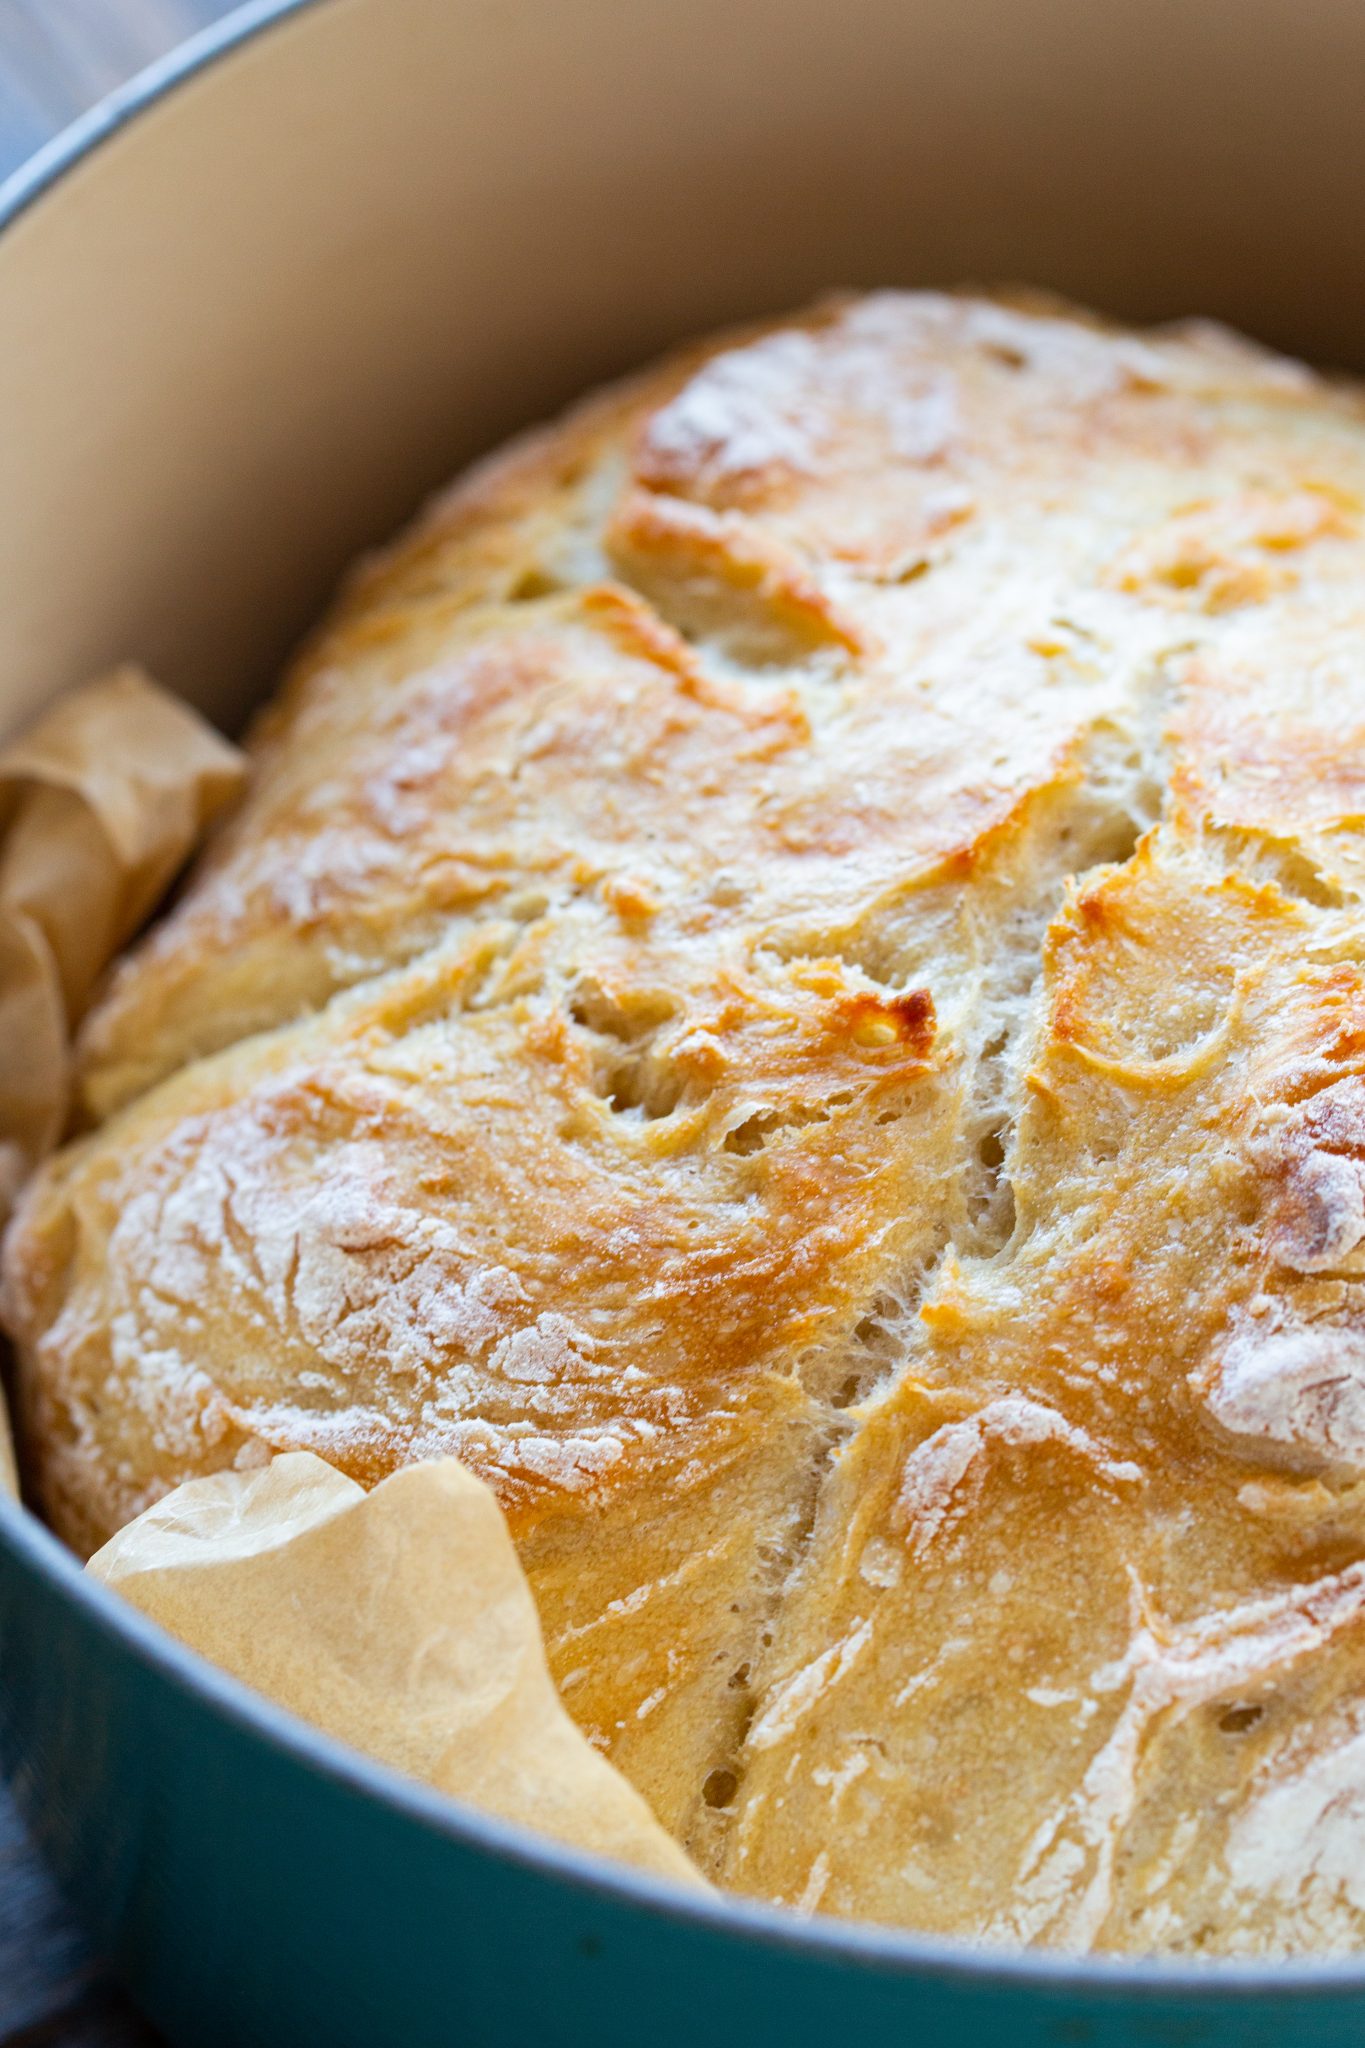
What size Dutch oven is for Dutch oven bread?
This recipe requires a 5 quart or larger. Be sure the top does not rest on the dough and stick. Make sure to use a
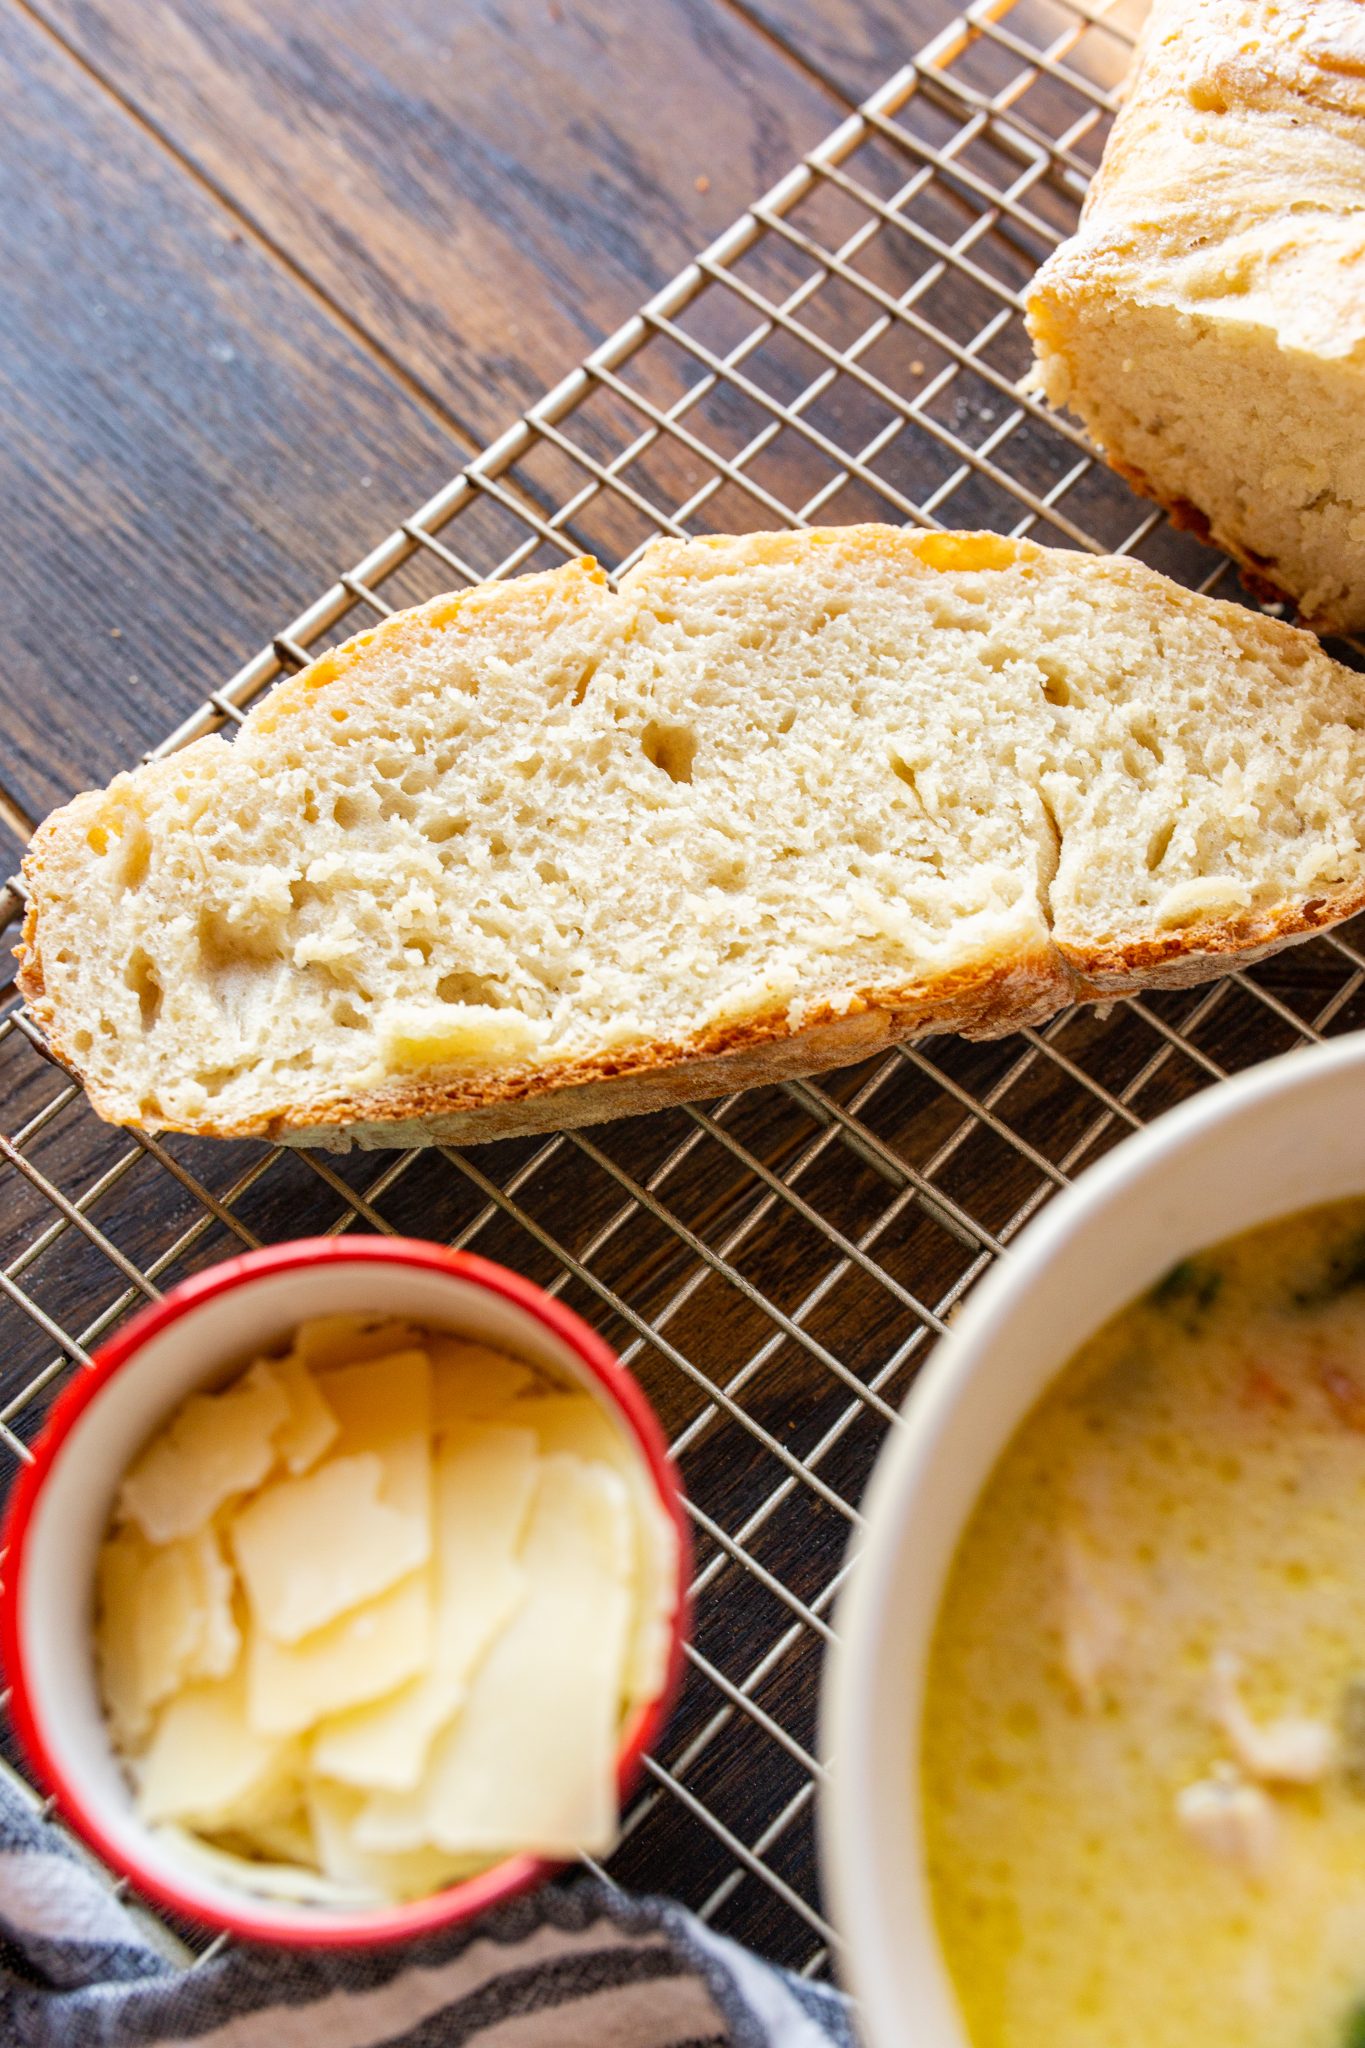
What temperature do you cook Dutch oven bread?
You’ll need to preheat the
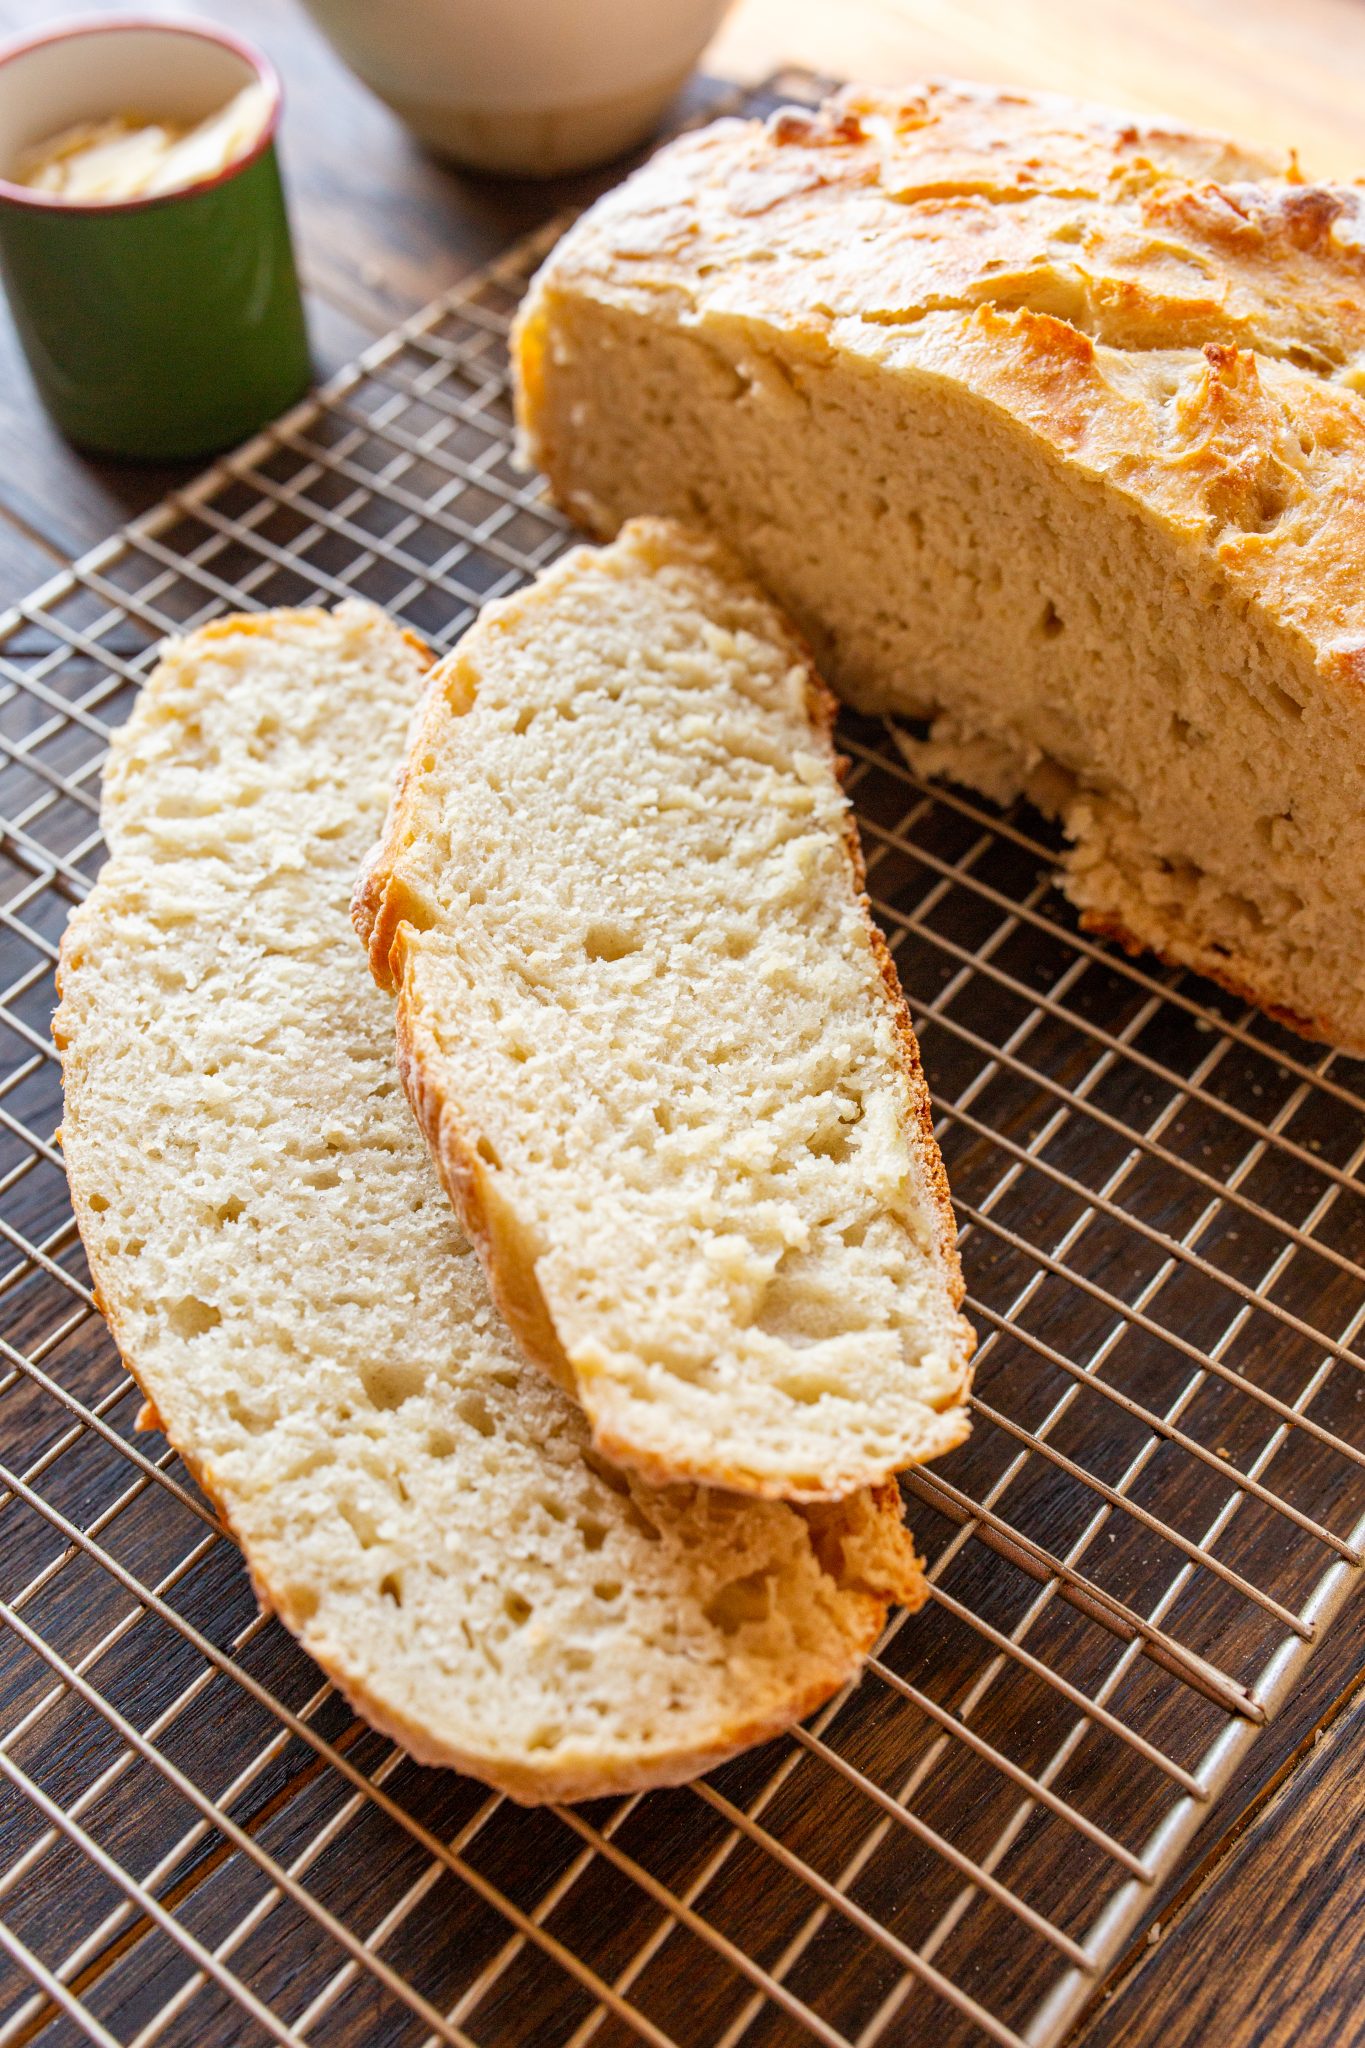
Do I need to score Dutch Oven No Knead Bread?
After placing the bread in the
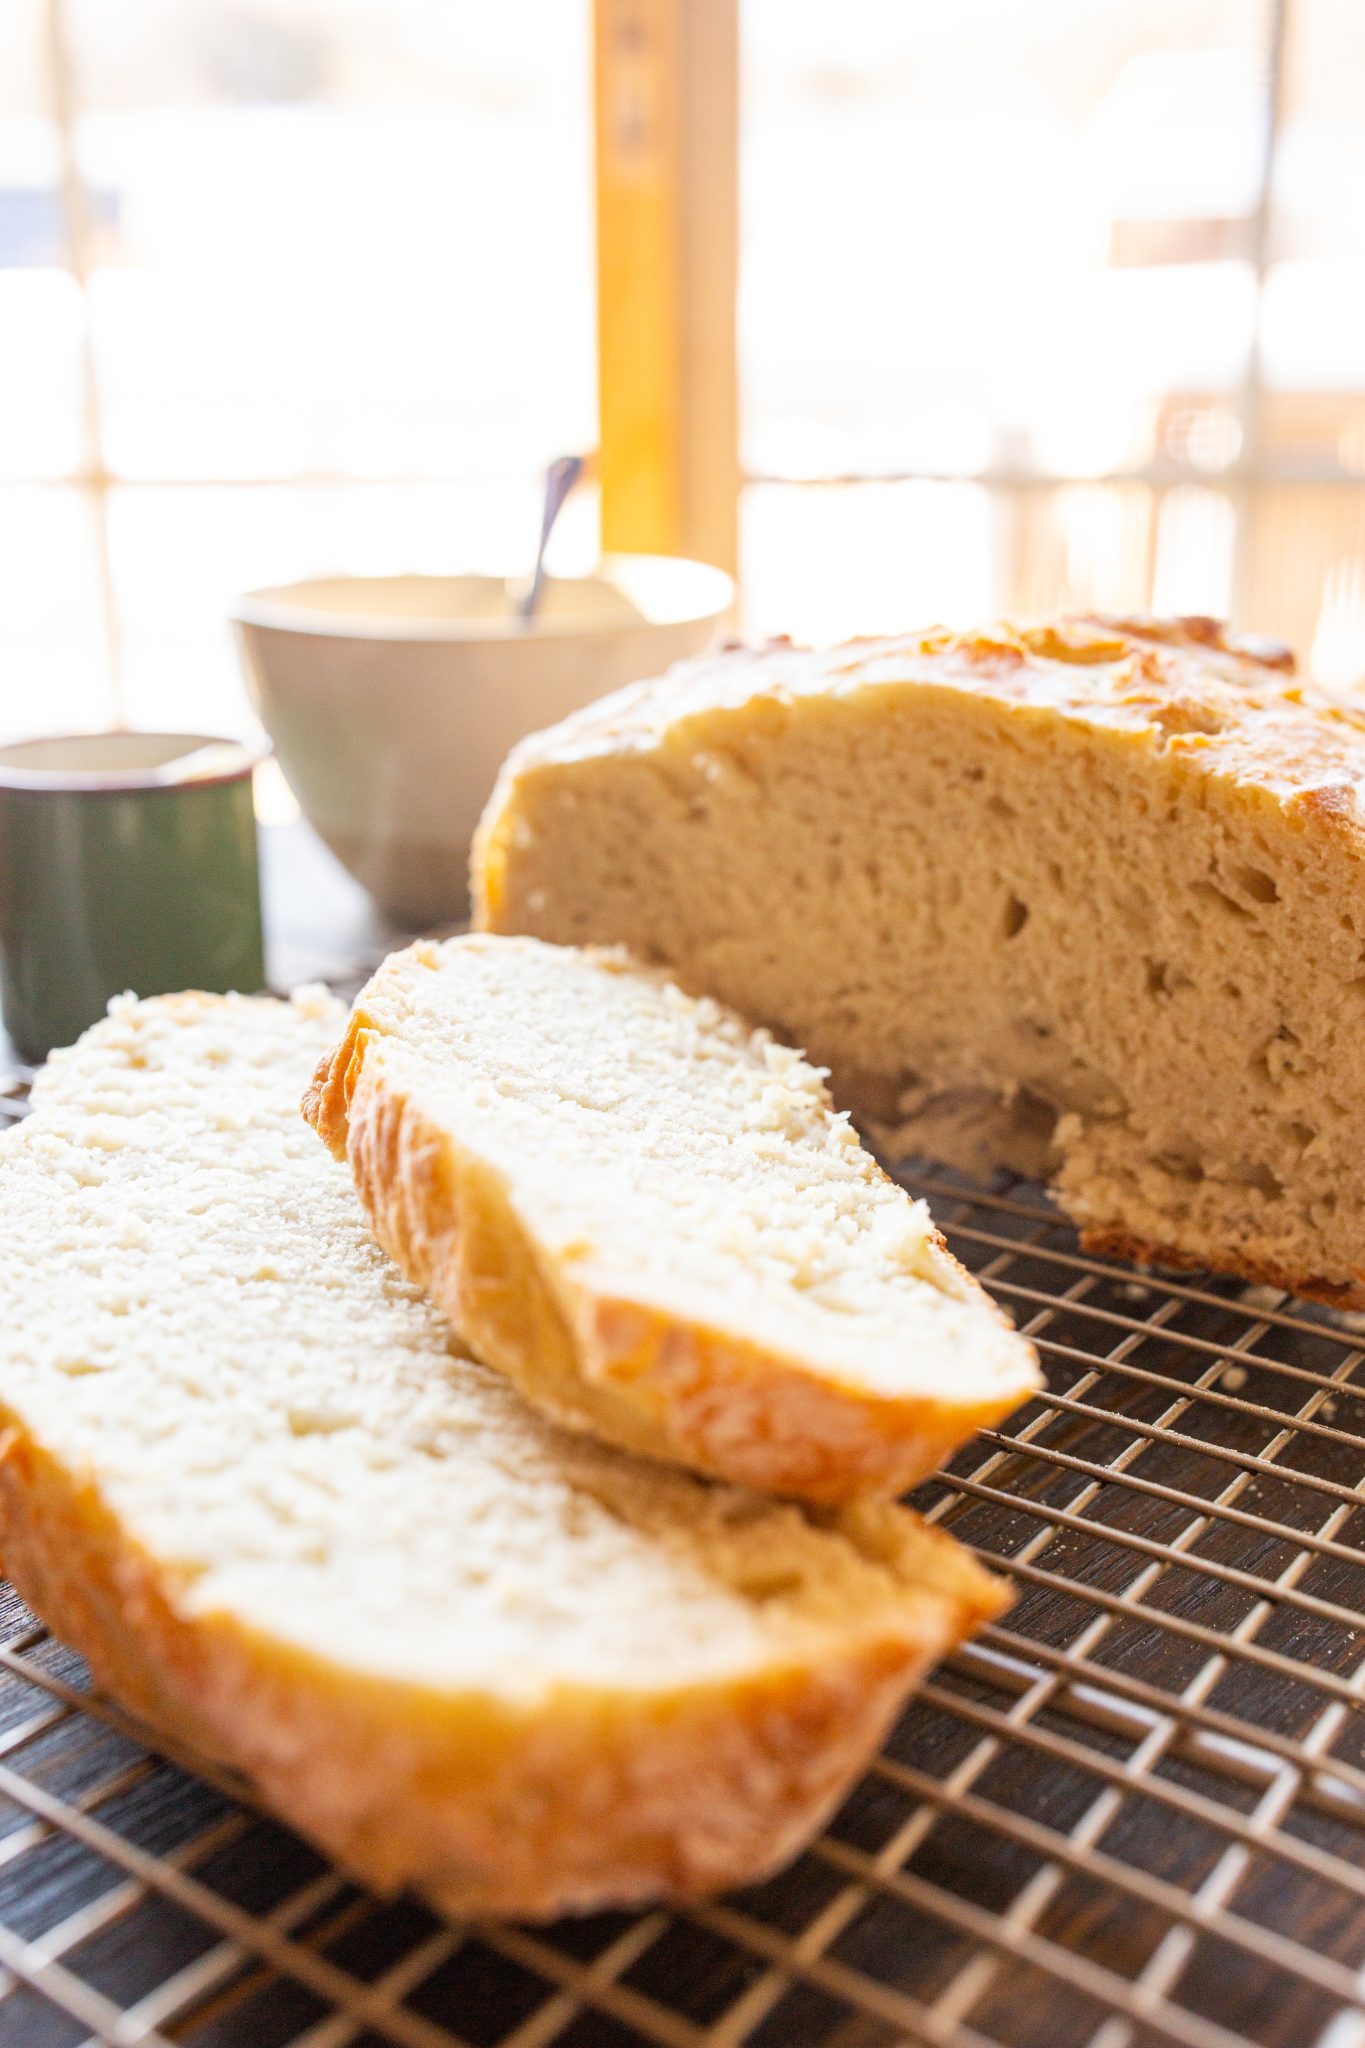
Storing Dough & Baked Bread
If you’ve run out of time in the day, we’ve all been there, this dough can last up to a week in the refrigerator before baking. Simply pull out the dough and set in a warm area of the house to allow to come to room temperature and rise again before adding it to a preheated
Once the bread is baked, wrap it in plastic wrap and store it at room temperature on the counter. It will be good for about 2-3 days. If it’s feeling a little hard, wrap it in a damp paper towel and microwave for about 30 seconds on high to bring back the moisture. Of course, toss it if there are any signs of green or mold.
If you still have a large loaf left after two days with no intention of eating it that night, consider wrapping it in plastic wrap, then into a large Ziploc bag, and freezing it! You can slice it or freeze it whole for up to 2 months.
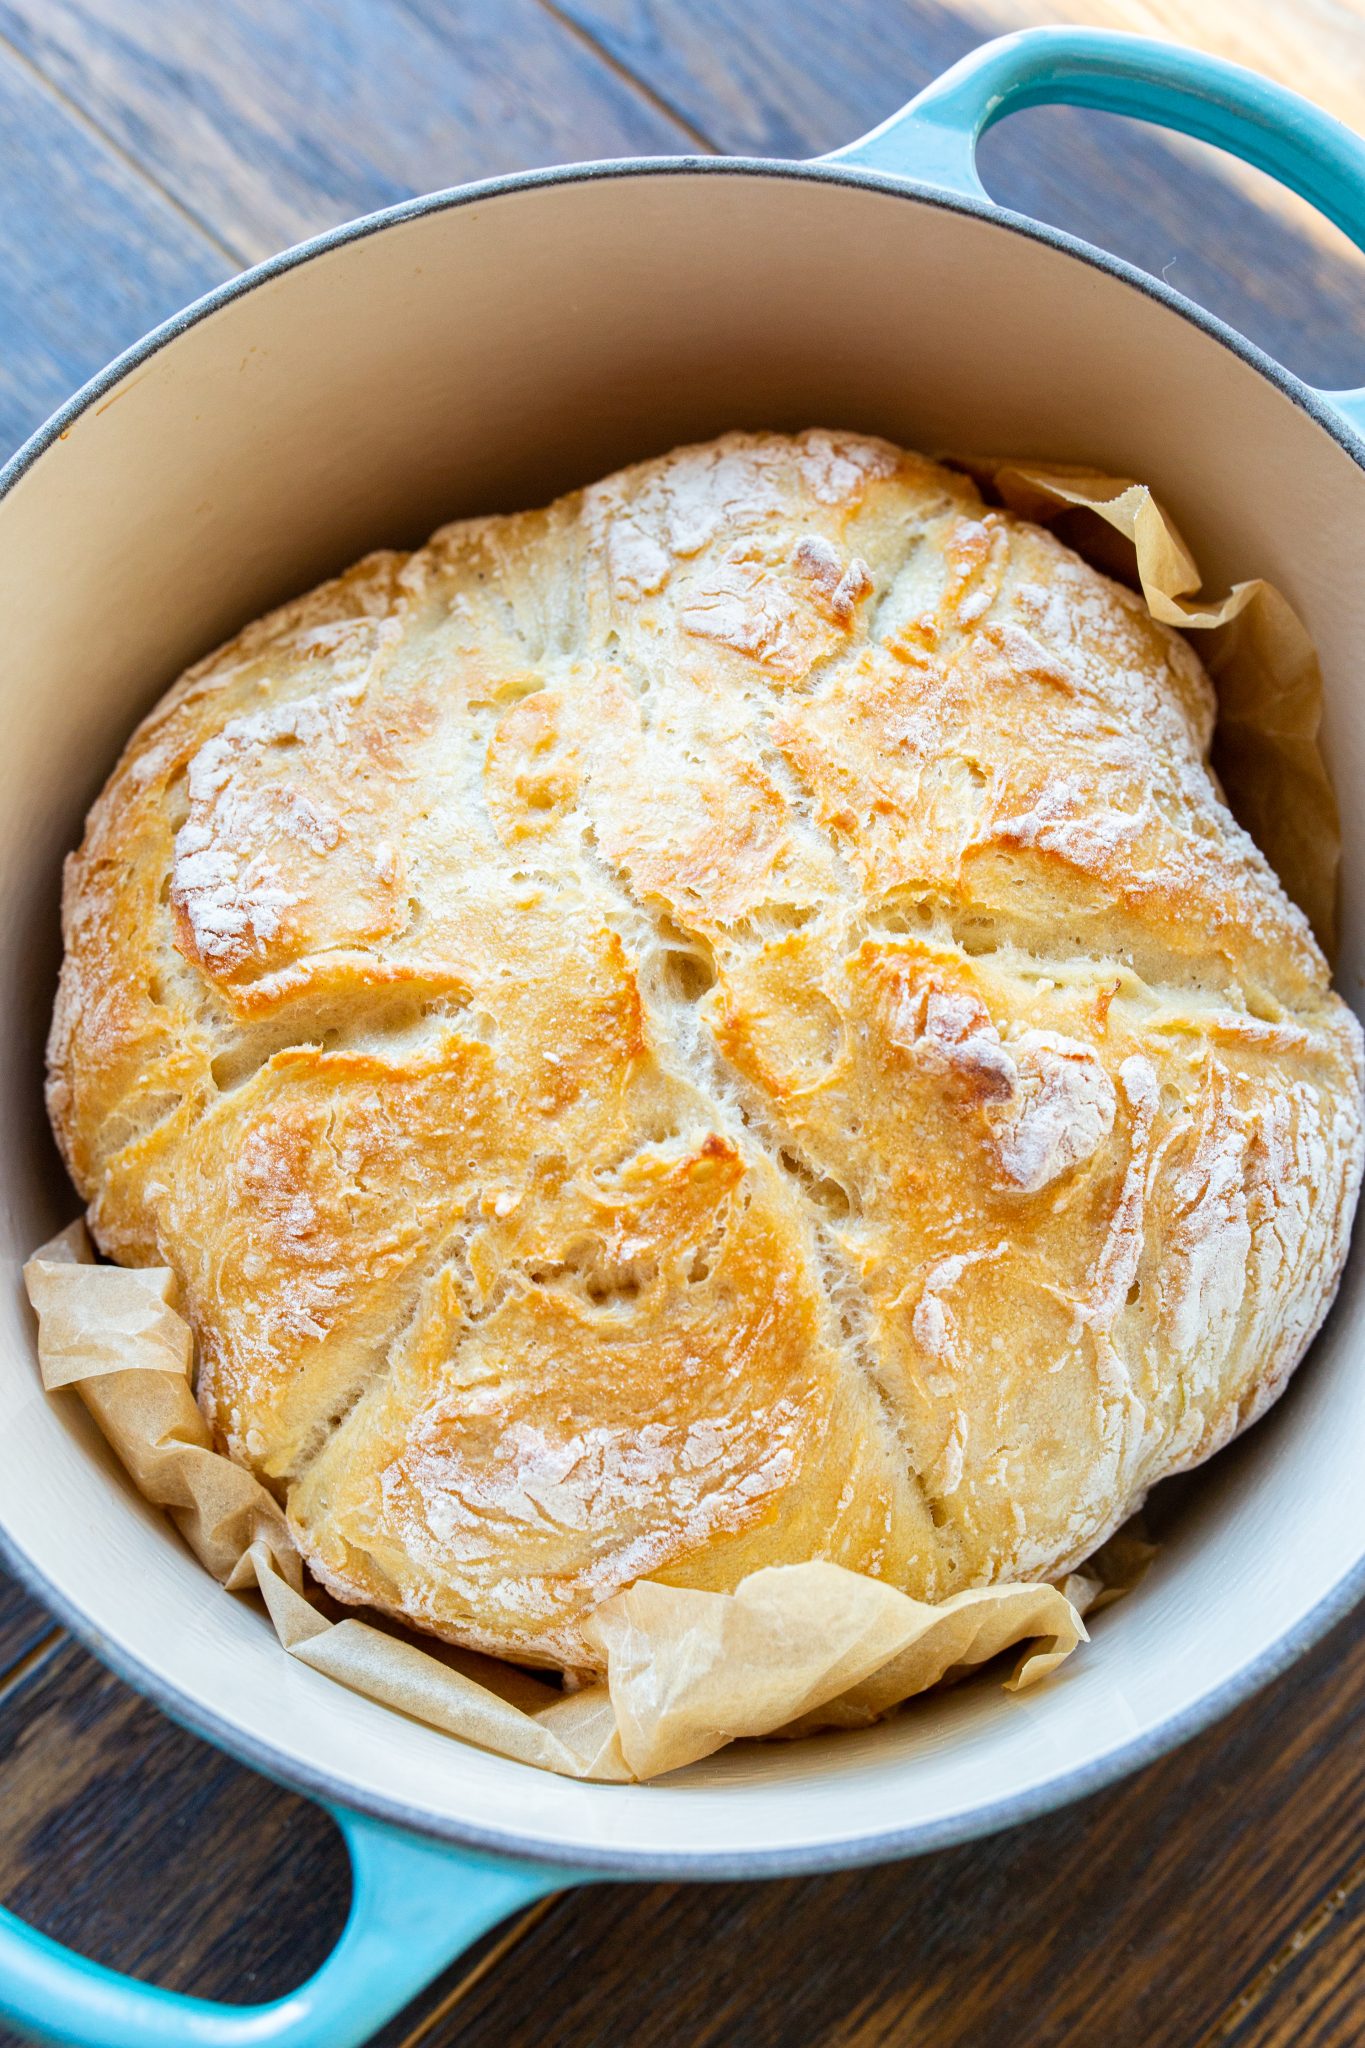
Dutch No Knead Oven Bread
Equipment
Ingredients
- 4 and ¾ cups (570g) all-purpose flour + some extra for flouring
- 2 and ¼ teaspoons (about 1 packet (7g)) instant yeast
- 2 teaspoons (12g) sea salt
- 2 cups (472 ml) warm water about 120°F/48°C
- 2 teaspoons (13.5g) maple syrup agave or granulated sugar
- 1 teaspoon (4.4g ) olive oil or any neutral oil
Instructions
- In a large bowl, whisk the dry ingredients together until combined. Create a well in the center and add the warm water, maple syrup, and oil. Stir the water into the dry ingredients to form a dough. You want to stir until it’s all incorporated and the dough looks shaggy, about 1 minute.
- Lightly grease the sides of the bowl, and turn the dough over in it to grease the dough. Cover with greased plastic wrap or light kitchen towel. Let the dough rise on your counter for 2 to 3 hours. If your kitchen is cold, place it in your oven with the oven light on and the oven off. The microwave is another draft-free place you can let it rise. The dough will double in size so be sure to use a bowl tall enough to manage this rise.
- In the last 30-40 minutes of rising, place your Dutch oven in the oven and preheat at 450°230°C. You want to add your Dutch before preheating so it preheats with the oven (this will ensure it doesn’t crack).
- After two hours, the dough should have bubbles on the top. Flour a surface with at least 1 tablespoon flour spread out, then pour the risen dough onto it. Sprinkle another 1/2 tablespoon of flour onto the top of the dough and flour your dough scraper.
- Using your dough scraper or large knife, fold the dough on top of itself. Do this by pulling the outer edges up and onto the centre. Rotate the dough and do it a few more times, about 6 to 12 times. You want the dough to feel a bit tighter and to start forming a shape. Feel free to lightly sprinkle more flour during this process. It should take you less than a minute.
- Scoop the dough and place onto a piece of parchment paper. Using your hands, scoop/shape it into a circle.
- When the oven is preheated, carefully remove the Dutch oven with oven mitts. Take the lid off and place the dough (on the parchment paper) into the Dutch oven. Place the lid back on and put everything back into the oven.
- Bake for 45 minutes. After that time, open the oven, carefully remove the lid and continue to bake for an additional 15 to 20 minutes until the crust is at your desired level. If you're using a gas oven/convection oven, only do it for 5 to 10 minutes so the bottom and tips don't burn.
- Remove from the oven, and set down. Lift up the edges of the parchment to transfer the bread to a wire cooling rack. If you want to test it for doneness, you can turn it over and lightly tap on the bottom. It should sound hollow.
- Cool for at least 30 minutes, slice, serve, and enjoy!
Nutrition
Nutritional information given is an automatic calculation and can vary based on the exact products you use and changes you make to the recipe. If these numbers are important to you, I recommend calculating them yourself.

I’ve been making dutch oven bread for a few years with varying results, and this is my favorite recipe by far! The loaf comes out nice and crispy on the outside, and soft on the inside. The proportions of ingredients worked out perfectly, the 4 cups of flour vs. 3 in other recipes really made a difference. I’m not an expert bread maker, and love the ease of the recipe and how well it turned out.
This recipe is wonderful! I would like to make this into a loaf too. Can you recommend a cast iron bread loaf with a lid that works with this recipe?
I don’t have one of these but you could try it with something like this: https://www.amazon.com/Pullman-Beasea-Non-Stick-Bakeware-Corrugated/ – I would think the recipe would make two loaves.
Katie, I have two questions. In a previous post you were going to try and make the bread with whole wheat flour and see if any adjustments were needed. If you did this I would love to know your results/adjustments. Also, I’ve been studying different methods of Dutch Oven Bread. I came across one recipe where you could leaved the dough covered in a bowl with saran wrap and a towel over night and then shape it the same way you shaped your bread. Do you know if your dough would be okay for overnight? Thanks for all you do and share! Maureen
I haven’t had a chance to try the whole wheat yet but I’ll put that on my list for after Easter. I would not leave dough out all night. Yeast tends to start dieing after 12 hours. And leaving it to ferment on the counter all night will have you with a mess on your hands. It will over proof. Just not good all around. You can do a slow ferment in the refrigerator. The yeast will continue to work, but slower. Just do not exceed 12 hours if possible. Check out my recipe on cinnamon rolls or sticky buns for more of the science behind this. I go into depth on those posts. 🙂
I’ve been looking for a fool proof bread recipe and this is the one! My husband and son would like whole wheat though. Do you have any advice to modify this? I know it needs more moisture (or less flour). Thank you!
Thank you Amy! I’ll get a whole wheat one tested and together for you and then email you when it’s up! I’ll do it this week 🙂
Ok this seems like a basic question, but this is my first time making bread. Does the olive oil go into the dough, or is the amount listed just what you use to coat the dough while it rises? The recipe says to combine all ingredients but I’m just not sure with that one.
Good catch Bethany! While it would not hurt your bread to include the oil, you’re correct in that the oil mentioned is for the bowl and outside of the dough so that it doesn’t dry out or stick as it does the initial rise.
Absolutely the best recipe I tried several but this one is the one. Have you tried add flavor? I am wondering if I could add olive and Parmesan cheese without change the quality of the bread.
I haven’t tried it, but it sounds to me like you would like focaccia! I do have a recipe for that on the blog. It’s a bit more forgiving than a whole dutch oven loaf. I will attempt this though and get back to you in the next few days!
This was so easy to make. Everyones mouth was watering as it cooked. Looks and smells delicious. Serving it with homemade potato soup on a windy Wednesday.
Have you tried this recipe with GF One to One flour? I love using my cast iron and this would be an awesome sitting to my recipes. Thank you!
I have not tried it with the 1:1 flour. If you try it before I do, let me know how it goes!