How to Make a No-Bake Graham Cracker Crust
This post may contain affiliate links that won’t change your price but will share some commission.
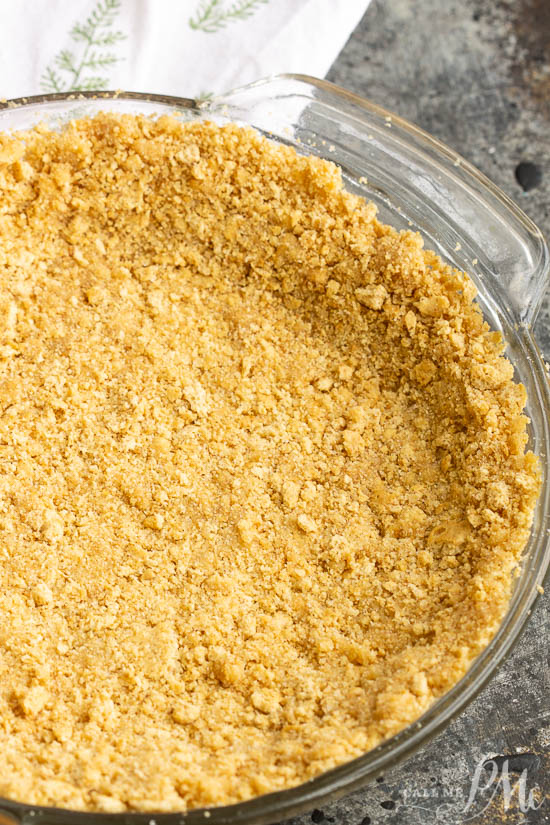
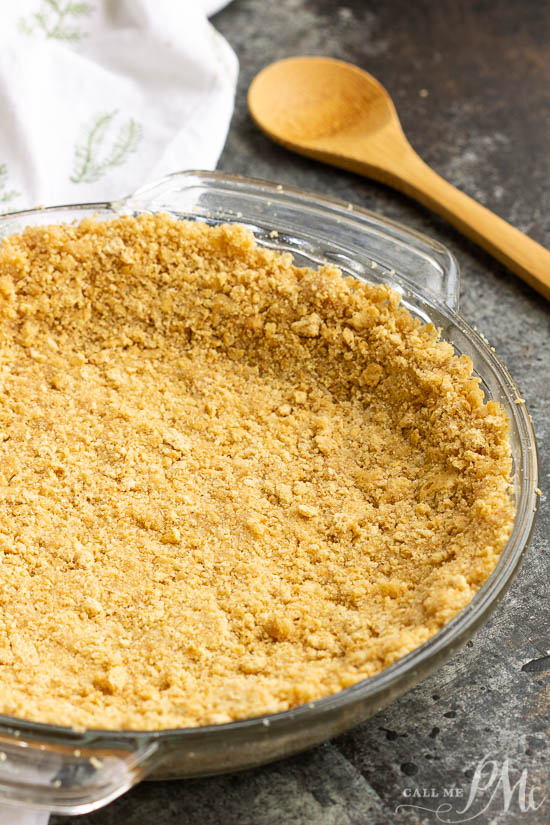
How to Make a No-Bake Graham Cracker Crust: This classic graham cracker crust recipe is quick and easy. Skip those hard premade crusts and make this easy recipe with just a few simple ingredients. It’s excellent for no-bake pies or cheesecakes.

How to Make a No-Bake Graham Cracker Crust
This homemade, no-bake pie crust is sweet, buttery and much better than store-bought pie crusts. Another bonus, it takes just minutes to make!
First, you need to crush your graham crackers. Even though I have to do it in two batches, I love my mini food processor for this task. It’s much easier than getting my large food processor out. You can use a large food processor or a blender.
After I pulsed the graham crackers into crumbs, I add the sugar and
The last thing left to do is pour the crumbs into your pie plate and press them up on the sides and evenly in the bottom. You can use the bottom of a glass to get a flat crust.
Typically, I refrigerate my crust. This allows the

Ingredients
The full recipe with ingredient amounts and instructions is at the bottom of this post. You can save a tree and the recipe to your personal and private recipe box here on Call Me PMc. This way, you’ll never misplace it.
- melted butter I recommend real
butter . You can use salted or unsalted. - graham crackers, crushed. You can save time and purchase already crushed graham cracker crumbs.
- granulated sugar
You can use this crust for my Butterfinger Cheesecake Pie, Peanut

No-Bake Graham Cracker Crust
Ingredients
- 1 and 1/2 cups graham crackers crushed
- 1/3 cup granulated sugar
- 6 tablespoons melted butter real butter recommended, salted or unsalted
Instructions
- Mix graham cracker crumbs, sugar, and melted butter until well blended. If you use unsalted butter, you may want to add a pinch of salt. Salt balances well sugar in desserts. Press mixture into an 8 or 9-inch pie plate.
- Cool in refrigerator 30 minutes. Pie crust is ready to fill with the desired filling.
Nutrition
Nutritional information given is an automatic calculation and can vary based on the exact products you use and changes you make to the recipe. If these numbers are important to you, I recommend calculating them yourself.

One Comment