Homemade White Bread Recipe
This post may contain affiliate links that won’t change your price but will share some commission.
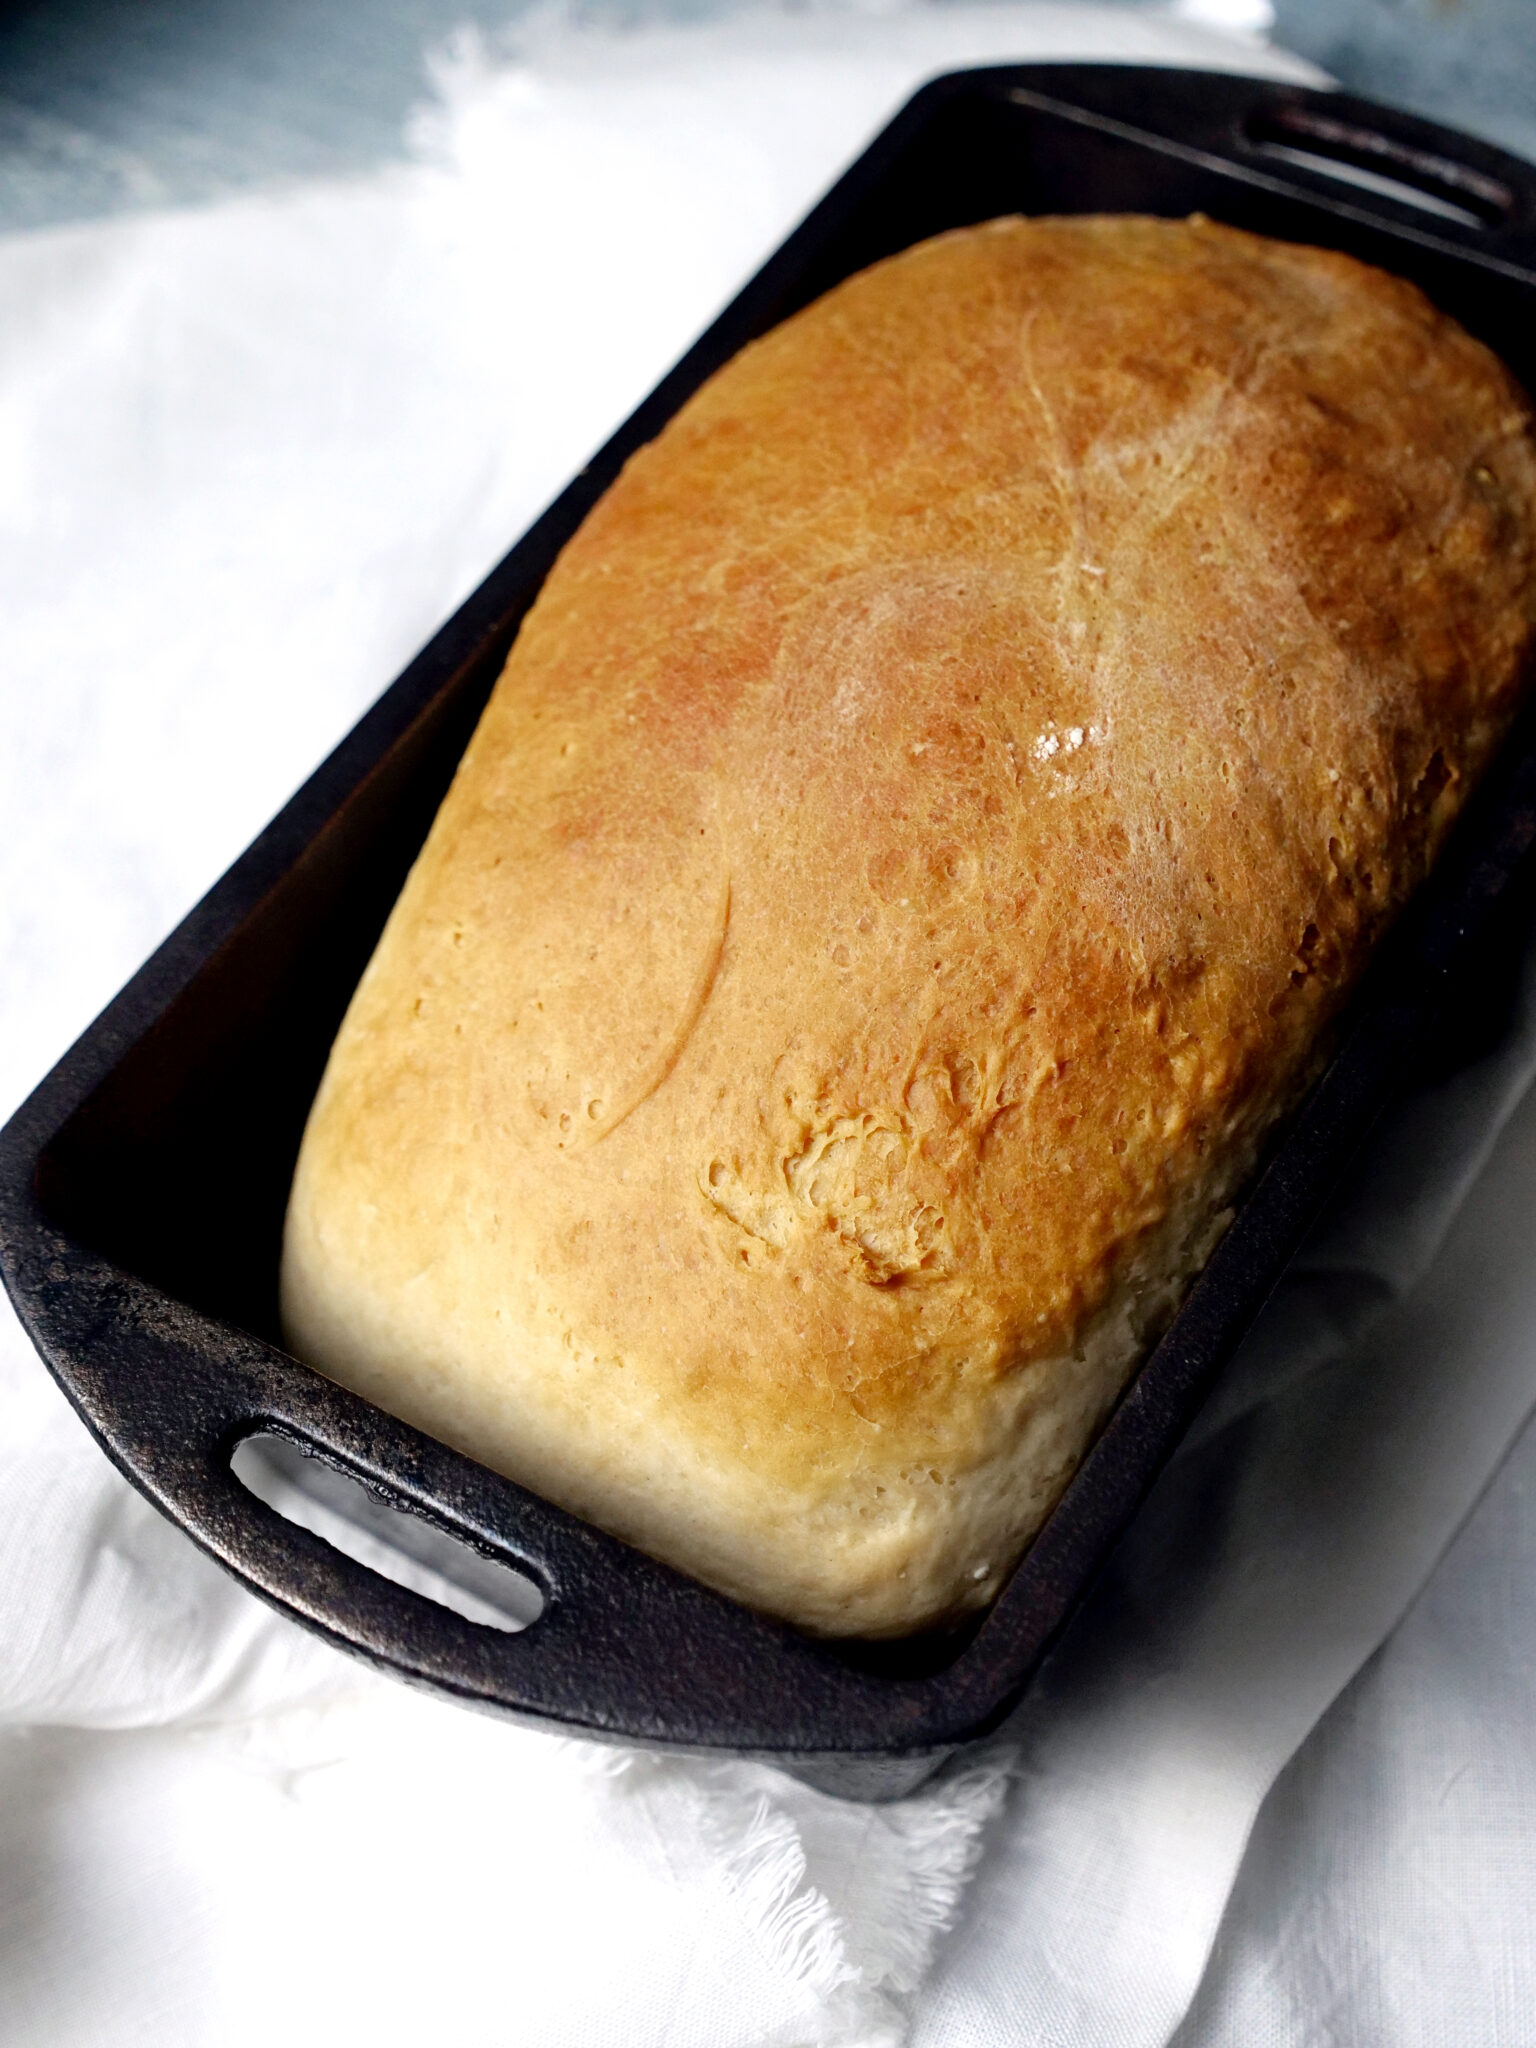
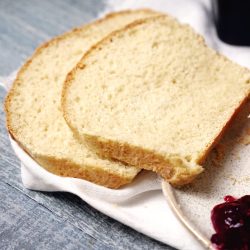
This Homemade White Bread recipe is classic and easy to whip up in batches of two loaves. Enjoy the golden brown outside and buttery, fluffy inside as breakfast toast or sandwich bread.
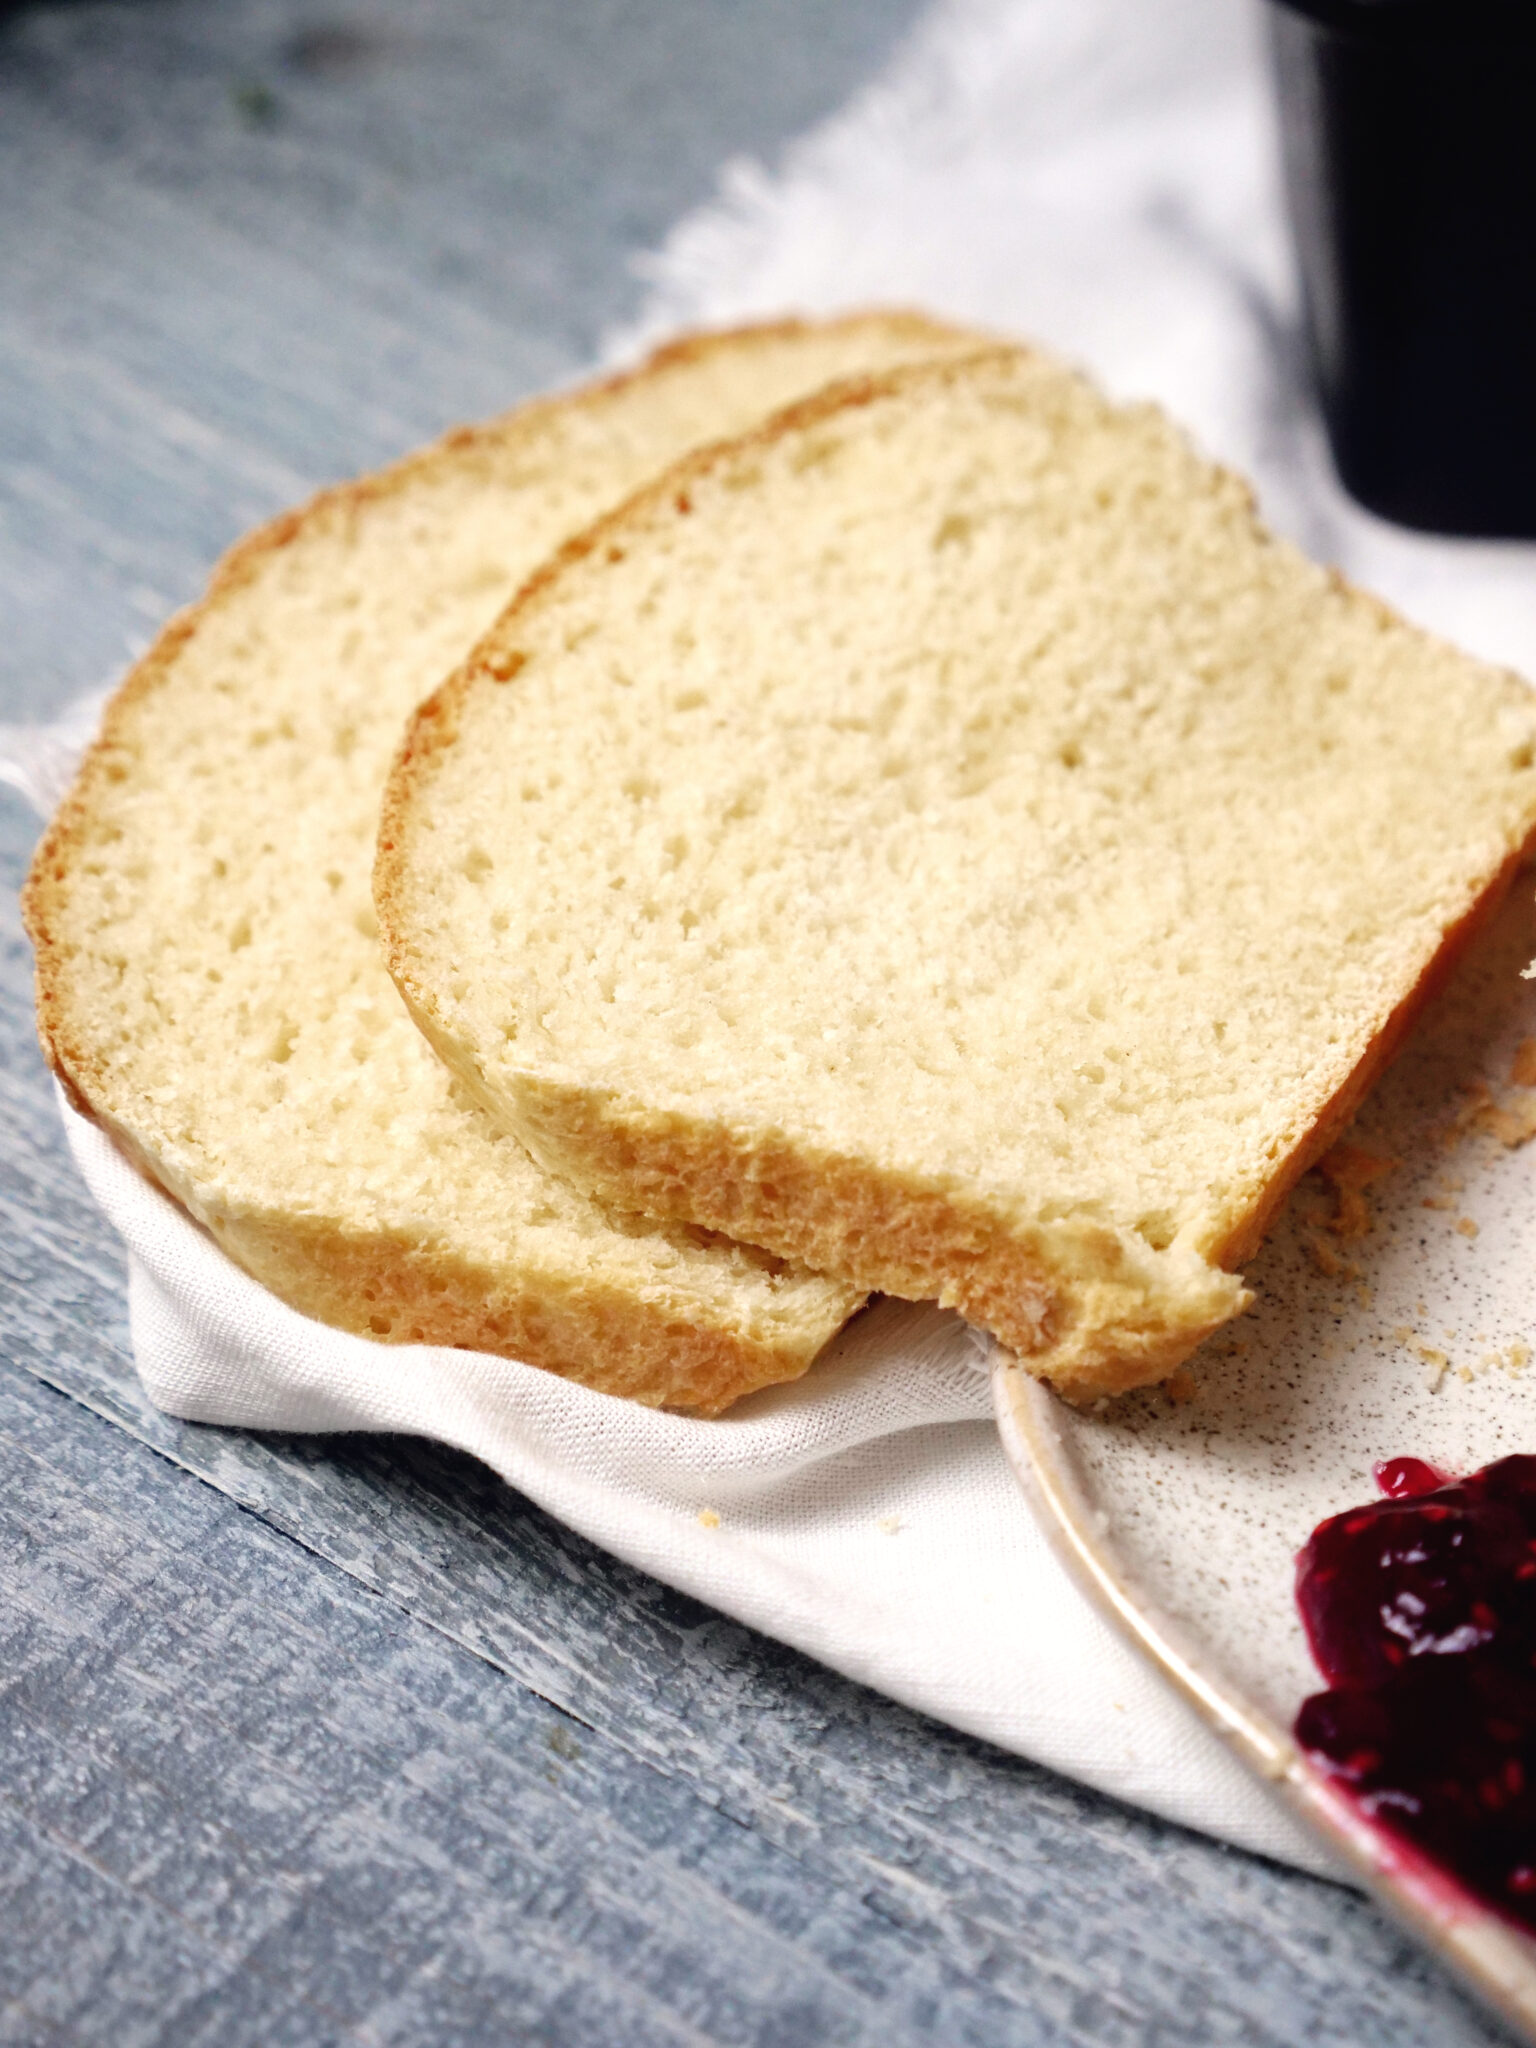
White bread is one of the everyday household staples we go through quickly, as do most families. Every morning, there are breakfast sandwiches, jam-covered toast, french toast, egg in a hole, or breakfast casseroles on special occasions. For a family of 4, that averages 1 to 1.5 loaves per week. So a quick, easy, homemade white bread that creates two loaves and can be made in just a few hours – is a budget-friendly option.
While most homemade bread comes out dense and dry, this is the best white bread recipe ever! The original recipe I had called for lard, which was common in the older generations, but I switched it up for twice as much
Likewise for any homemade yeast bread. Try homemade bagels for a delicious start to your day.
What makes this the best homemade white bread?
- It has minimal steps, most of which can be completed with a kitchen aid stand mixer.
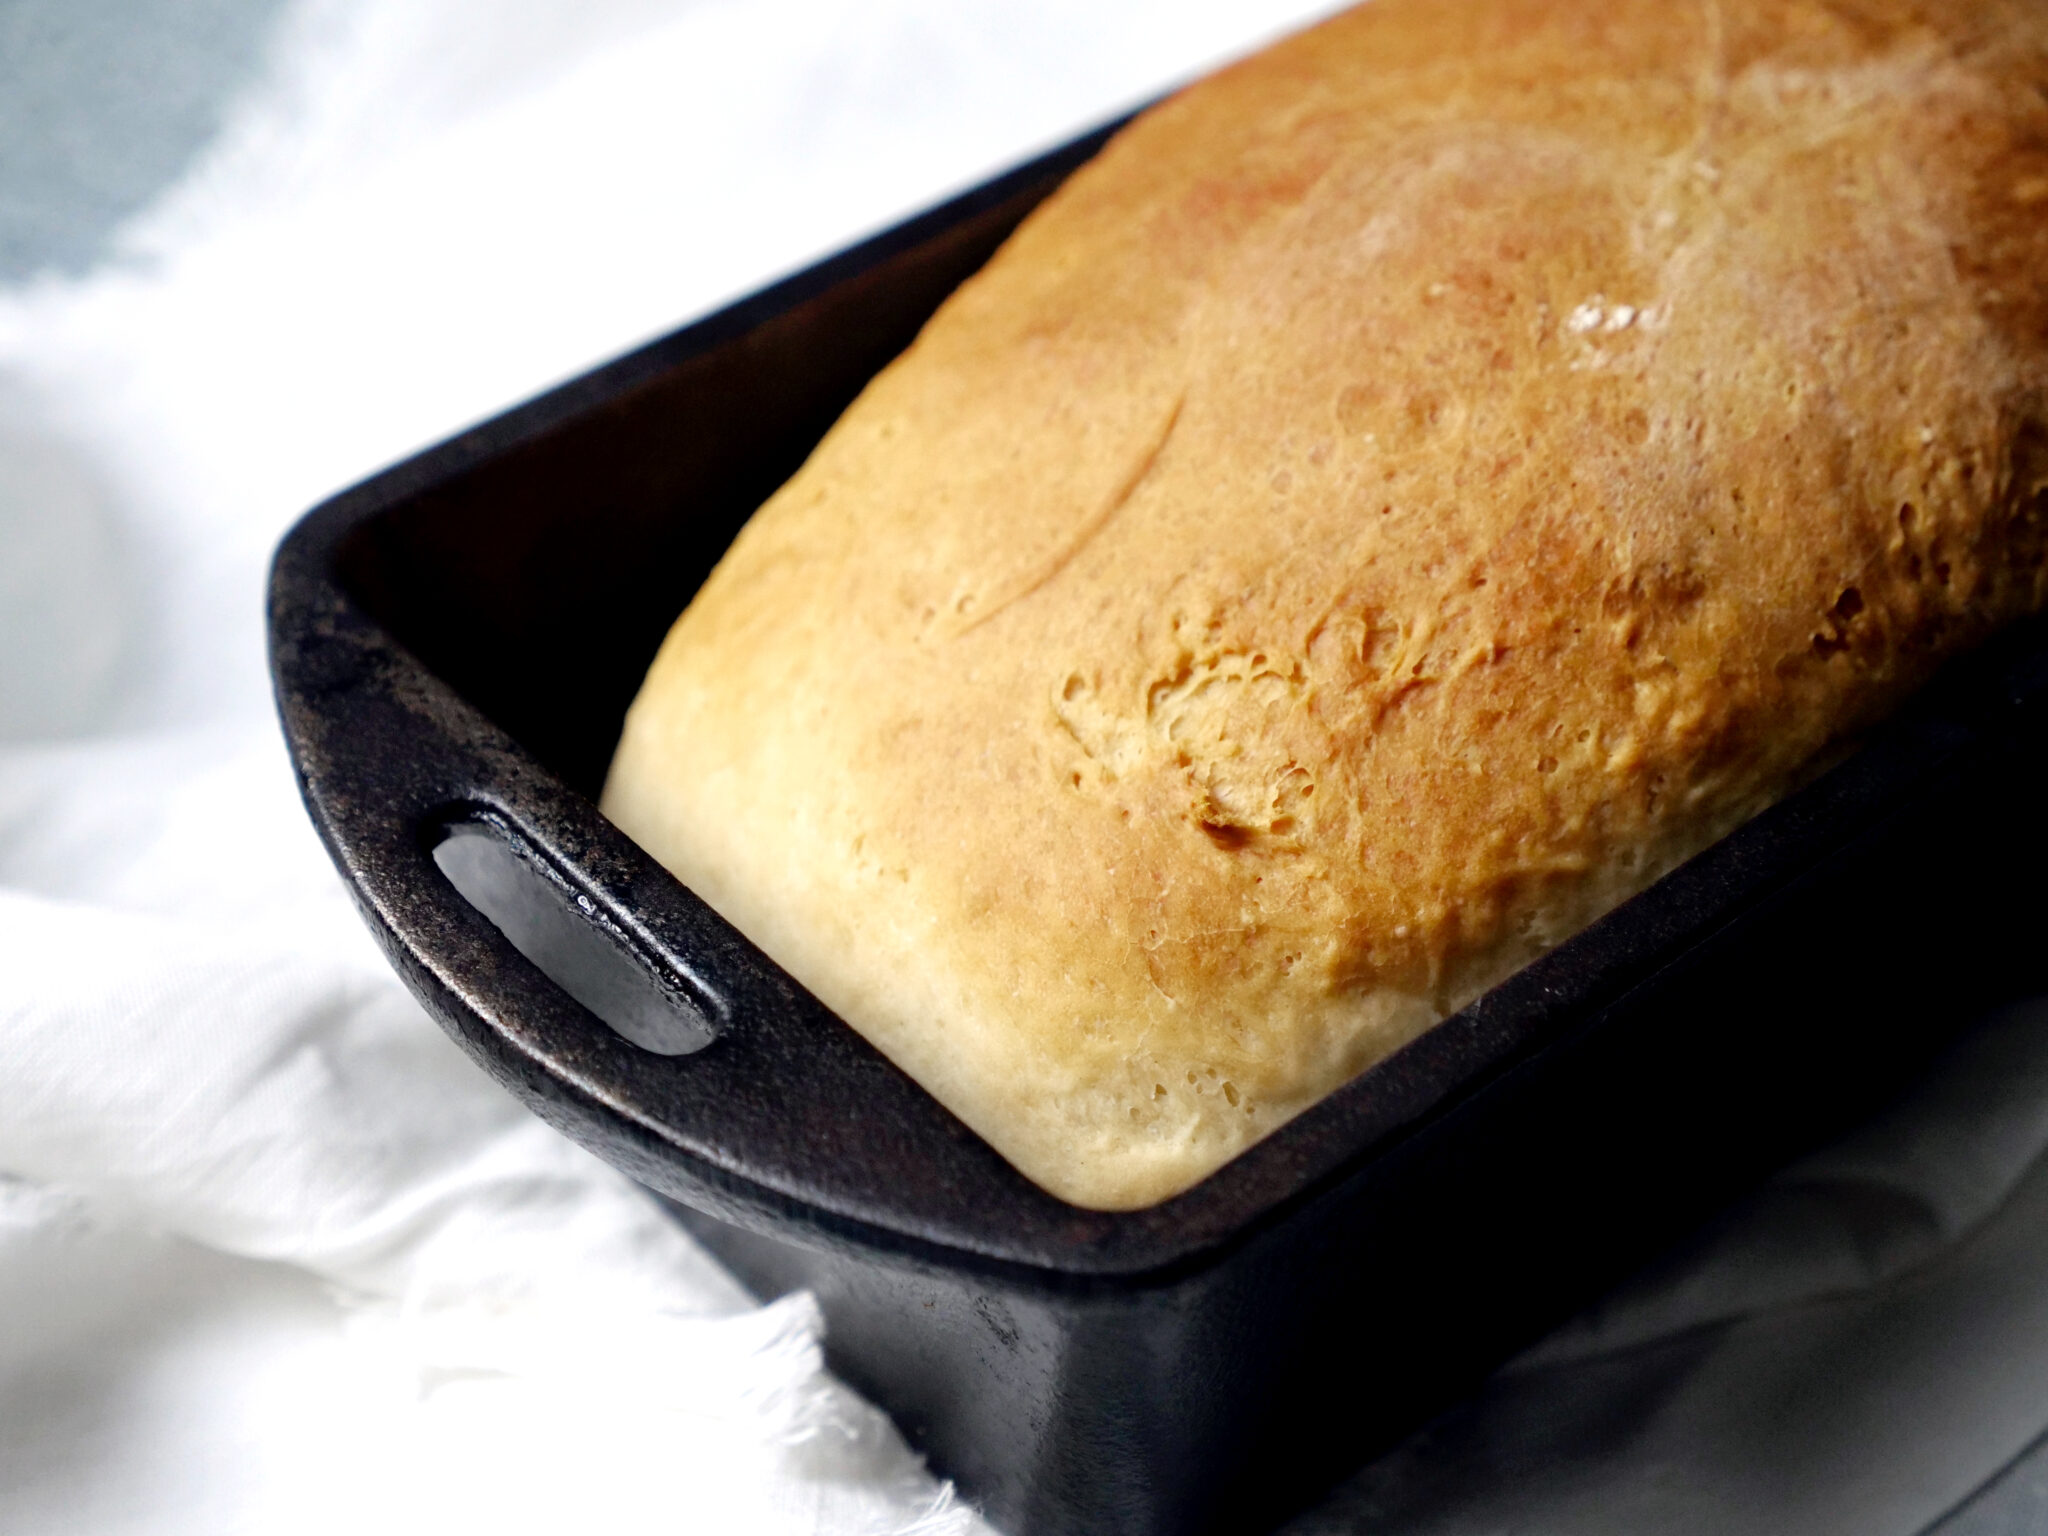
- Cast iron bread pans offer a quick, even baked loaf.
- Loaves must only rise twice and bake for 40 minutes each before enjoying.
- The buttery flavor is subtle and enjoyable and is balanced out by a slight tang of yeast.
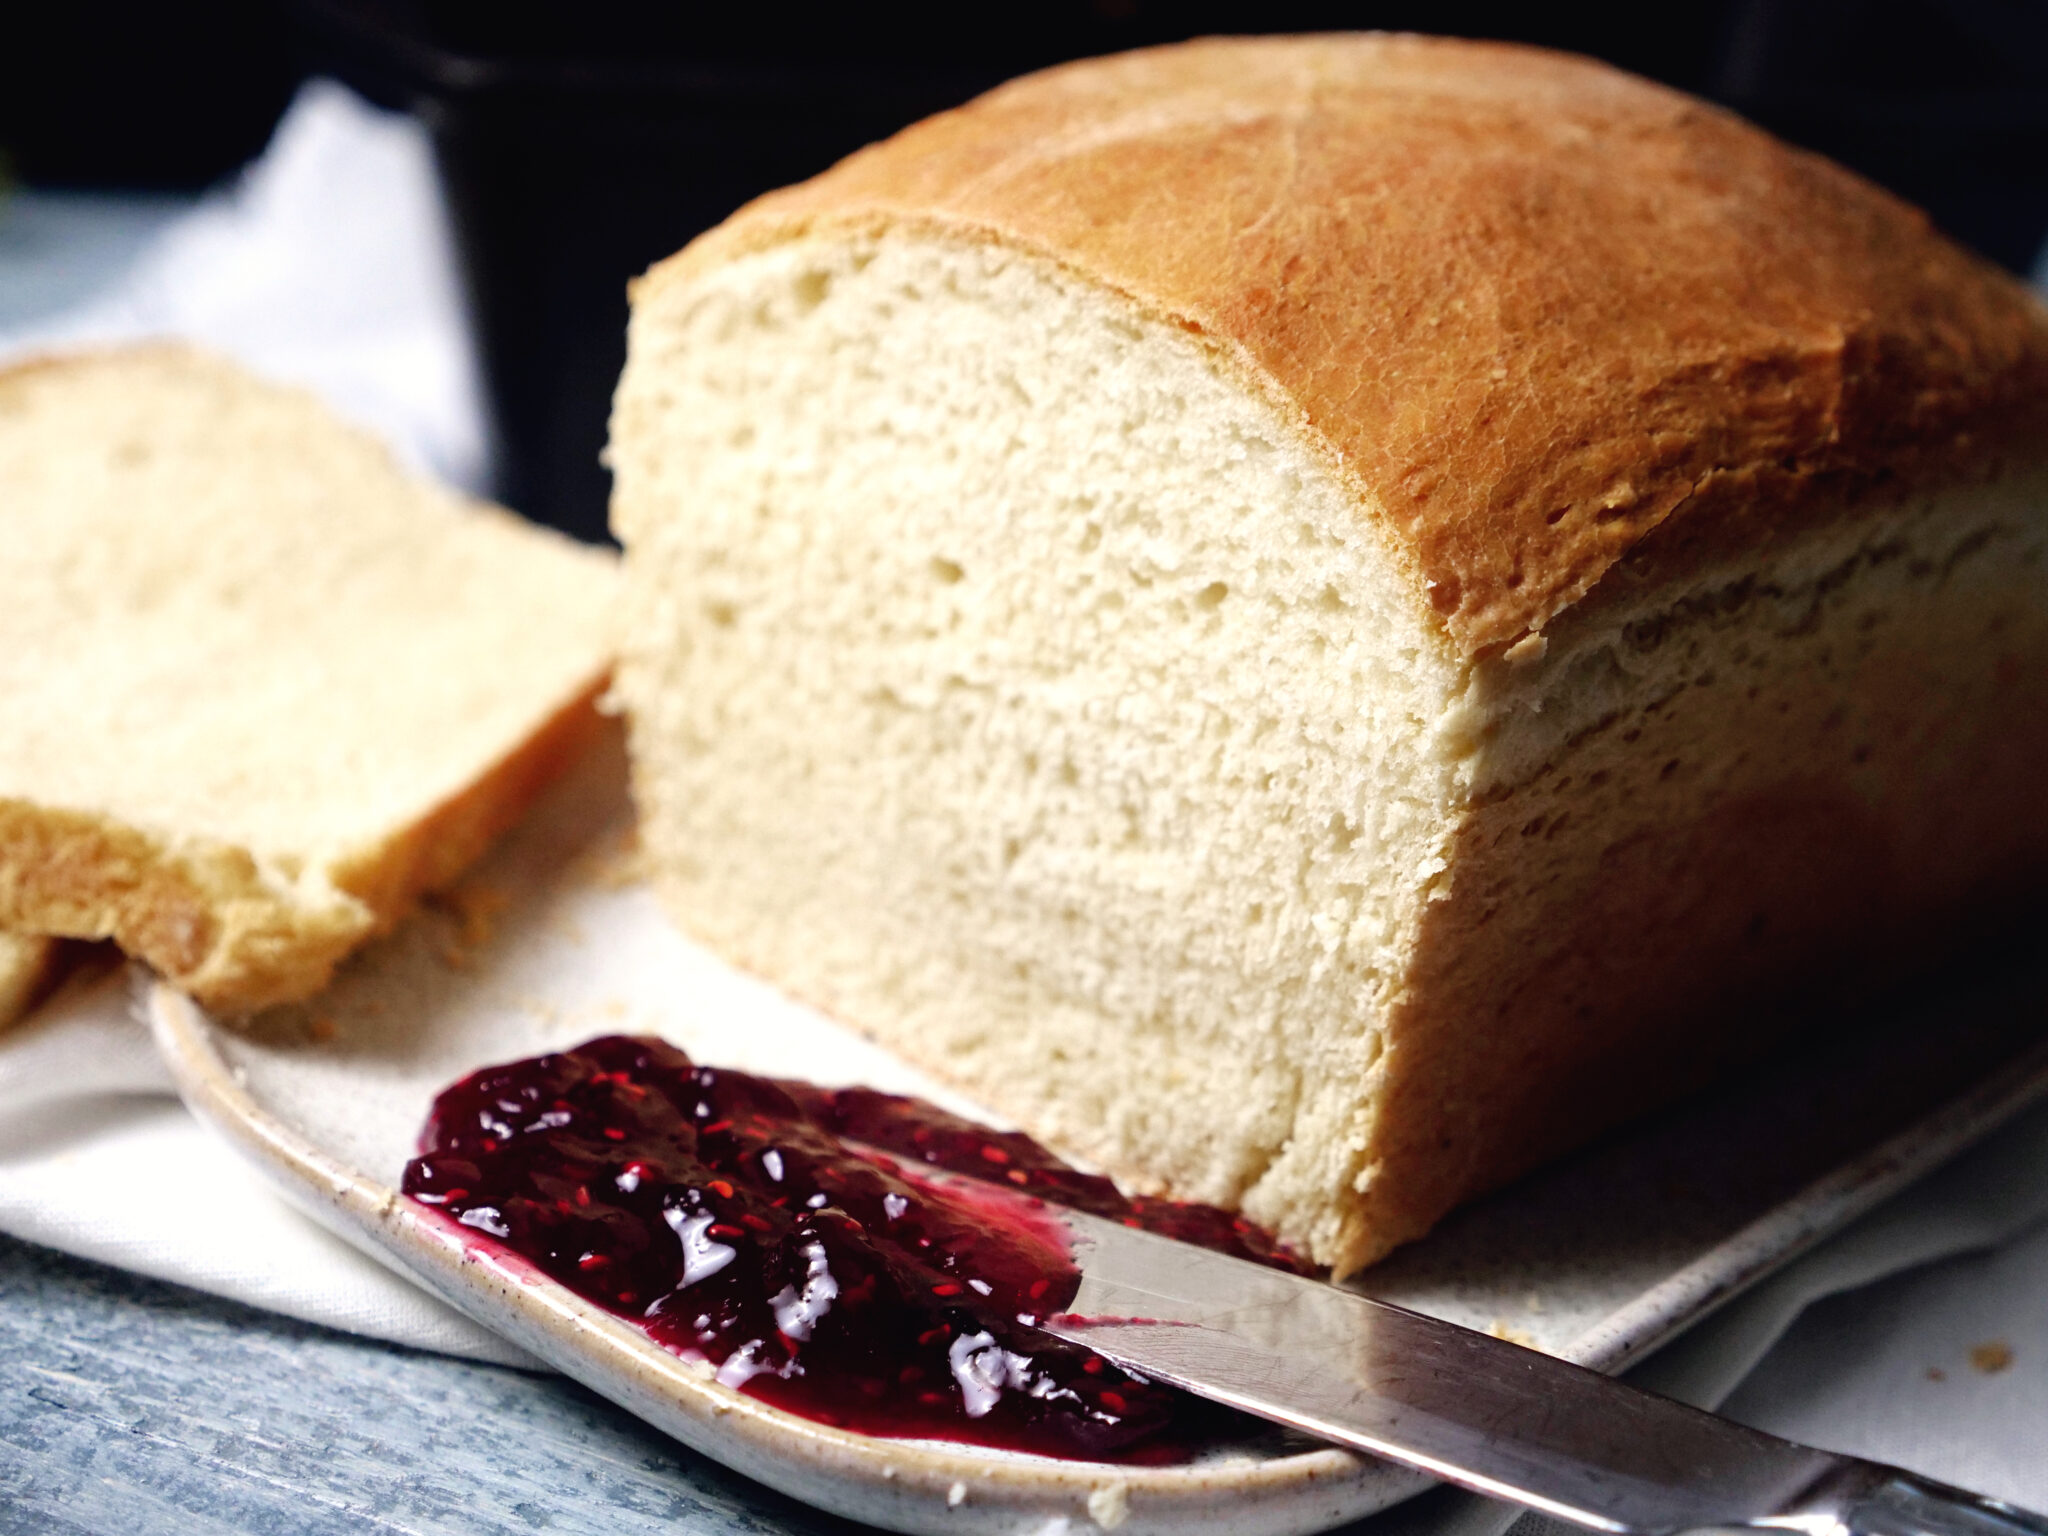
- While the bread appears dense and can hold its own as toast, its texture is light and fluffy, just as fresh bread should be.
Commonly asked questions about bread
Can you freeze bread?
Yes! If your family doesn’t go through bread like mine does or you’re amazing and batch several loaves one day, you can freeze bread in slices or as whole loaves.
Can you refreeze thawed bread?
No. A good rule of thumb and safety is to never refreeze something you have thawed. Once you have thawed your bread, you should consume within just a few days.
How do you store frozen bread?
Bread is best stored and frozen by first wrapping the entire loaf in plastic wrap and then in an air-tight Ziploc bag. If freezing in slices, place a piece of parchment paper between slices and into an air-tight plastic bag. Slices can sometimes have a stale taste upon thawing. However, if you only need a couple of slices compared to a whole loaf, this will stretch your bread farther. The parchment paper prevents slices from freezing to each other.
How long does frozen bread last?
If stored properly, frozen bread can last up to 2-3 months
Methods for defrosting bread
Defrost slices of bread immediately or overnight
Slices can be microwaved for approximately 20 seconds and be ready to use as sandwich bread or into a toaster for breakfast. Your bread slices can be thawed overnight by removing from packaging and set on a plate in the refrigerator. The slices only take 2-3 hours to thaw in this method but can be left overnight.
How to defrost an ENTIRE loaf of bread overnight
To defrost a loaf of bread, remove bread from its plastic and allow it to thaw in the refrigerator overnight. Slices can also be thawed this way and only take approximately 2-3 hours.
Keep bread FROM GETTING SOGGY WHEN THAWED
Have no fear, you can keep your bread from a soggy fate. Stick the loaf or slices in a 380°F oven for approximately 5 minutes until “squishy”. Loaves may take a bit longer than 5 minutes. When the bread has reached the desired “squishy” state, remove from the oven and allow the bread to come to room temperature. Or, if desired, toast your bread.
Troubleshooting White Bread Recipes
Why is my homemade bread so dry?
This often is a problem with fat to flour ratio. It’s common during the mixing process to have more flour added than is needed. The amount of flour needed will depend on elevation, temperature, humidity… it’s a science that isn’t the same each time. Because of this, it is essential to know what white bread dough should look and feel like. It’s okay if your initial bread dough is a bit sticky in the bowl. Remember that you will be kneading it multiple times and adding flour during that process, making it less sticky.
You may also not be using enough fat. Butter or lard often are the recommended fat in a white bread recipe, however, you can substitute for oils as well. Oils can change the flavor slightly or you may discover you need a different amount than the recipe calls for. Be sure you don’t go overboard with the fat as this can prevent the yeast from behaving appropriately, resulting in a shorter rise.

Homemade White Bread
Though it looks thick and dense, this homemade white bread is fluffy and ready to be made into sandwiches, toast, breakfast casseroles, and more!
Equipment
Ingredients
- milk
- granulated sugar
- salt
- butter
- yeast
- water
- eggs
- flour
Instructions
Mixing
- In a small saucepan, scald the milk.
- Add the sugar, salt, and
butter to the warm milk and keep stirring until combined. Then remove from heat. - While milk is coming to temperature, add yeast to warm water and stir to activate.
- In a large bowl or stand mixer, combine half the flour, eggs, yeast mixture, and room-temperature milk mixture on low until smooth. This should take only a few minutes.
- Add the remaining flour 1/2 cup at a time until the dough pulls away from the sides of the mixer. If any flour remains from this step, use it to flour your board for kneading.
Kneading & Proofing
- Knead lightly into a ball and allow to rest on the floured board for 10 minutes. After which, come back and knead for approximately 10 minutes adding a dusting of flour as needed for stickiness.
- Grab a large bowl and grease or oil the inside of the bowl. Place your ball of dough in the center and cover with plastic wrap. This will help to seal in the humidity and temperature as it proofs.*
- Allow to rise, covered, for approximately 1 hour.**
- Remove dough from the bowl and turn onto a lightly floured surface, kneading again for only 2 minutes. Return to bowl, recover, and allow to rise for an additional 30 minutes.
- Turn onto floured surface and shape into a ball. Cut the ball in half and shape into your loaves as they fit into your greased loaf pan.*** Cover and let rise in a warm place until the dough has filled the loaf pan and top is rounded.
- Bake in a 400°F oven for 30-40 minutes. The bread should be golden brown on top and sides and make a thunking sound when tapped in the top middle of the loaf. Allow it to cool slightly in the loaf pan, then remove it and allow it to cool completely on a wired rack.
More Tips on Proofing
These are the best areas in your house to proof dough.
- Counter: This method is the most unpredictable. The time it takes for your dough to rise can vary greatly based on your kitchen’s temperature and humidity. It may be challenging to gauge when your bread will be ready. To improve your chances, place the dough in a warm, draft-free spot in your home during fermentation. Good options include the top of your refrigerator or inside a closed microwave.
- Pre-warmed oven: Many ovens once had built-in warming drawers, but nowadays, these are often repurposed as storage. If your oven still has this feature, it’s an excellent tool for proofing dough. Alternatively, preheat your oven to 200°F, then turn it off once it reaches that temperature. Crack the door open for a few minutes to let some heat escape, then place your covered dough inside and close the door. The residual heat creates an ideal environment for proofing. Keep the temperature below 90°F to avoid accidentally cooking your dough. An oven thermometer can help ensure precision.
- Near a woodstove: On a chilly day, place your covered dough bowl near the warmth if you have a woodstove burning. The radiant heat can speed up the rising process. Be careful not to position the dough too close to the stove, as this could dry it out or start cooking it prematurely.
- Refrigerator: Cover your dough and leave it in the refrigerator overnight for a slower fermentation process. While the cold slows the rise, it doesn’t stop it entirely. The next day, allow the dough to come back to room temperature before placing it in a warm spot to finish proofing until it doubles in size. The longer fermentation enhances the flavor, making the wait worthwhile.
Homemade White Bread Notes
*I use Pam cooking spray to coat my bowl and the plastic cling wrap. Your dough will double in size and often reach the maximum of the bowl and cling wrap. By spraying the cling wrap with Pam spray, you’ll make removing the wrap from the dough easier.
**Be sure to store your proofing bowl in a warm place. On top of the refrigerator, on the pre-heated stove, or near a heater in your kitchen. The warmth of the environment will help to proof the dough.
***When using a well-loved cast iron loaf pan, I did not need to use any extra grease or oil. The bread popped right out when done.
More easy recipes to enjoy
- Jalapeno Popper Hash Brown Casserole Recipe
- Tips for Safely Cooking, Storing, and Handling Meat
- Best Holiday Roast Turkey Breast
- Cake Mix Pumpkin Loaf
- NO KNEAD CR@ZY CRUST PIZZA
Homemade White Bread
Ingredients
- 1 cup whole milk
- 2 Tablespoons granulated sugar
- 2 teaspoons salt
- 4 Tablespoons butter
- ½ Tablespoon yeast
- ½ cup warm water
- 2 large eggs
- 5 cups flour possibly a little more
Instructions
Mixing
- In a small saucepan, scald the milk.
- Add the sugar, salt, and butter to the warm milk and keep stirring until combined. Then remove from heat.
- While milk is coming to temperature, add yeast to warm water and stir to activate.
- In a large bowl or stand mixer combine half the flour, eggs, yeast mixture, and room temperature milk mixture on low until smooth. This should take only a few minutes.
- Add the remaining flour 1/2 cup at a time until the dough pulls away from the sides of the mixer. Should you have any of the flour remaining from this step, use that to flour your board for kneading.
Kneading & Proofing
- Knead lightly into a ball and allow to rest on the floured board for 10 minutes. After which, come back and knead for approximately 10 minutes adding a dusting of flour as needed for stickiness.
- Grab a large bowl and grease or oil the inside of the bowl. Place your ball of dough in the center and cover with plastic wrap. This will help to seel in the humidity and temperature as it proofs.*
- Allow to rise, covered, for approximately 1 hour.**
- Remove dough from bowl and turn onto lightly floured surface, kneading again for only 2 minutes. Return to bowl, recover, and allow to rise for an additional 30 minutes.
- Turn onto floured surface and shape into a ball. Cut the ball in half and shape into your loaves as they fit into your greased loaf pan.*** Cover and let rise in a warm place until the dough has filled the loaf pan and top is rounded.
- Bake in a 400°F oven for 30-40 minutes. Bread should be golden brown on top and on the sides, as well as make a thunking sound when tapped in the t
Notes
Nutrition
Nutritional information given is an automatic calculation and can vary based on the exact products you use and changes you make to the recipe. If these numbers are important to you, I recommend calculating them yourself.
This is the best bread. I like that it doesn’t reguire a starter that I have to feed.