French Baguettes
This post may contain affiliate links that won’t change your price but will share some commission.

Get fresh, delicious, bakery-style French Baguettes at home with ease. You only need bread flour, instant yeast, fine sea salt, and water. With just a few pastry chef baking techniques and tips to ensure that your baguettes come out perfectly every time. You can have fresh baguettes on your table every night.
We like them served alongside dishes such as New Orleans BBQ Shrimp, Beef Stew, Old-fashioned vegetable soup, Beef Rigatoni Goulash Soup, and Chicken Gnocchi Soup. Or, smear some strawberry
Bread for the Farmer’s Market or your Kitchen Table
Becoming an artisan bread maker has never been easier than it is today! With the wealth of knowledge at our fingertips, you can make anything from traditional white bread to sourdough, boules (large round loaves) to baguettes, and everything in between to sell at your local farmers market. Or, wow your family night after night with fresh baked goods. They’ll love it!
What is an ‘artisan bread’?
Artisan bread is made using traditional methods, such as long fermentation times and natural sourdough starters, as opposed to modern commercial methods that prioritize speed and efficiency.
Typically, artisan breads are made with high-quality ingredients, such as organic flour, and are hand-shaped and baked in a hearth oven, giving them a unique texture and flavor. Artisan bread can come in many different shapes and sizes and can be made with various ingredients, such as whole grains, nuts, seeds, and dried fruits.
Artisan breads are often more expensive than commercially produced breads, but they are highly valued for their flavor, texture, and nutritional value. They are a popular choice among bread enthusiasts and are often sold at specialty bakeries and farmers’ markets.
To make this French Baguette as artisan bread, consider using organic bread flour or freshly milled flour and high-quality sea salt. Other artisanal properties come from the long fermentation and setting of the perfect crust.
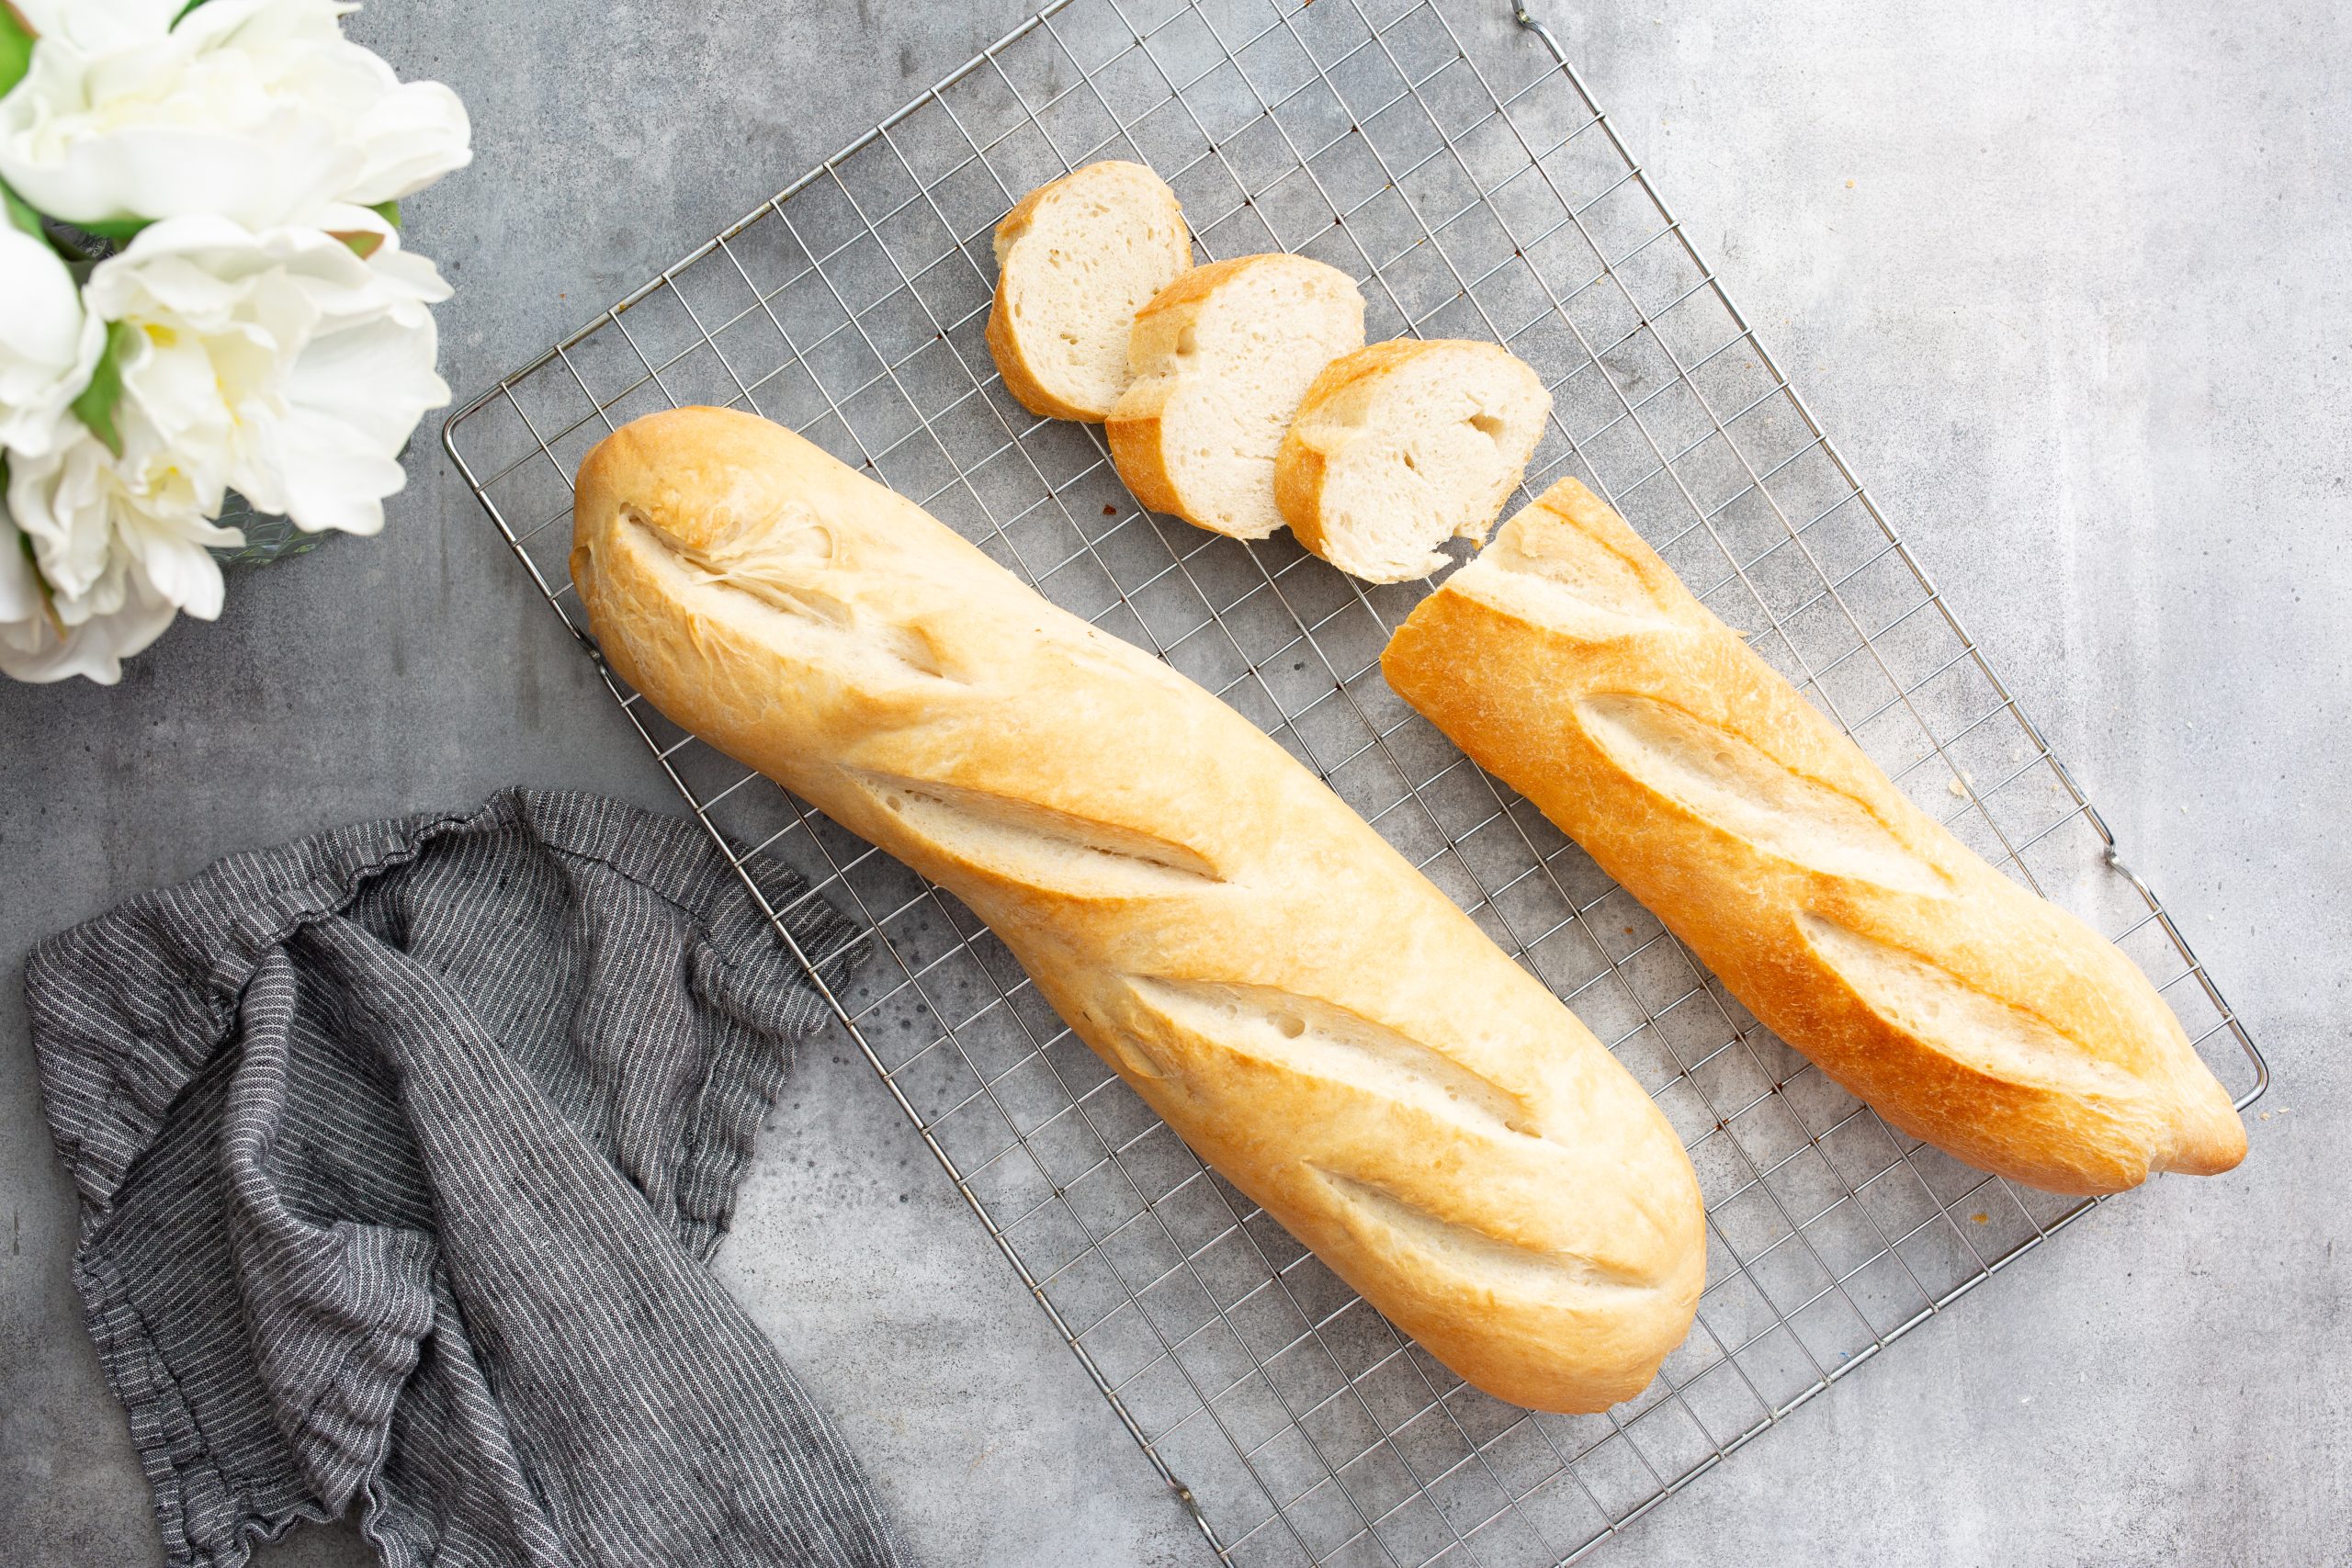
Choosing the Perfect Crust
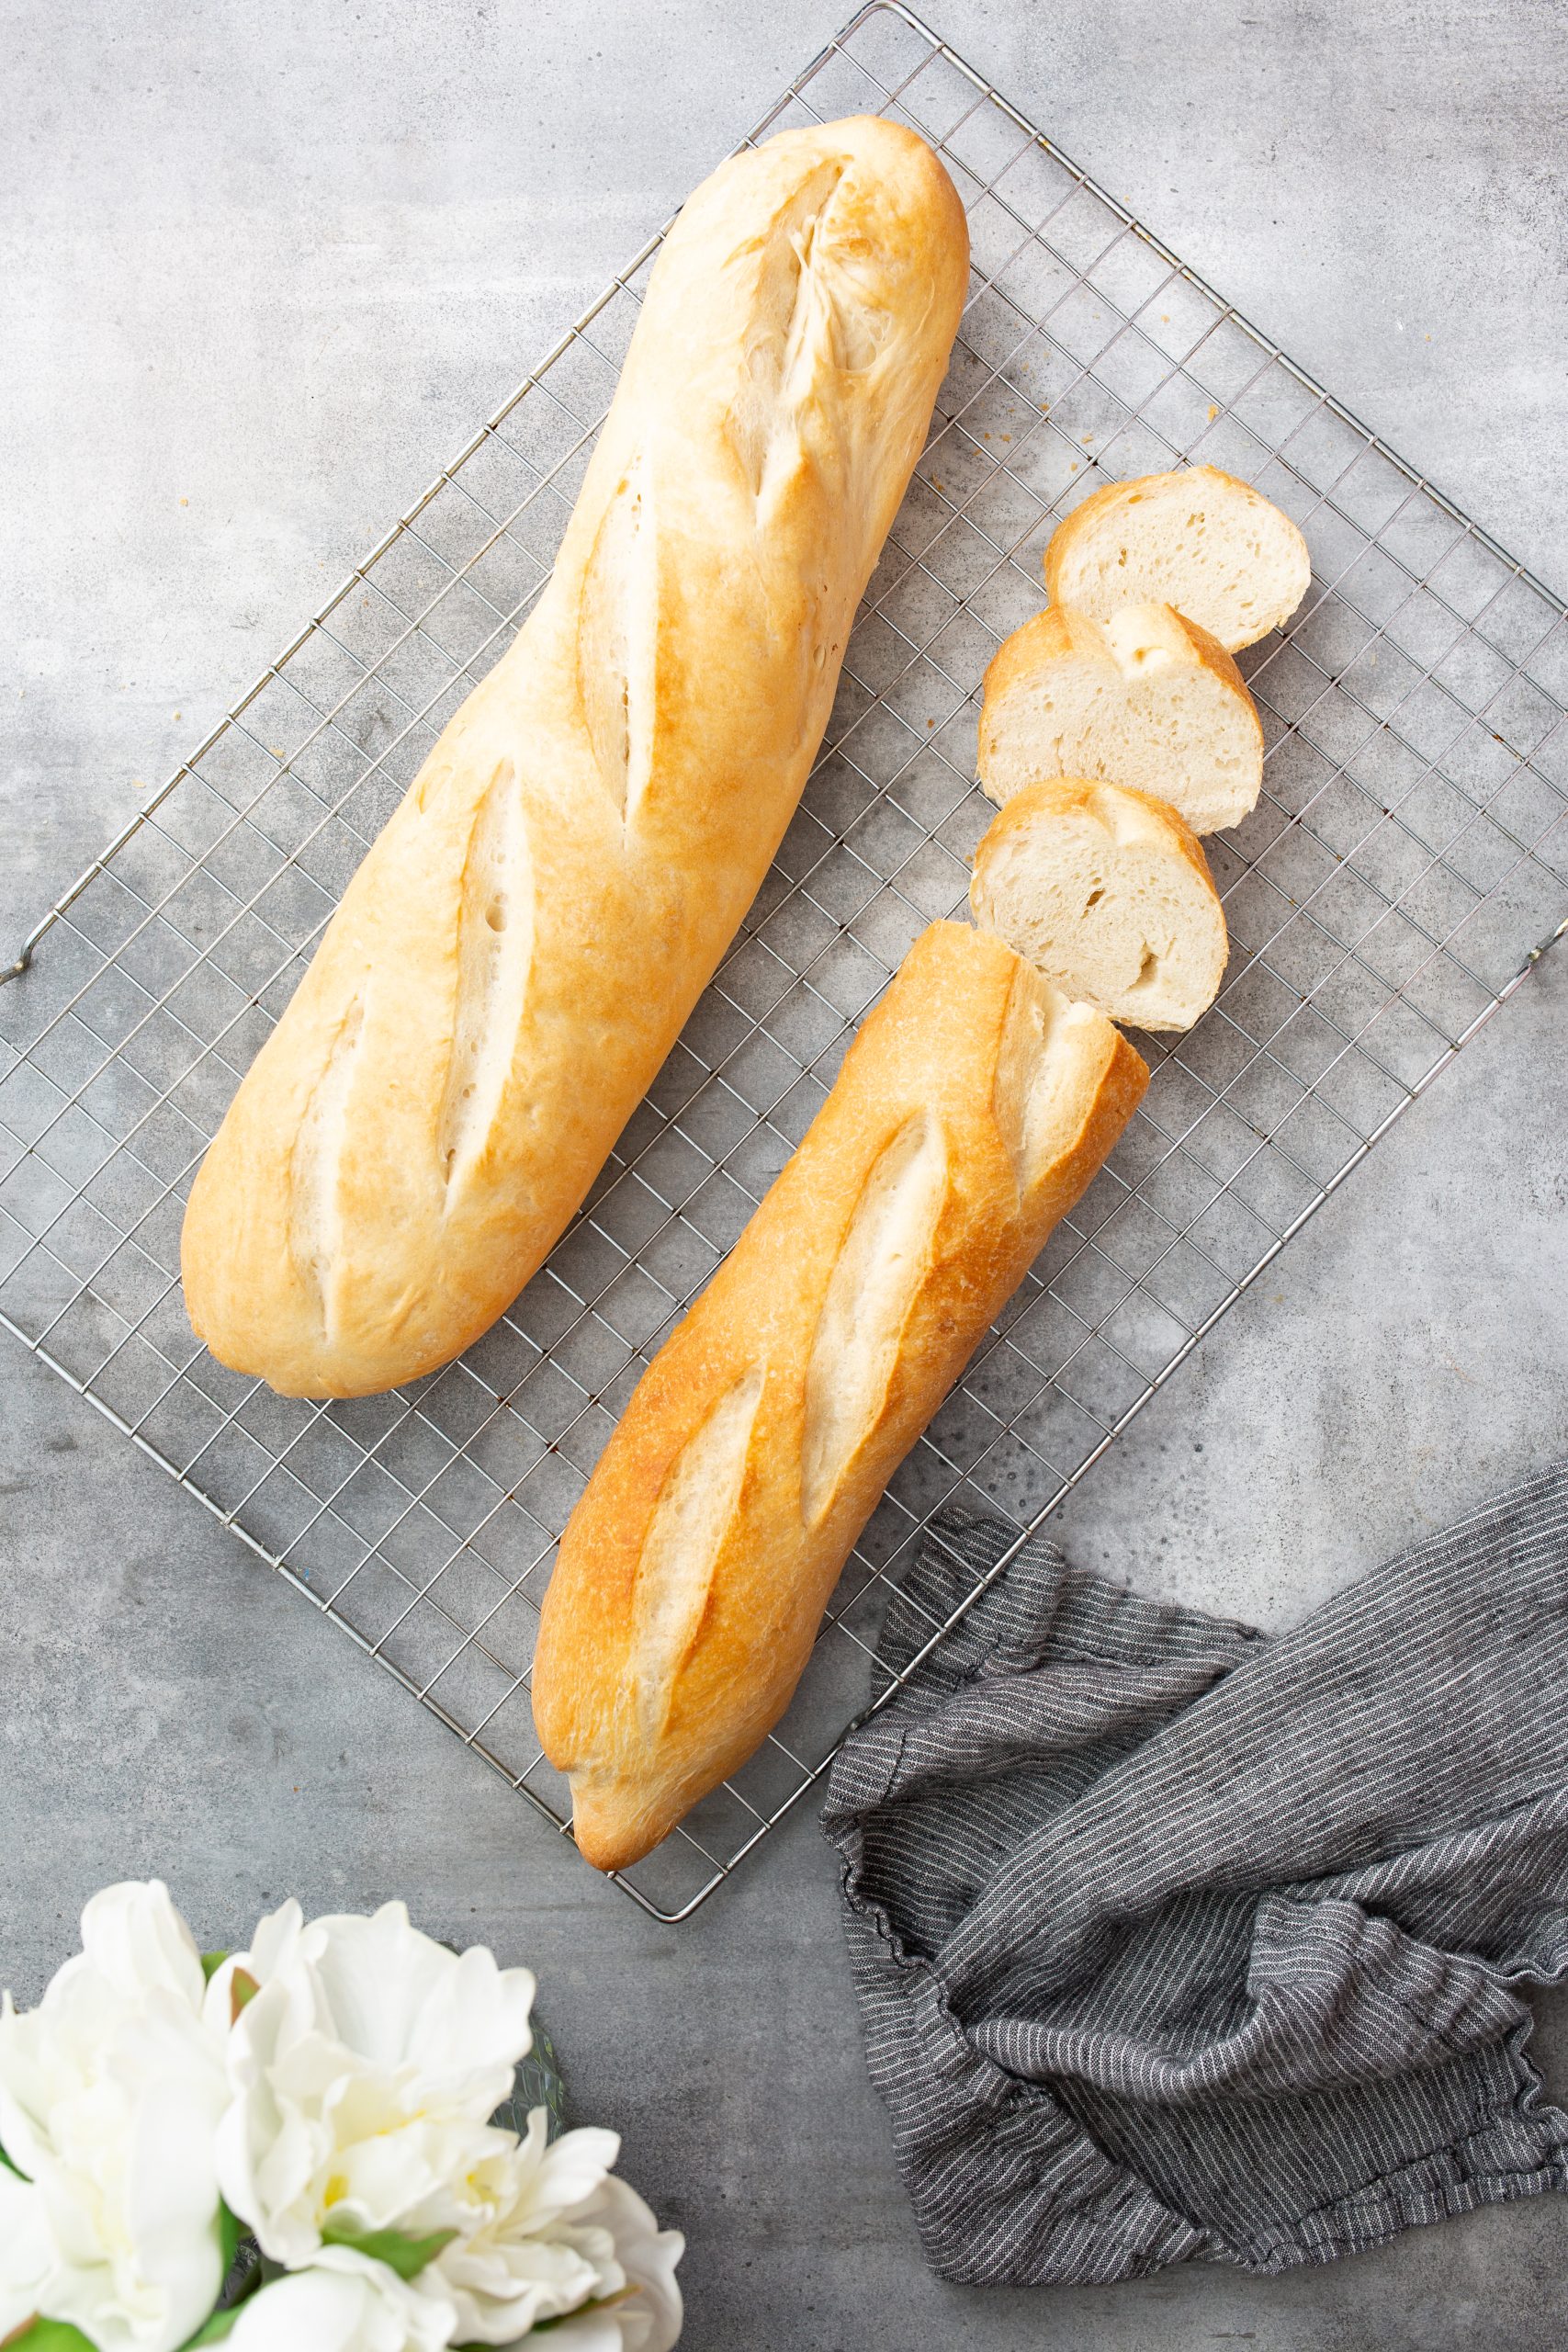
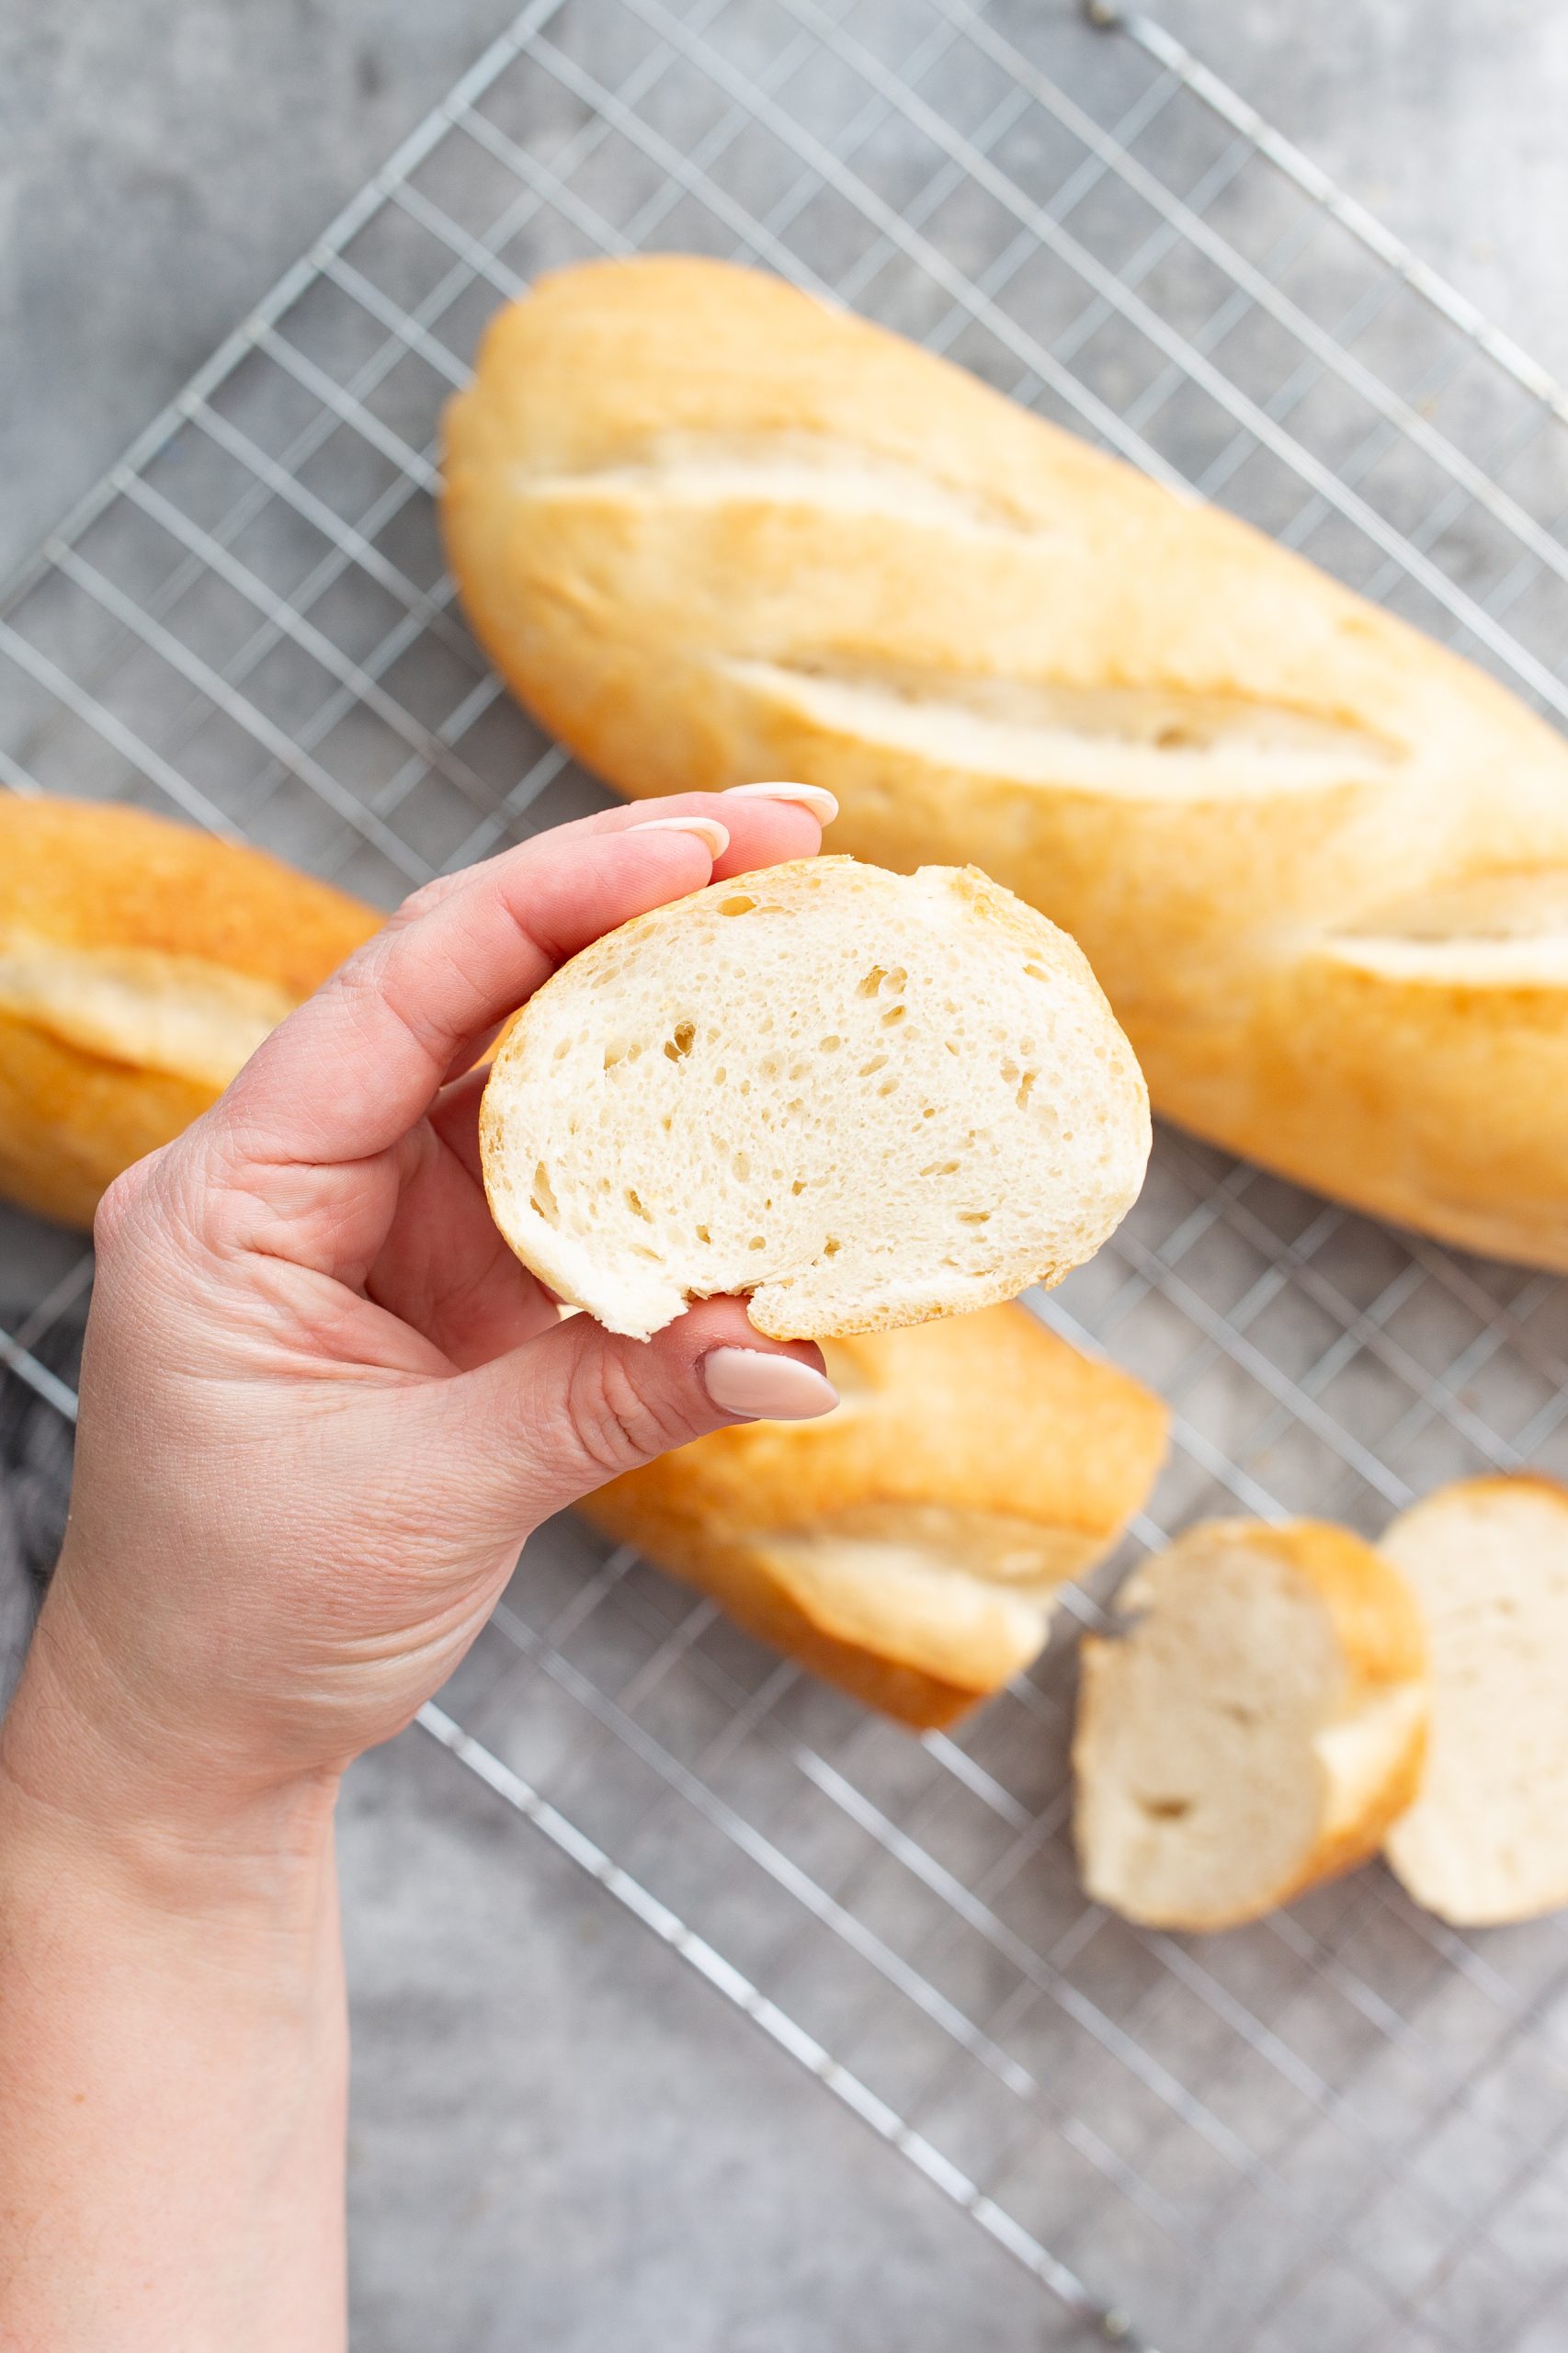
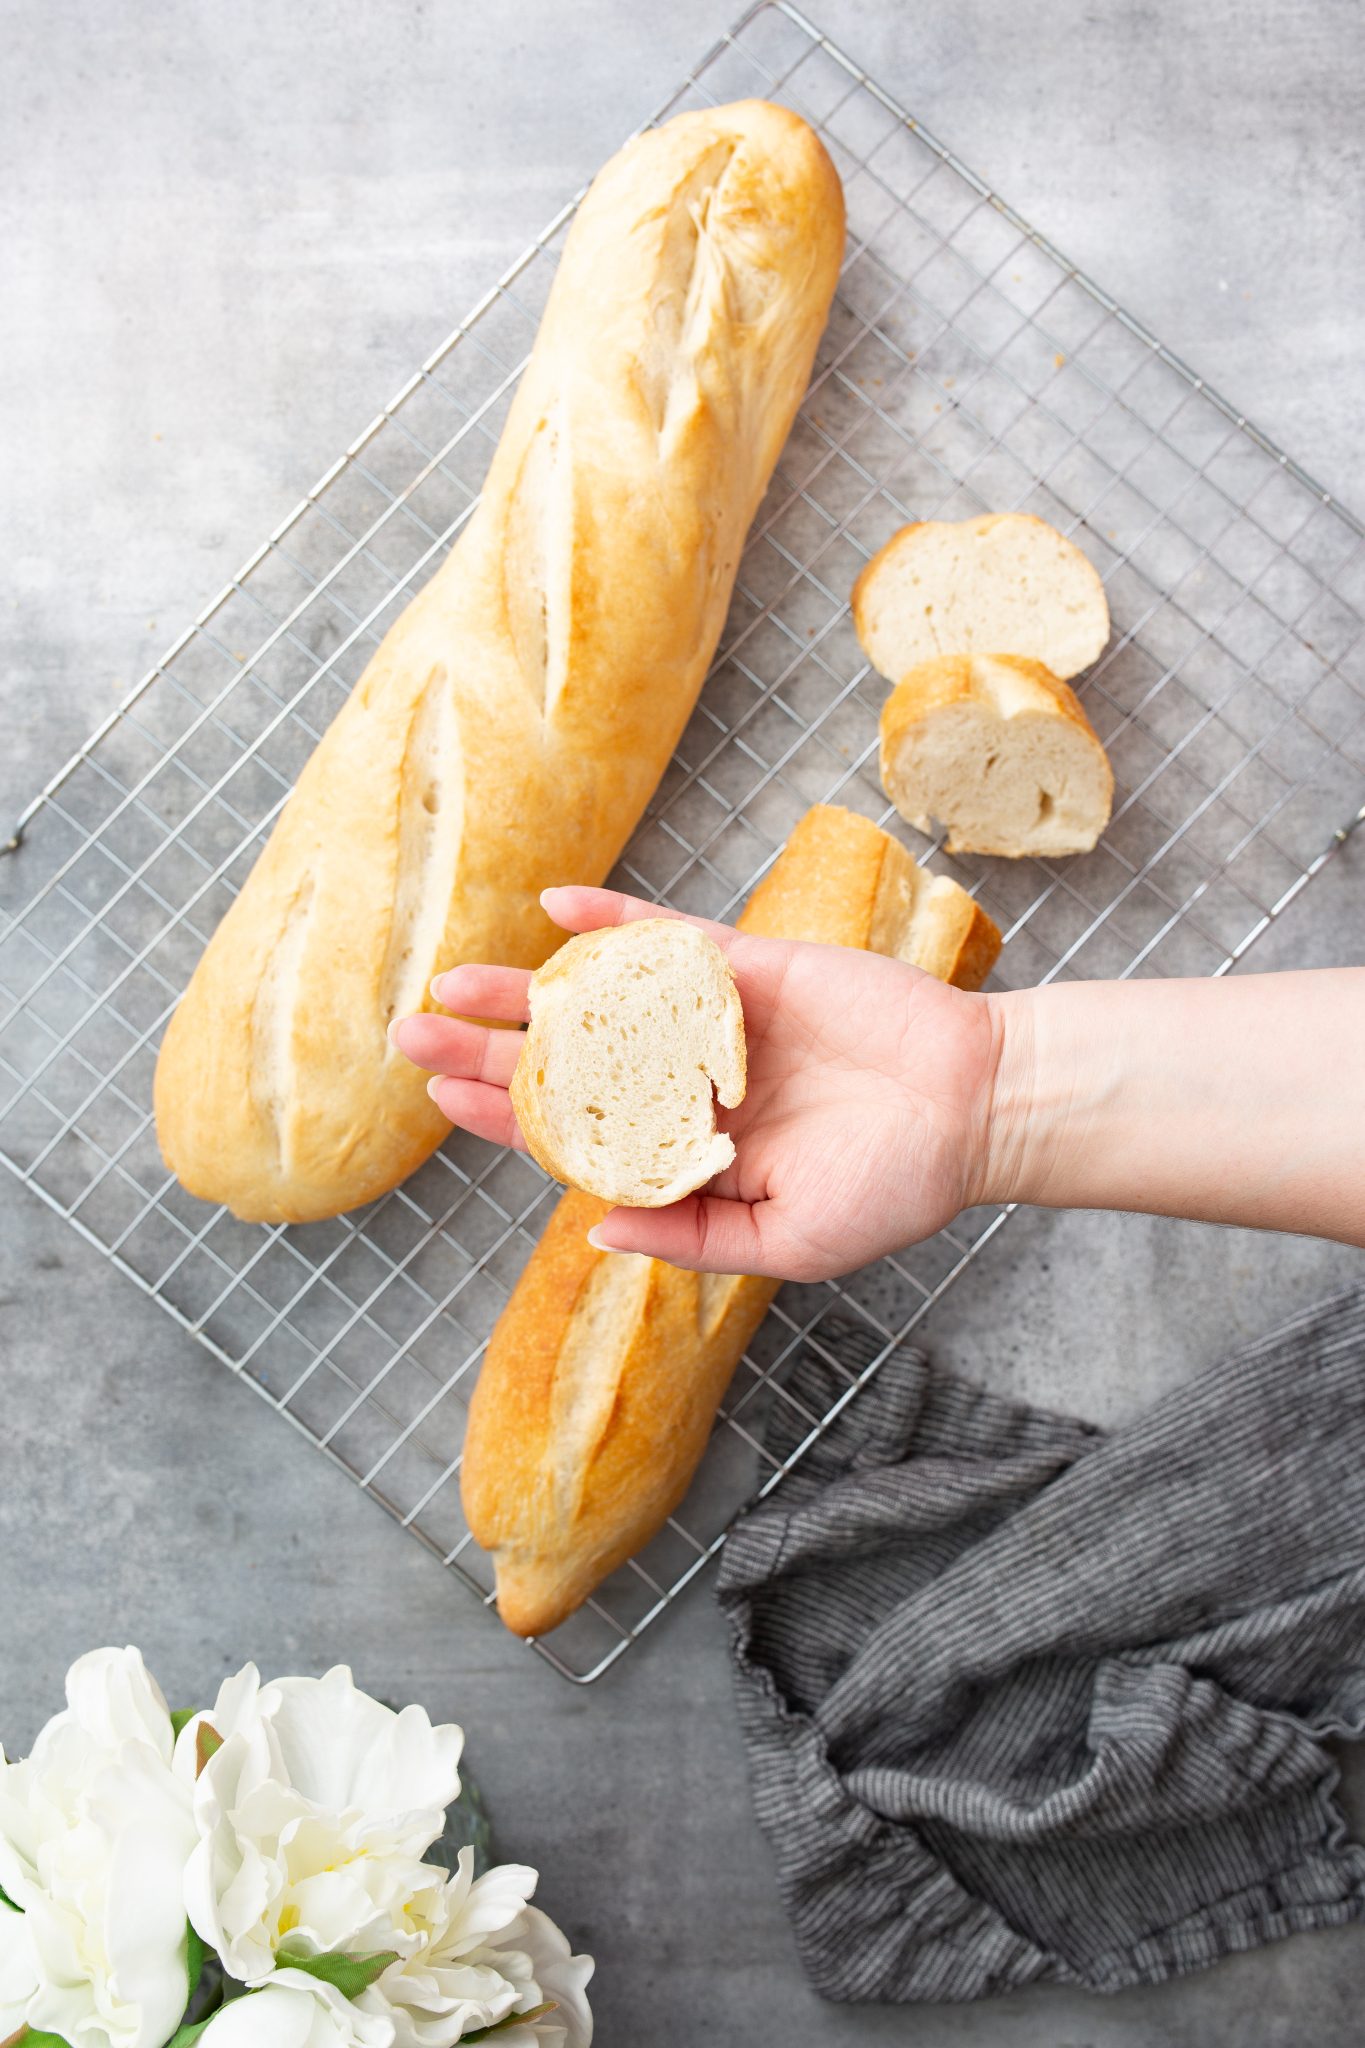
Look at the two photos below. Both baguettes were made with the same ingredients and process except for one key element: steam in the oven.
The first baguette is lighter in color. It was baked with a tin of water at the bottom of the oven. This water came to temperature with the oven and created a steam oven. This allows for a more fluid environment that encourages the dough to expand gently to its fullest potential during baking. The result is tender perfection inside and out. Most kids enjoy this one more.
The second baguette is caramel in color. It was cooked without steam, which causes the outside layer of the baguette to set almost immediately upon being added to the hot, dry oven. The result is “not the look, not the smell, but the sound—only great bread sounds this way,” as Colette from Ratatouille would say. The crust is a signature element in French bread. This style is often used for crostini and French Onion Soup.
Neither one is better or worse than the other. It simply is a matter of preference and depends on who you’re serving and what you’re serving it with. My kids will always choose the more tender of the two. But I prefer the more traditional French bread.
Ingredients for a French Baguette
The best way to have perfect baguettes every time is to weigh your ingredients with a simple kitchen scale. Especially if you’re going to sell your products, or to make the most of your money spent, a kitchen scale will ensure you do not go over or under from recipe to recipe.
- 750 grams bread flour (6-1/4 cups)
- 8 grams instant yeast (2-1/4 teaspoons)
- 15 grams fine sea salt (about 3/4 Tablespoon)
- 495 ml water (about 2 cups plus 2 Tablespoons)
How to measure flour
If you’re in the U.S., you may or may not have a kitchen scale. If you don’t have one and want to make fresh baguettes for dinner tonight (or breakfast in the morning!) I’ve converted the ingredient amounts above for you. But the key is knowing how to measure the flour.
Do not scoop flour. Reaching into a bag or bin of flour and scooping with a cup measurement will create an inaccurate cup as it compresses the flour within the cup. You’ll end up with much more in your cup than what is required weight-wise, resulting in tough and dry bread.
The best way to measure using cups is to take a spoonful of flour from the bag at a time and gently shake it into your cup measurement. This will lift and aerate your flour as you measure, preventing it from compacting. Use the flat side of a
What makes a baguette different from other breads?
The truth is, baguettes, boules, bâtards, and even some white breads all use the same ingredients. They are lean doughs, meaning they do not incorporate a large amount of fat in the form of
How to Ferment Bread Dough
Fermenting dough, also known as proofing. Here are a few ways to ferment dough:
- Counter: This is the most uncertain options. Your rise time could be long or short, depending on the temperature and humidity of your kitchen. It may be difficult to plan whether your bread will be ready. Your best bet, in this case, is to place the dough in a warm, draft-free area of your home during fermentation. Consider the top of a refrigerator or in a closed microwave.
- Pre-warmed oven: Many ovens used to have warming drawers. However, most households use them as storage. If your oven still has this option, use it. You can also set your oven to 200F. Once it has come to temperature, turn it off. Open the door to the oven for a couple of minutes, then place your covered dough in the oven and close the door. The residual heat will create a warm environment that promotes proofing. You don’t want it warmer than 90F. Use an oven thermometer for accuracy. Otherwise, you risk pre-cooking your dough.
- Near a woodstove: On a cold day, when the woodstove is on, place the covered bowl close to the fireplace. Let the radiant heat encourage the dough to rise. This tends to happen pretty quickly. Just be careful not to get the bowl too close as you risk cooking the dough or drying it out in the process.
- Refrigerator: Cover and place the bread in the refrigerator overnight. Refrigeration slows down fermentation but doesn’t stop it. The next day, you’ll want to bring the dough to room temperature and then continue with the warm area method to get it to double in size. The flavor will be well worth the wait.
Making the Dough
This is truly a short-form set of instructions, an overview, if you will. I always give detailed instructions in the recipe card, as I want you to have those available when printing the recipe for your collection. But here’s a brief overview…
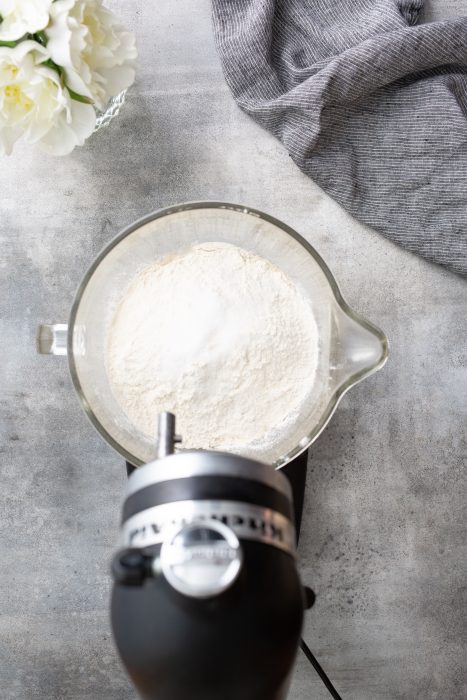
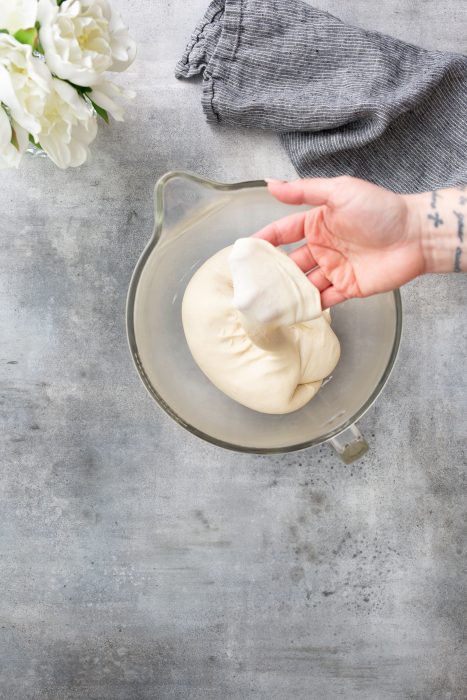
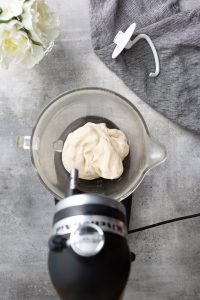
- Combine all of the ingredients in the mixing bowl of your stand mixer. With the dough hook attached, start on low and increase to medium speed as the ingredients combine.
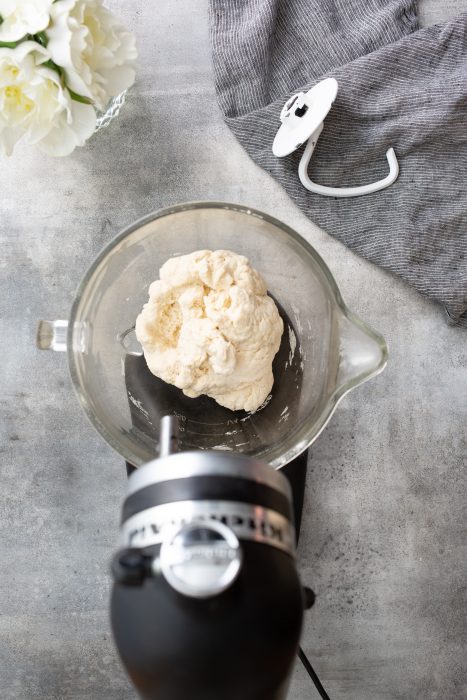
- Mix for about 4 minutes. You’ll notice the dough becomes shaggy and forming into a ball. Keep mixing for about another 10 minutes. The ball of dough will pull all the dough off the bowl and begin to look like playdough or kinetic sand. It has a different texture than it initially did.
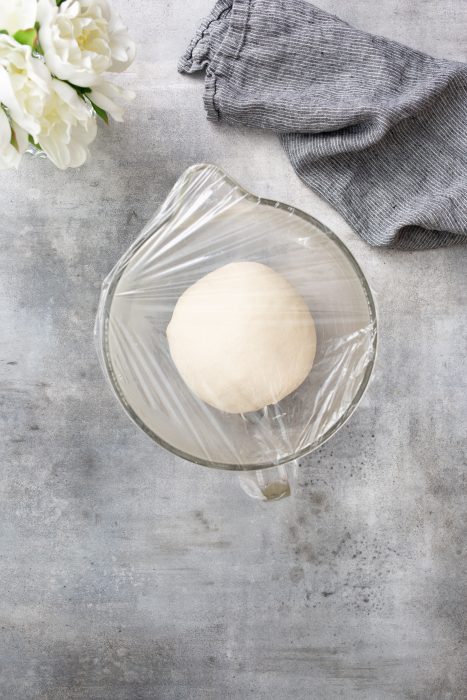
- Cover and allow it to rest for 10 minutes.
- Pull the gluten window by gently pulling on the dough and stretching a portion without ripping it until you can see your fingers through the dough. This tells you the gluten is both strong and relaxed.
- Cover again and allow to ferment for at least an hour, using one of the methods mentioned above, until doubled in size.


Shaping the Baguettes
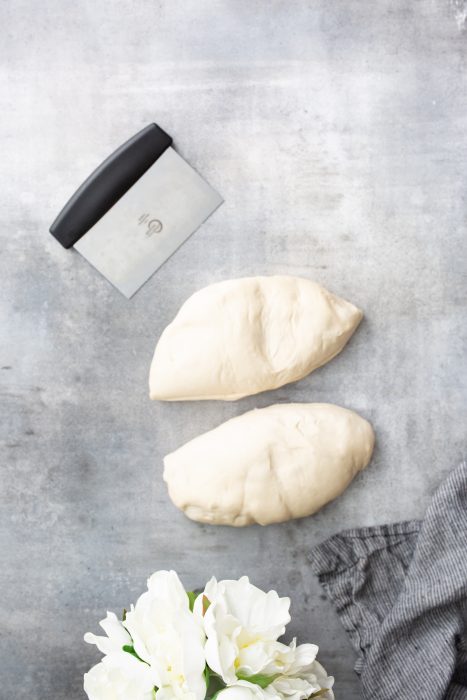
- Once the dough has risen, degas (or ‘punching down.’ Degassing releases the air trapped inside the dough during the rising period and makes a finer crumb bread.) it by pressing it with your fingers and weighing it into two equal pieces. If you prefer, this recipe can also make three thinner baguettes.
- Start shaping into a baguette by tightly folding it into itself in a semi-rectangular shape. This shape will help the middle stay thicker, and the ends taper as a classic baguette.
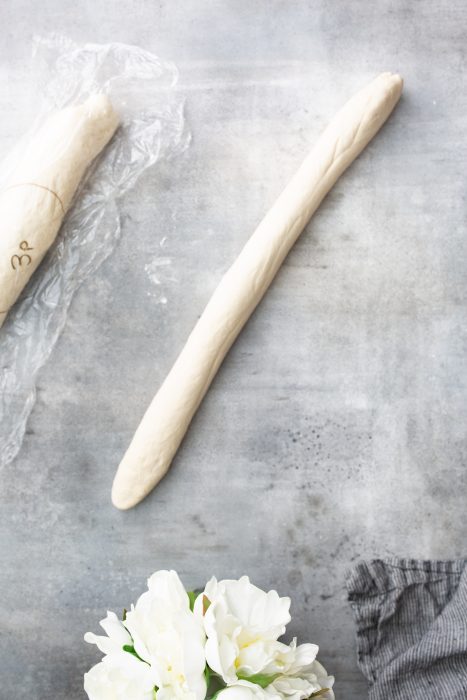
- Roll the dough like you would a playdough snake. If the dough keeps bouncing back on you, refusing to stretch, cover it with plastic wrap and allow it to rest for 10 minutes before continuing.
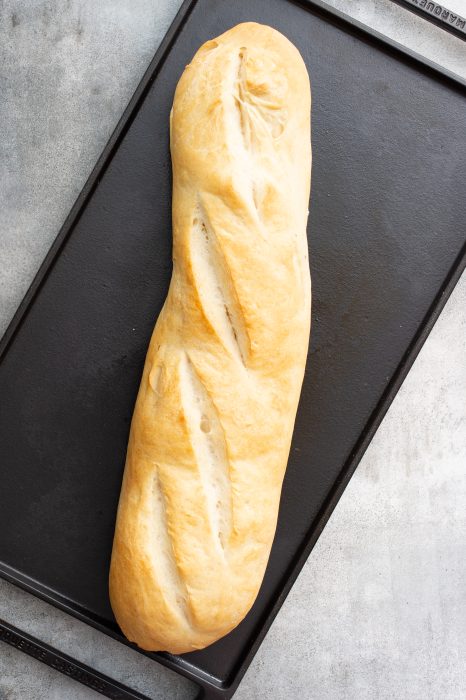
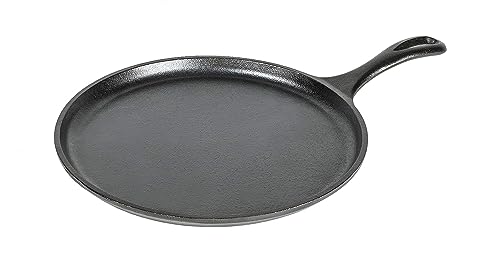
- Place the baguettes on a lightly greased baking sheet or the flat side of a cast iron griddle. Spray the loaf with non-stick spray and cover with plastic wrap for about 30 minutes to an hour so the dough can again double in size.


Baking French Baguettes
- Preheat your oven to 425°F (230°C). See the section above about choosing a crust.
- Using a sharp knife or l*ame, make several 1/2-inch deep cuts in the top of each baguette, going lengthwise down the baguette.
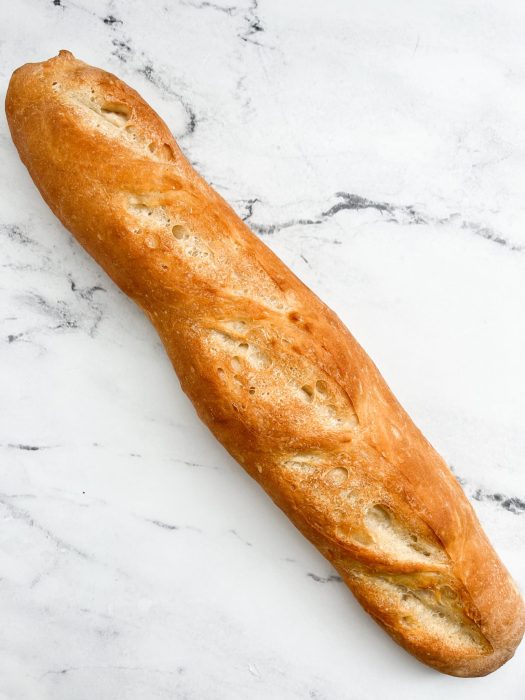
- Bake the baguettes for about 20 minutes or until they are golden brown.
Tips and Troubleshooting
- Use bread flour, which has a higher protein content than
all-purpose flour . This gives the baguettes their characteristic chewy texture. - Instant yeast is more reliable and easier to use than active dry yeast. It can be added directly to the dry ingredients without first being activated in water.
- Use fine sea salt instead of table salt, which dissolves more easily and evenly in the dough.
- If the baguettes come out too dense or doughy, it may be because the dough was not kneaded enough or because it did not rise long enough. Make sure to knead the dough until it is smooth and elastic (use the gluten window test), and let it rise until it has doubled in size.
- If the baguettes come out too hard or crusty, it may be because they were baked at too high of a temperature or for too long. Make sure to adjust the temperature and baking time accordingly. Start with the time first before adjusting the temperature.
FAQs about Bread Baking and French Baguettes
Yes, but you must first activate the yeast in warm water before adding it to the dry ingredients.
All-purpose flour can be used to make baguettes, but the resulting bread will have a softer, less chewy texture.
The dough should double in size and feel light and airy to the touch.
Yes, you can add other ingredients to the dough, but make sure to adjust the amount of liquid and flour accordingly. Other options would be making this into a garlic bread, or creating Focaccia instead of a baguette.
To keep leftover baguettes fresh, wrap them tightly in plastic wrap or aluminum foil and store them at room temperature for up to 2 days. For longer storage, wrap the baguettes in plastic wrap and store them in the freezer for up to 3 months.
Recipes Using Leftover French Baguettes
- French Toast or French Toast Casserole: Slice leftover baguettes into thick slices and dip them into a mixture of beaten eggs, milk, and cinnamon. Fry in a buttered pan until golden brown and serve with syrup and fresh fruit. For an easier version, make it into a casserole with my Pecan Praline French Toast Casserole.
- Bruschetta: Toast slices of baguette and top them with diced tomatoes, garlic, basil, and olive oil for a simple and delicious appetizer. Also, try fruit bruschetta: Strawberry Goat Cheese Bruschetta, Peach Bruschetta, Grilled Peach Bruschetta, and Whipped Ricotta & Blistered Tomato Bruschetta (Also make Whipped Feta with Blistered Tomatoes)
- Panzanella: Cut leftover baguette into bite-sized pieces and toss them with chopped tomatoes, cucumbers, red onion, and a vinaigrette dressing for a refreshing salad.
- Crostini: Cut leftover baguettes into thin slices and toast them until crispy. For a quick and easy appetizer, top with your favorite toppings, such as cheese, meats, or vegetables.
- Bread Pudding: Tear leftover baguettes into small pieces and soak them in a mixture of eggs, milk, sugar, and vanilla. Bake until golden brown and serve with whipped cream or ice cream.
Just like succession planting in the spring, consider succession bread baking. Get in the habit of creating dough every day. Then, you can have it fermenting in the refrigerator up to three days in advance. Pull out a dough in the morning, let it come to room temperature, shape, and proof, and have fresh bread on the table every night.
Pin it for Later or Share on Facebook

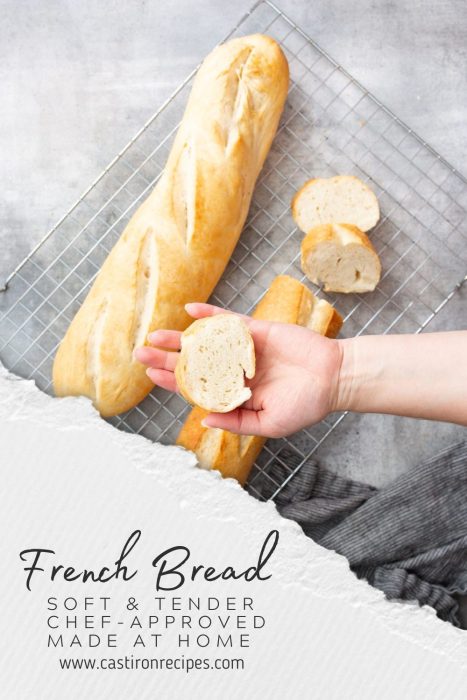
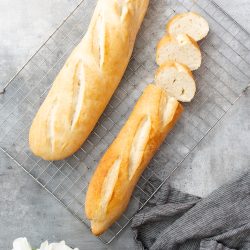
French Baguette at home is tender inside with a crisp, tan exterior. Perfect served alongside any dinner or reserved for a French toast breakfast.
Equipment to make French Baguettes
- Kitchen Aid Stand Mixer
- Dough Hook
- Non-Stick Spray
- plastic wrap
- Cast Iron Griddle or Sheet Pan
- L*ame (knife or razor blade) optional
- Spray Bottle for Water optional
- Casserole or Bread Tin optional
French Baguettes
Items in blue & underlined below can be clicked for more detail or to purchase.
Equipment


Ingredients
- 750 grams bread flour 6-1/4 cups
- 495 milliliters water about 2 cups plus 2 Tablespoons
- 15 grams sea salt about 3/4 Tablespoon
- 8 grams instant yeast 2-1/4 teaspoons
Instructions
- This written post above this recipe card is full of important information regarding makeing French baguettes. If you have comments, please read the post. I covered everything I could think of in it.
- Combine all ingredients, into the bowl in this order: water, yeast, bread flour, sea salt. Attach the dough hook and combine for 3 minutes until pickup stage. The dough will look like a shaggy ball.

- Continue mixing on medium speed (4) for about 6 to 10 minutes, reaching cleanup stage. The dough should look more like playdough and the bowl will look “clean” with no remnants of ingredients remaining.
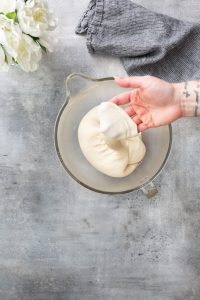
- Remove the dough and knead on a clean counter to form into a smooth ball. Spray the stand mixer bowl with non-stick spray, and set the dough back in the bowl. Cover with plastic wrap and allow to rest for 10 minutes.
- **See notes below for pulling a gluten window.
- Once gluten window appears, reshape the ball and return to the greased bowl. Cover and ferment using one of the recommended methods listed in the blog post, for about 1 hour or until doubled in size.
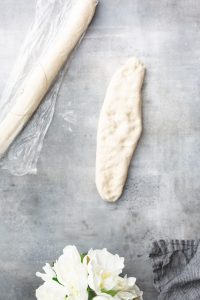
- Portion the dough into two 625 grams using a kitchen scale, or three 416 gram portions. Keeping the dough covered with plastic wrap while working with other portions, each portion is shaped into rounds and rested for 20 minutes.
- From there, shape each round into an oval. Begin to fold and pinch the dough over itself on the long edge creating a thicker middle and more tapered ends. Roll the dough like a snake, using two hands for even pressure until the dough reaches the length of your griddle or sheet pan.
- **If the dough stretches and springs back while working, recover with plastic and let rest 5 minutes before continuing to shape the dough. Work on the other baguette while the first dough rests.
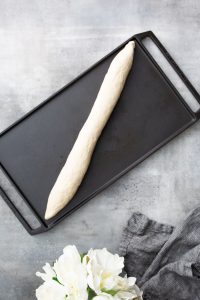
- If using a griddle, lay the shaped baguette on the flat side of the griddle diagonally. Lightly spray a piece of plastic wrap with non-stick spray and cover the bread with the plastic wrap to ferment another 30 minutes to an hour until nearly doubled in size.
- If using a sheet pan, lay a piece of parchment paper on the sheet pan and spray with non-stick spray before adding the shaped dough. Again lightly spray a piece of plastic wrap with non-stick spray and lightly cover. Allow the dough to ferment and double in size.
- When just about doubled, preheat the oven to 425F (see notes in blog posts about choosing a crust). Just before adding to the oven, score the top. Make 3 to 5 1/2 inch deep cuts going top to bottom, overlapping by about 1/3 (please see photos).
- Spray the dough with water, create a steam bath in the oven, or place in the hot oven as is depending on your preferred crust and available tools. Bake for 20 minutes.
- Once golden brown they were remove from the oven and place on a wire rack to fully cool before slicing to serve.


One Comment